Saw wood
Carefully learn to saw wood to make a small wooden birdhouse using a hand saw and measured cuts, with adult supervision and safety goggles.


Step-by-step guide to sawing wood to make a small wooden birdhouse
Essential Safety Guide: How to Saw Wood SAFELY #craft #wood
Step 1
Put on your safety goggles and ask an adult to be with you the whole time.
Step 2
Measure and mark wood pieces with a pencil to these sizes: front and back 4 in x 6 in; base 4 in x 4 in; two sides 4 in x 5 in; roof 5 in x 5 in.
Step 3
Clamp one marked piece securely to the work surface so it will not move.
Step 4
Saw along the pencil line with steady controlled strokes to cut that piece.
Step 5
Repeat clamping and sawing for each marked piece until all pieces are cut.
Step 6
Sand all cut edges and surfaces until they are smooth and safe to touch.
Step 7
On the front panel mark the entrance center 1.5 inches down from the top and centered left to right.
Step 8
Have an adult carefully hammer a nail to make a small pilot hole at the marked center.
Step 9
Use a round file to enlarge the pilot hole to about 1.25 inches and smooth the hole edges.
Step 10
Dry-fit all pieces together on a flat surface to make sure everything lines up nicely.
Step 11
Apply wood glue to the mating edges of the sides back and base where the joints will meet.
Step 12
Press the glued edges together to assemble the sides back and base then clamp them firmly until the glue dries.
Step 13
Apply wood glue to the top edges and press the roof piece into place then clamp until the glue dries.
Step 14
After the glue is dry have an adult hammer small nails into the joints to reinforce and secure the birdhouse.
Step 15
Take a photo of your finished birdhouse and share your creation on DIY.org.
Help!?
What can I use if I don't have a round file, clamps, or wood glue?
For the 1.25-inch entrance have an adult use a 1¼-inch hole saw or spade bit instead of the round file, replace clamps with heavy rubber straps or a second adult holding the piece during step 3, and use yellow carpenter's glue (Titebond) or standard PVA wood glue in place of the specified wood glue.
My cuts are rough or pieces don't line up—what should I check and fix?
Make sure each marked piece is firmly clamped to the work surface (step 3), saw along the pencil line with steady controlled strokes (step 4), then thoroughly sand all cut edges (step 6) and dry-fit the pieces on a flat surface (step 11) before gluing to correct fit issues.
How do I adapt this activity for younger kids or older kids?
For younger children have an adult handle the clamping, sawing and hammering while the child measures, sands, marks the 1.5-inch entrance point, glues and decorates pre-cut panels, and for older kids let them measure and cut their own pieces, add a jigsaw design and reinforce joints with the small nails in step 14.
How can we enhance or personalize the birdhouse after assembly?
After the glue dries and you hammer in the small nails (step 14) personalize by painting and sealing the wood, adding a small perch under the 1.25-inch entrance, drilling drainage holes in the base, or installing a hinged roof for easy cleaning before taking a photo to share on DIY.org (step 15).
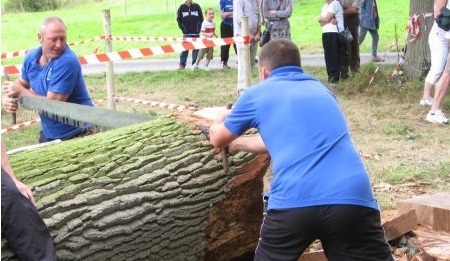
Watch videos on how to saw wood to make a small wooden birdhouse
Bandsaw Safety Lesson
3 Videos
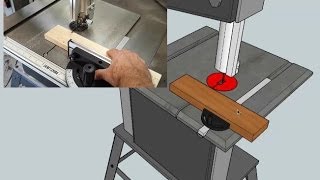
Bandsaw Safety Lesson
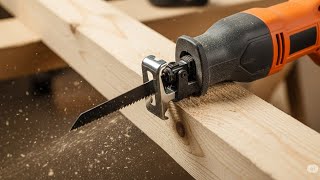
Reciprocating Saw for Beginners: How to Cut Wood Safely & Easily
Steps to Sawing Wood Safely and Easily
Facts about woodworking for kids
🐦 Many cavity-nesting birds use nest boxes — Eastern bluebirds often prefer an entrance hole about 1.5 inches (3.8 cm) wide.
🪚 Handsaws have been used for thousands of years — ancient Egyptian saws date back over 4,000 years.
🧰 Woodworking is one of humanity’s oldest crafts — people have been shaping wood into tools, furniture, and homes since prehistoric times.
🥽 Safety goggles protect your eyes from flying wood chips and dust — wearing them in the workshop keeps kids (and adults) safe.
📏 The retractable tape measure we use today was developed in the 19th century, making quick, accurate measuring easy for DIY projects.
How do you carefully teach a child to saw wood to make a small birdhouse?
What materials do I need to make a small wooden birdhouse with a hand saw?
What ages is sawing wood to make a birdhouse suitable for?
What are the safety tips for teaching a child to saw wood?
