Whittle or carve an object
Carve a simple wooden spoon or animal figurine using soft wood, safe carving tools, and adult supervision, learning shaping, sanding, and finishing techniques.


Step-by-step guide to whittle a wooden spoon or animal figurine
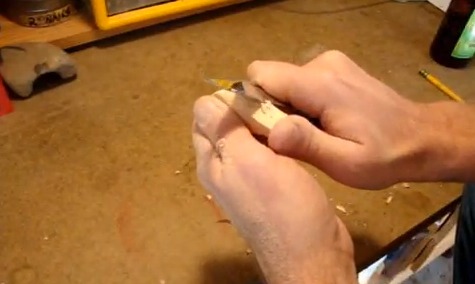
How to Whittle Little People Part 1 - Complete Beginner Whittling Lesson
Step 1
Pick what to carve a simple spoon or a small animal and decide how big it will be.
Step 2
Draw a clear outline of your chosen shape on the wood with a pencil.
Step 3
Clamp the wood securely to your work surface so it cannot move.
Step 4
Put on your cut resistant carving glove before you touch the knife.
Step 5
Ask an adult to check your setup and to stay with you while you carve.
Step 6
Make shallow stop cuts around your pencil outline to mark the edges.
Step 7
Carve away the wood outside your outline using small controlled cuts moving away from your body.
Step 8
Hollow the spoon bowl or carve animal features using small careful cuts to remove little bits at a time.
Step 9
Refine the overall shape with lighter carving strokes to smooth bumps and round edges.
Step 10
Sand the whole piece progressively from coarse to medium to fine grit until the surface is smooth.
Step 11
Apply a thin layer of beeswax or food safe finishing oil with a soft cloth following the product instructions.
Step 12
Buff the piece with a clean cloth until it looks finished and feels smooth.
Step 13
Share a photo of your finished spoon or animal on DIY.org
Help!?
What can I use if I don't have a clamp for the 'clamp the wood securely' step?
If you don't have a clamp you can instead use a vise or press the wood to a non-slip mat under a heavy book while following the 'clamp the wood securely' step.
What should I do if the knife keeps catching or the wood tears while hollowing the spoon bowl or carving animal features?
If you get rough tear‑out or the knife seems to catch while hollowing the spoon bowl or carving animal features, stop, re‑clamp the wood, make shallow stop cuts around the pencil outline and then remove material with small controlled cuts moving away from your body.
How can I adapt this whittling activity for younger or older kids?
For younger children give them a pre‑cut softwood (like basswood), a duller carving tool or rasps, insist on the cut‑resistant carving glove and adult supervision during every step, while older kids can practice finer detail and sanding from coarse to fine grit themselves.
How can we personalize or extend the finished spoon or animal after sanding and finishing?
To personalize or extend the project, carve initials or surface textures before sanding, then apply stained beeswax or food‑safe oil as in the finishing step, or turn it into a set by repeating the process and sharing photos on DIY.org.
Watch videos on how to whittle a wooden spoon or animal figurine
Whittle A Simple Wizard - Easy, Quick, Beginner's Carving Project
4 Videos
Whittle A Simple Wizard - Easy, Quick, Beginner's Carving Project
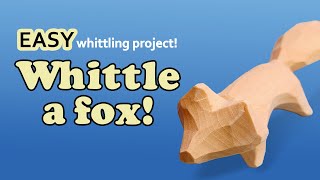
How to Whittle a Simple Fox - Step By Step Beginner Wood Carving Project
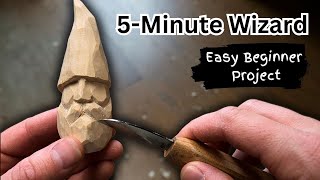
Carving A Stupidly Easy Whittle- 5 Minute Wizard
How to Whittle a Simple Bear- Step By Step Beginner Wood Carving Project
Facts about woodworking for kids
🪵 Basswood (linden) is a favorite for beginner carvers because it's soft, has a fine grain, and holds detail well.
🔪 Traditional spoon-making often uses a straight carving knife plus a hook (spoon) knife to hollow the bowl.
🏺 People have carved wooden utensils and figurines for thousands of years — archaeologists find carved spoons in ancient sites.
🪚 Sandpaper grit matters: use rougher grits (around 80–120) to shape and finer grits (220+) to get a silky, food-safe finish.
🧑🏫 Kids can carve safely when using short, safe blades, thumb guards, good technique, and close adult supervision.
How do you carve a simple wooden spoon or animal figurine?
What materials and tools do I need for whittling a spoon or figurine?
What ages is wood carving (whittling) suitable for children?
What important safety tips should families follow when carving wood with children?
