Build a wooden box
Build a simple wooden box using measured boards, safe tools with adult supervision; cut or use pre-cut pieces, assemble, sand, and decorate the finished box.


Step-by-step guide to build a wooden box
Woodworking Projects for Kids: How to Build a Box
Step 1
Gather all your materials and set them on a clear work surface.
Step 2
Measure and mark the boards for the box base and four side pieces with your measuring tape and pencil.
Step 3
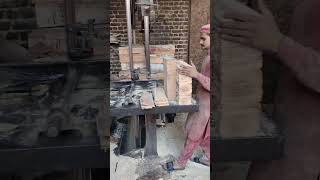
Ask an adult to cut the boards to your marked sizes or use the pre-cut pieces.
Step 4
Lay the base board flat on your work surface.
Step 5
Place the four side pieces around the base to check the fit and make sure corners line up.
Step 6
Put on your safety goggles.
Step 7
Apply a thin line of wood glue to the bottom edge of one side piece.
Step 8
Press that glued side piece firmly against the edge of the base.
Step 9
Ask an adult to hammer a finishing nail through the side into the base to secure it.
Step 10
Repeat Steps 7 to 9 for the remaining three side pieces until all sides are attached.
Step 11
Clamp the box with clamps or place heavy books on it to hold everything tight.
Step 12
Wait 30 minutes for the glue to dry.
Step 13
Remove the clamps and sand all outer and inner surfaces and edges until smooth.
Step 14
Wipe off sanding dust and decorate your box with paints stickers or colouring materials and let the decorations dry.
Step 15
Share a photo of your finished wooden box on DIY.org
Help!?
What can we use instead of solid wood boards or finishing nails if those are hard to find?
Use pre-cut craft plywood or basswood from a hobby store or sturdy corrugated cardboard cut to the measured sizes in Step 2 and secure them with wood glue (or hot glue) instead of finishing nails while still following Step 11 clamping and wearing safety goggles.
My corners don't line up or nails split the wood—what should I do?
Before nailing in Step 8, check fit in Step 5, clamp pieces in place (Step 11), wipe excess glue immediately, and ask an adult to drill small pilot holes or use thinner brad nails to prevent splitting and keep corners square.
How can I adapt this box project for younger or older kids?
For younger kids use pre-cut pieces from Step 3, non-toxic glue, and let them press sides in Step 7 while an adult handles nailing, and for older kids have them measure and mark (Step 2), cut boards (Step 3) under supervision, sand (Step 12), and try more advanced joints or finishes.
How can we personalize or extend the finished box beyond decorating in Step 13?
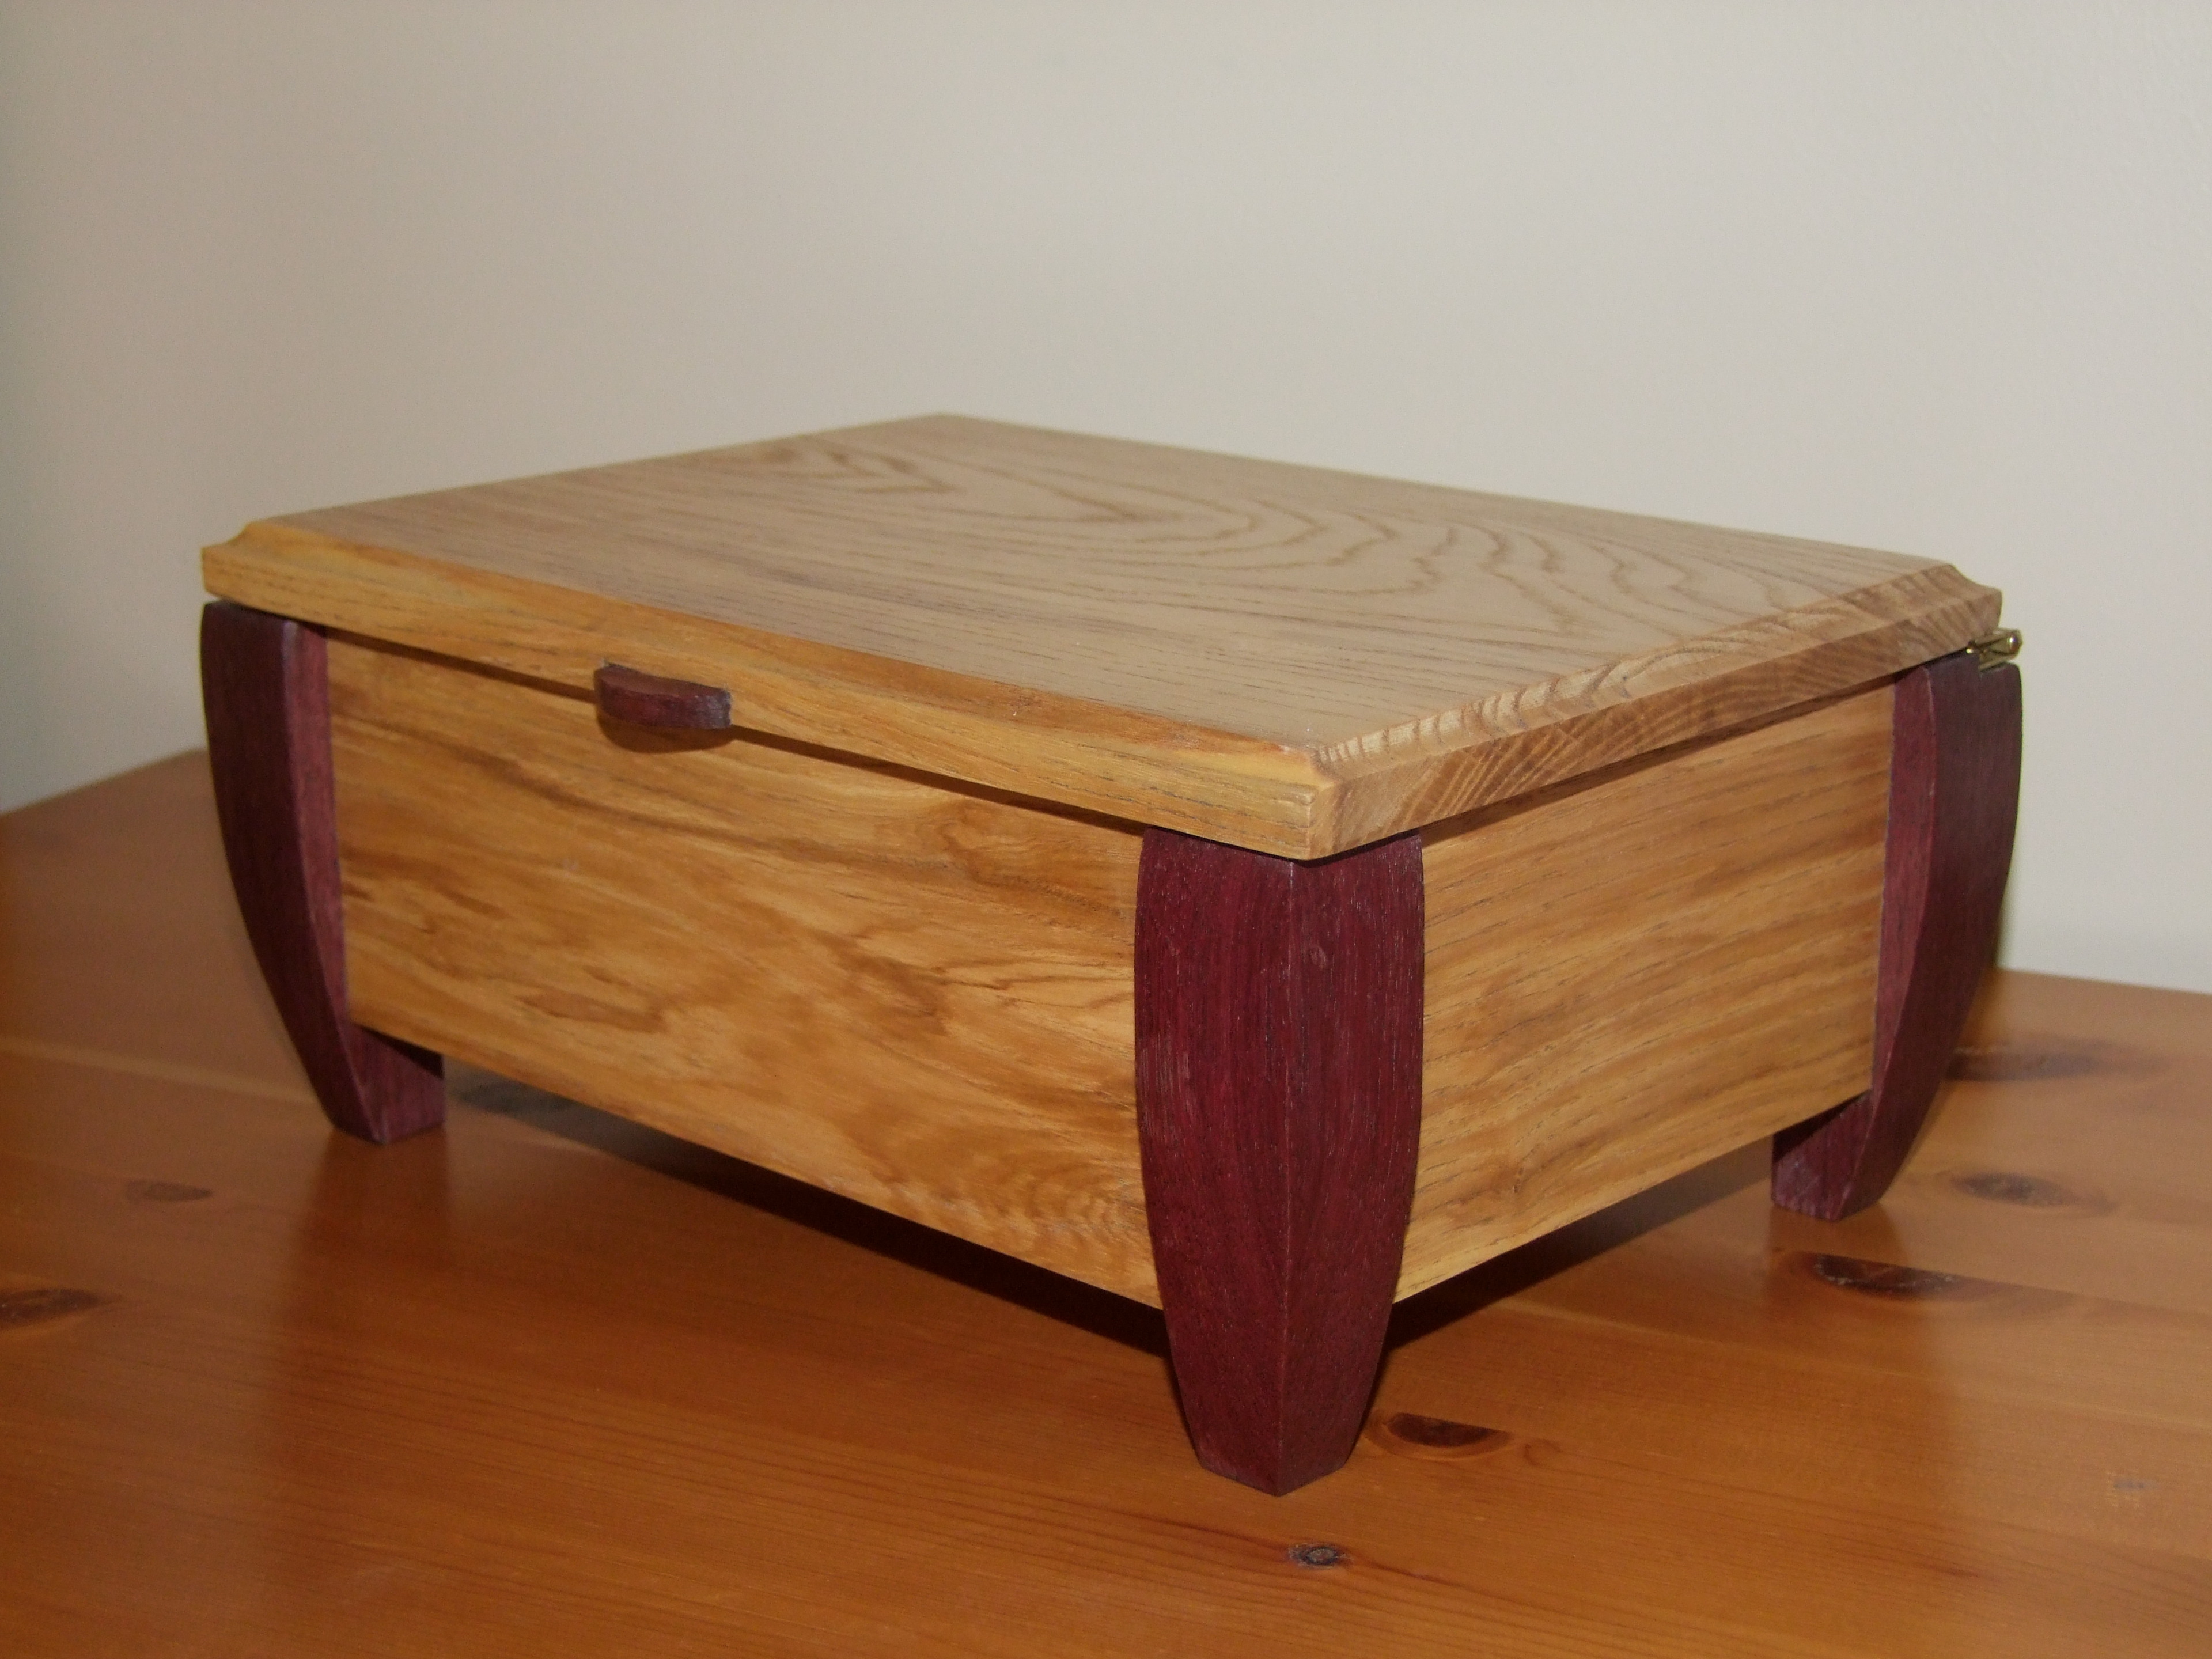
Add a hinged lid and small brass hardware, divide the inside into compartments before clamping in Step 11, line the interior with felt after sanding in Step 12, or finish with wood stain and a clear sealer to improve durability before sharing on DIY.org in Step 14.
Watch videos on how to build a wooden box
How To Make A Simple Wooden Box
4 Videos
How To Make A Simple Wooden Box
How to make a beautiful wooden box. Step by step tutorial . Easy beginner project
How to make a Wooden Crate Box. DIY Wooden Box for Beginners.
DIY Wooden Box Making Tutorial 📦 | Step-by-Step Guide
Facts about woodworking for kids
🪚 Humans have been shaping wood for thousands of years — some wooden tools and boats are over 7,000 years old!
🪵 Pine and other softwoods are friendlier for beginners because they’re easier to cut and sand than hardwoods like oak.
📏 Woodworkers say “measure twice, cut once” to avoid wasting wood and making mistakes.
🧰 Simple tools — a saw, hammer, nails, wood glue, and sandpaper — are all you need to build a sturdy box (with adult help).
🎨 Decorating your box makes it yours — paint, stickers, or decoupage turn a plain box into a special treasure chest.
How do I build a simple wooden box with my child?
What materials and tools do I need to build a wooden box?
What ages is this wooden box activity suitable for?
What safety tips, benefits, and variations should I know when building a wooden box with kids?
