Make a pinch pot
Make a pinch pot using clay or air dry clay, shaping with fingers to form bowls, adding textures and decorations while learning basic pottery skills.


Step-by-step guide to make a pinch pot
How To Make A Pinch Pot For Kids
Step 1
Spread wax paper on your table and place your materials on it so your workspace is clean and ready.
Step 2
Tear or cut off a piece of clay about the size of a walnut and roll it into a smooth ball in your palms.
Step 3
Press your thumb firmly into the center of the ball to make a deep hole while holding the clay steady with your other hand.
Step 4
Use your thumb and index finger to pinch the clay rim while slowly turning the pot in your other hand to make the walls even.
Step 5
Dip a finger in the small bowl of water and gently smooth the inside and outside of the pot to remove cracks and bumps.
Step 6
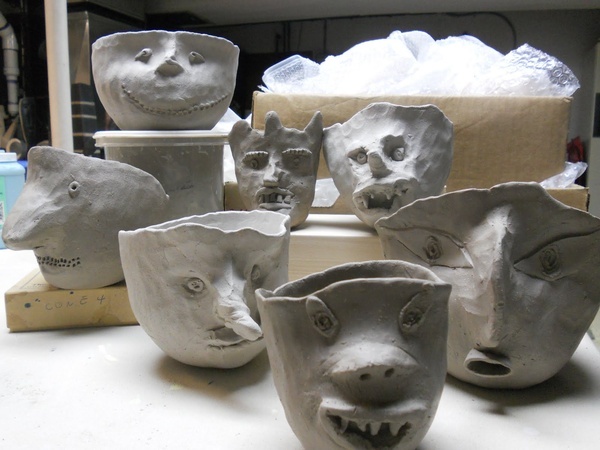
Use the toothpick or wooden tool to press patterns or designs into the pot surface for texture and decoration.
Step 7
Roll a small piece of clay into a thin coil if you want to add a handle or extra decoration.
Step 8
Score the spots where the coil and the pot will meet by scratching both surfaces with the toothpick.
Step 9
Wet the scored areas lightly with a little water then press the coil onto the pot and smooth the seams with your finger.
Step 10
Place your pinch pot on the wax paper or plastic plate and leave it to dry completely for at least 24 hours until hard.
Step 11
Paint your dry pinch pot with the paints and paintbrush to make it colorful and unique.
Step 12
Let the paint dry fully before touching the pot again so the colors do not smudge.
Step 13
Share your finished pinch pot on DIY.org
Help!?
What can we use instead if we don’t have the exact materials listed, like clay or wax paper?
If you don't have modeling clay, use play dough or air-dry clay and replace the wax paper from step 1 with a plastic bag or disposable plate so your workspace stays clean while you follow the pinch and drying steps.
My pot keeps cracking or collapsing—what should I do during the pinching and drying steps?
If walls crack or collapse during steps 3–5, gently re-center your thumb, pinch more slowly while turning the pot, and use the small bowl of water from step 5 to lightly smooth and rejoin cracks before letting it dry.
How can I change this activity for different ages or skill levels?
For preschoolers, use larger walnut-size balls and guide them through steps 2–4; for elementary kids, let them add simple coil handles in steps 6–9; and for older kids, encourage thinner walls, detailed toothpick patterns in step 6, and more advanced painting in steps 11–12.
How can we make the pinch pot more creative or durable after it's made?
To enhance the project, press textured items into the clay at step 6, attach and smooth a coil handle in steps 7–9, paint layered designs in step 11, and optionally seal the finished painted pot with a clear varnish after step 12 before sharing on DIY.org.
Watch videos on how to make a pinch pot
How To Make A Pinch Pot
4 Videos

How To Make A Pinch Pot
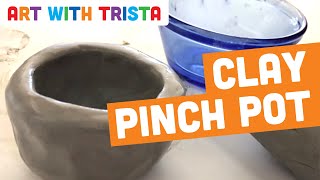
Pinch Pot Step By Step Clay Pottery Tutorial - Art With Trista
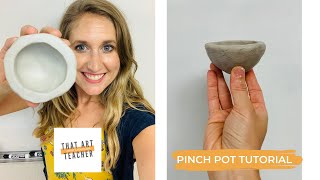
How to Make a Pinch Pot | Step by Step Clay Tutorial

How To Make Cute Animal Pinch Pots! Easy beginner Tutorial For Children!
Facts about pottery and clay crafts for kids
🎨 Pinch potting is one of the oldest pottery techniques — archaeologists have found pinch-style pottery dating back around 20,000 years.
👋 You only need your fingers and a ball of clay to make a pinch pot — it's a great, tool-free way to make bowls, cups, and tiny planters.
🔥 Traditional clay is hardened by firing in a kiln, but air-dry clay dries solid at room temperature so you don't need a kiln.
🌍 Pinch pots appear in cultures all over the world because the technique is simple, quick, and perfect for beginners.
🧠 Making pinch pots teaches key pottery skills like thinning walls, creating even shapes, joining pieces, and adding texture for decoration.
How do you make a pinch pot with clay or air-dry clay?
What materials do I need to make a pinch pot?
What ages is making pinch pots suitable for?
What are the benefits of making pinch pots for children?
