Build a bow
Build a low power wooden toy bow with adult supervision using a dowel, string, and foam tipped arrows; practice measuring, shaping, and safe handling.


Step-by-step guide to build a low-power wooden toy bow
How to make Bows and Arrows, so easy even a kid can do it!
Step 1
Put on your safety glasses and clear a flat workspace so you have room to build and move safely.
Step 2
Use the ruler to measure 36 inches along the dowel and mark the ends and the center with the pencil.
Step 3
With adult supervision cut the dowel at the 36-inch marks so you have the right bow length.
Step 4
Measure 1 inch in from each end and mark those two points for the string notches.
Step 5
With an adult’s help use the saw to make a shallow U-shaped notch about 1/4 inch deep at each mark.
Step 6
Sand the whole dowel including the notches until it is smooth and all sharp bits are gone.
Step 7
Mark a taper line on each half of the dowel starting about 6 inches from the center and narrowing toward the tip.
Step 8
Sand down the wood outside the taper lines on each side so the limbs become thinner toward the tips.
Step 9
Gently bend the bow a little to check that both limbs bend evenly and there are no cracks; stop and ask an adult if you see splitting.
Step 10
Measure the finished dowel length and cut a piece of string about 10% shorter than the bow (for a 36-inch bow cut the string to about 31 inches).
Step 11
Tie a secure loop knot on one end of the string so it can slip over a notch.
Step 12
With adult help hook the loop over one tip notch while the adult gently bends the bow and slip the other end into the opposite notch.
Step 13
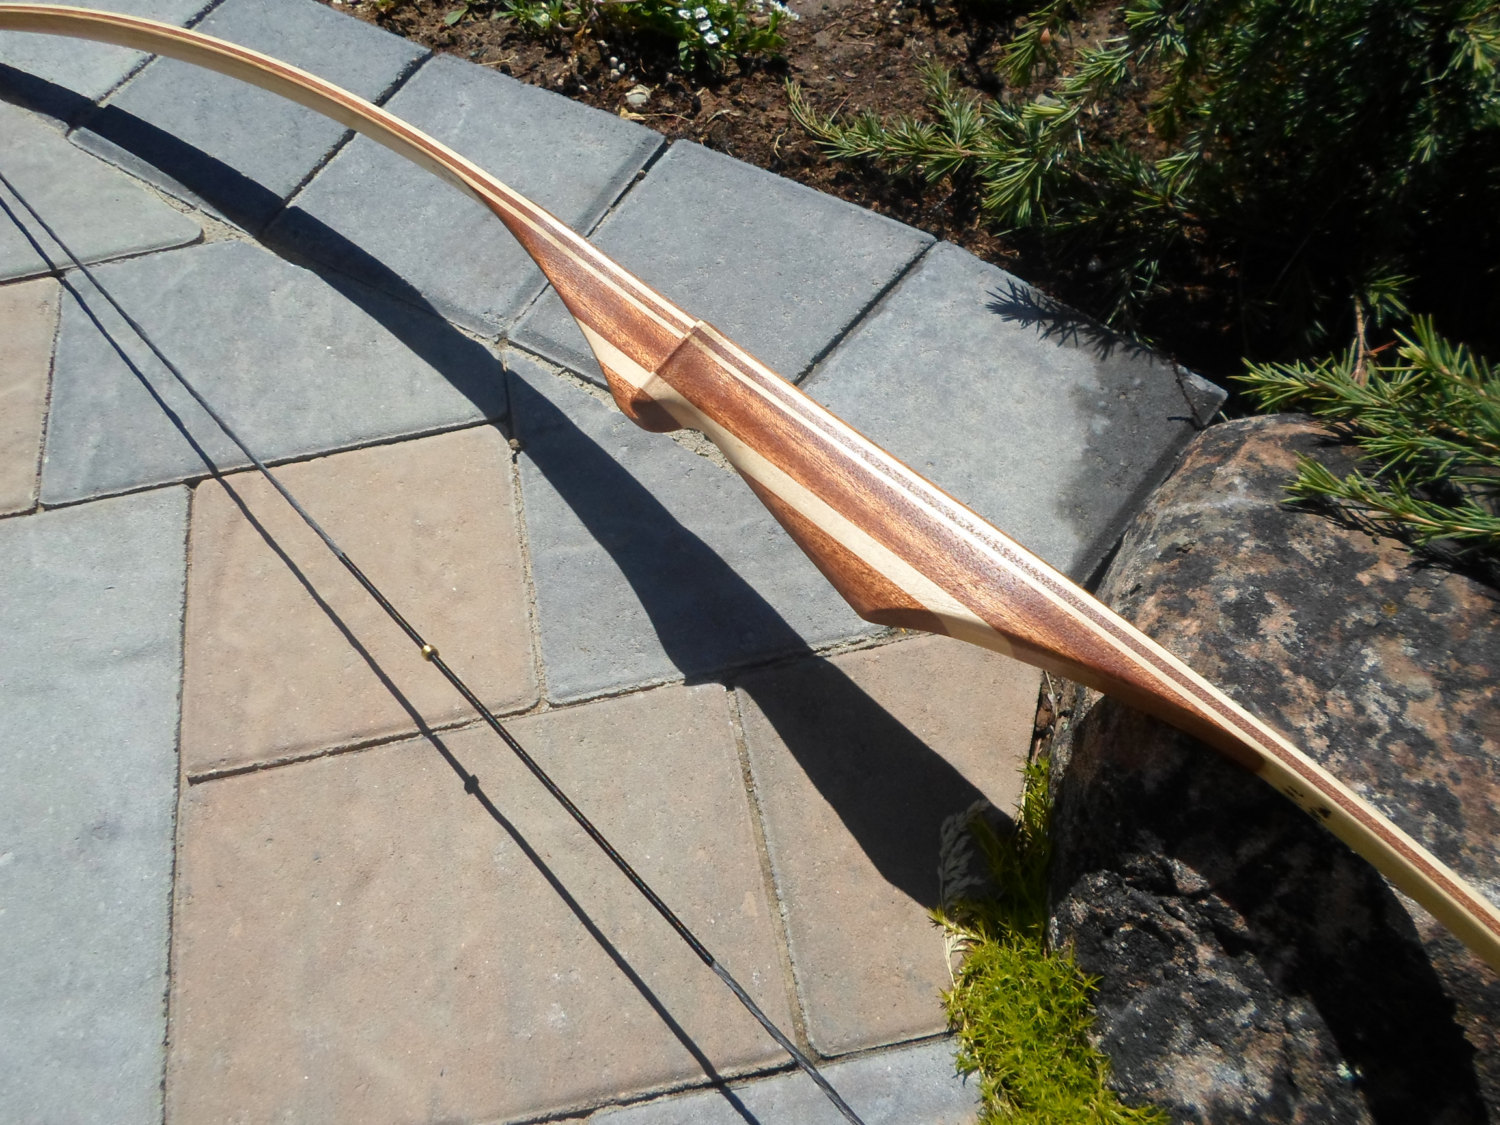
Adjust the string until the bow has a gentle even curve and then wrap the center handle with masking tape for a comfy grip.
Step 14
Place a foam-tipped arrow on the bow, aim only at a soft target like a cardboard box, and shoot gently while always wearing safety glasses and keeping people away from the target.
Step 15
Take a photo or tell the story of your low-power wooden toy bow and share your finished creation on DIY.org
Help!?
What can I use if I can't find a 36-inch wooden dowel, specific string, or foam-tipped arrows?
If a 36-inch wooden dowel is hard to find, use a straight broom handle or a 36-inch PVC pipe cut to length and substitute paracord or sturdy twine for the string while using foam craft tips or making foam tips for arrows, and still follow the measuring, notching, sanding steps while wearing safety glasses.
What should I do if the bow limbs bend unevenly or I see cracking when I gently bend the bow?
If the limbs bend unevenly or you see splitting during the 'Gently bend the bow a little' check, stop, ensure you sanded both sides evenly outside the taper lines, keep the U-shaped notches only about 1/4 inch deep, and show any cracks to an adult before proceeding.
How can I adapt the steps for younger children versus older kids or teens?
For younger children have an adult pre-measure and cut the dowel at the 36-inch marks, pre-cut the notches and cut the string to about 31 inches so the child can sand, wrap the handle with masking tape, and shoot foam-tipped arrows under supervision, while older kids can do the measuring, sawing, taper-marking, and finer sanding themselves with adult oversight.
How can we extend or personalize the bow project after finishing the basic build?
To enhance and personalize the finished bow, paint or stain the dowel before final sanding, replace masking tape with leather or cloth for the handle, add decorative wrappings near the tips, and experiment with slightly different string lengths to change the bow's gentle curve and draw while always shooting foam-tipped arrows at a soft target.
Watch videos on how to build a low-power wooden toy bow
How to Make a Bow and Arrow at Home | Easy Bow Tutorial
4 Videos
How to Make a Bow and Arrow at Home | Easy Bow Tutorial
How To Make a Bow and Arrow? - Tips for Beginners

Teaching kids Archery in 4 QUICK and EASY steps. #archerytips #Tradlife
Bow Building for Beginners - Build Your First Primitive Bow
Facts about woodworking for kids
🎯 Archaeologists have found bows dating back about 8,000–10,000 years, making archery one of humankind's oldest skills.
🪵 Dowels are round wooden rods used in woodworking; hobby dowels commonly come in sizes from 6 mm (1/4") to 19 mm (3/4").
🏹 Many kids' toy bows and beginner bows have very low draw weights (often under 5–10 pounds) so they’re safe and easy for young arms.
🧸 Foam-tipped arrows greatly reduce impact and are why soft projectiles are popular for safe play, classes, and LARP-style games.
📏 The woodworker's rule 'measure twice, cut once' helps avoid wasting materials — a tiny mistake can ruin a whole dowel.
How do I build a low-power wooden toy bow with a dowel, string, and foam-tipped arrows?
What materials do I need to build a low-power wooden toy bow?
What ages is building and using a toy bow suitable for?
What safety rules should we follow when building and playing with a toy bow?
