Add arrow points
Make a paper compass rose and add arrow points for north, south, east, and west. Learn directions, measurement, and labeling skills safely.


Step-by-step guide to make a paper compass rose and add arrow points for north, south, east, and west
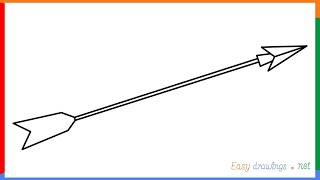
How To Draw An Arrow Step By Step 🏹 Arrow Drawing Easy
Step 1
Gather all the materials and sit at a clear table with room to work.
Step 2
Fold the paper in half lengthwise and press the crease flat.
Step 3
Fold the paper in half the other way and press the crease flat so the creases form a plus sign.
Step 4
Open the paper flat and put a small pencil dot where the two creases cross to mark the center.
Step 5
Use the ruler to draw a straight vertical line through the center dot following the crease.
Step 6
Use the ruler to draw a straight horizontal line through the center dot following the other crease.
Step 7
Measure 6 cm (about 2½ inches) from the center along each line and put a small dot at each measured point.
Step 8
At each dot draw an arrowhead pointing outward so the four arrows point away from the center.
Step 9
Draw a circle around the center where the lines meet to make the middle of the compass rose.
Step 10
Label the top arrow N the right arrow E the bottom arrow S and the left arrow W to show North East South and West.
Step 11
Colour and decorate your compass rose using your colouring materials to make it bright and easy to read.
Step 12
Take a photo and share your finished compass rose on DIY.org.
Help!?
What can we use if we don’t have a ruler or colouring supplies?
If you don't have a ruler, use the straight edge of a book or a credit card to draw the vertical and horizontal lines through the center, and swap markers, crayons, or cut-out coloured paper for colouring materials when you decorate the compass rose.
My arrows aren’t evenly placed — how do we fix that?
Re-open the paper flat, reconfirm the small pencil center dot where the creases cross, then carefully re-measure 6 cm from the center along each drawn line with the ruler before marking the dots and drawing the arrowheads so the four arrows point outward evenly.
How can we change the activity for younger or older kids?
For younger children, have an adult fold the paper and mark the 6 cm dots so they can focus on drawing arrowheads and colouring, while older kids can use a protractor to add intermediate direction points (NE, SE, etc.) and label them before decorating.
What are good ways to extend or personalise the finished compass rose?
Punch a small hole through the circle at the center, attach a brad or paper fastener with a paperclip or cardboard needle so it can spin, laminate or sticker the coloured compass rose, and then take a photo to share on DIY.org.
Watch videos on how to make a paper compass rose and add arrow points for north, south, east, and west
how to draw an arrow step by step
4 Videos
how to draw an arrow step by step
Let's draw arrow || Arrow drawing for kids || Arrow drawing step by step for beginners ||
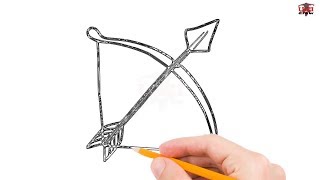
How to Draw a Bow & Arrow Step by Step Easy for Beginners/Kids - Simple Drawing Tutorial
How To Draw An Arrow Board | Draw An Arrow Board And Colour It | Easy Drawing | Drawing Steps 101
Facts about map skills and directions
🧭 The traditional compass rose has 32 points — sailors used many more directions than just N, S, E, and W!
🗺️ Medieval mapmakers often painted a fleur-de-lis or fancy symbol on the compass rose to mark north.
🧲 A magnetic compass needle lines up with Earth's magnetic field and points toward magnetic north, not always true north.
✏️ Making and labeling a compass rose is a fun way for kids to practice measurement, symbols, and map-reading skills.
🌍 Magnetic declination (the difference between magnetic north and true north) changes depending on where you are on Earth.
How do I make a paper compass rose and add arrow points for north, south, east, and west?
What materials do I need to make a paper compass rose?
What ages is making a paper compass rose suitable for?
What are the benefits and safety tips for making a paper compass rose?
