Set up your bow
Assemble a safe toy bow using a ruler, elastic band, and tape, then practice launching soft suction cup arrows to explore aim and force.


Step-by-step guide to assemble a safe toy bow and launch suction-cup arrows
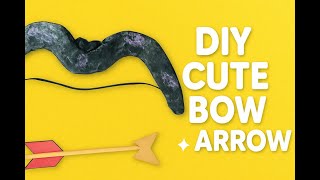
How to make Bows and Arrows, so easy even a kid can do it!
Step 1
Gather all materials and put them on a clear table or floor space.
Step 2
Ask an adult to check the shooting area and stay with you while you build and play.
Step 3
Lay the ruler flat on the table with the numbers facing up.
Step 4
Attach one end of the elastic band to one short end of the ruler and secure it with tape.
Step 5
Stretch the elastic band along the ruler and attach the other band end to the opposite short end with tape.
Step 6
Reinforce both taped ends with extra pieces of tape so the band cannot slip.
Step 7
Place your soft target a few big steps away in the open space away from people and breakables.
Step 8
Put a suction cup arrow on the elastic band at the center of the ruler so it rests on the band.
Step 9
Hold the ruler handle steady with your non dominant hand.
Step 10
Pull the arrow back to about half the ruler length with your dominant hand to try a gentle shot.
Step 11
Aim the arrow at the target while keeping the ruler steady.
Step 12
Release the arrow to launch it toward the target.
Step 13
Repeat the shot using a stronger pull to compare how far and how straight the arrow flies.
Step 14
Watch where each arrow lands to explore how pull strength changed distance and aim.
Step 15
Share a photo or video of your finished bow and your best target hit on DIY.org.
Help!?
What can we use if we don't have a suction cup arrow or the exact elastic band called for in the instructions?
Use a soft pom-pom or a rolled paper tip taped to a short straw as a substitute suction cup arrow and replace the elastic band with a thick hair tie or a cut strip of a bicycle inner tube attached and taped to the ruler ends.
The elastic band keeps slipping off the ruler ends or the arrow won't stay centered—how do we fix that?
Follow the instructions to reinforce both taped band ends with several tight wraps of tape and center the suction cup arrow on the elastic band at the middle of the ruler so it rests securely before each shot.
How should we change the activity for younger kids or older kids?
For younger kids have an adult hold the ruler handle, limit pulls to about half the ruler length, and use a closer soft target a few big steps away, while older kids can pull to full ruler length, move the target farther, and record distances for comparison.
How can we make the bow activity more fun or challenging after the basic shots?
Personalize and improve the setup by decorating the ruler and arrows, adding tape sight marks on the ruler, trying different soft targets, and keeping a chart of how pull strength changed distance and aim.
Watch videos on how to assemble a safe toy bow and launch suction-cup arrows
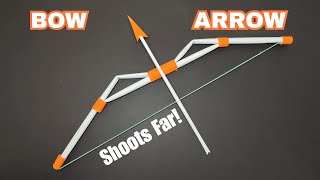
How To Make Mini Bow & Arrow At Home | Easy Craft For Kids | Fun Activity For Children 🏹🎯
4 Videos
How To Make Mini Bow & Arrow At Home | Easy Craft For Kids | Fun Activity For Children 🏹🎯
DIY Paper Bow & Arrow || Make a Real Paper Bow & Arrow - It's Easier Than You Think!
🏹 diy bow and arrow craft for kids #bowandarrow #kids #craft
DIY Bow and Arrow | Easy Craft for Kids | Fun Handmade Craft at Home #creativeideas #diy #diycrafts
Facts about simple mechanics and toy safety
🏹 Archery has been practiced for thousands of years — the earliest evidence of bow and arrow use goes back around 10,000 years!
🪢 A rubber band stores elastic potential energy when you stretch it, then converts that into kinetic energy when you release it.
🎯 Suction cup tips stick to smooth surfaces by creating a tiny vacuum, so they’re great for safe, reusable toy arrows.
📏 Even small changes in angle or pull length make big differences in where a projectile lands — that’s why practice helps your aim!
⚠️ Suction-cup toy bows are much safer than real bows, but you should still never aim at people’s faces or at animals.
How do I assemble and use a safe toy bow with a ruler, elastic band, and tape?
What materials do I need to make a safe toy bow and suction-cup arrows?
What ages is this toy bow activity suitable for?
What safety tips and benefits should I know before trying this bow activity with my child?
