Make a quiver
Make a wearable quiver for toy or foam arrows using cardboard, fabric, and straps; measure, cut, assemble, and decorate for safe imaginative play.


Step-by-step guide to make a wearable quiver
12 yr old makes a Leather Arrow Quiver
Step 1
Measure your longest toy or foam arrow and write down the length.
Step 2
Use a ruler to draw a rectangle on the cardboard that matches the arrow length plus 1 inch for overlap.
Step 3
Cut out the rectangle from the cardboard with scissors.
Step 4
Roll the cardboard rectangle into a tube shape.
Step 5
Tape or glue the overlapping seam to hold the tube closed.
Step 6
Cut a circle from extra cardboard the same diameter as the tube opening.
Step 7
Glue the cardboard circle to one end of the tube to make a bottom and hold it until the glue sets.
Step 8
Cut a piece of fabric large enough to wrap around the tube with one inch extra at the top and bottom.
Step 9
Wrap the fabric around the tube and glue or tape the edges to secure the covering.
Step 10
Make two small holes near the top on opposite sides of the tube for the strap.
Step 11
Thread the ribbon or strap material through the holes.
Step 12
Tie knots inside the tube at the strap ends to keep the strap from slipping out.
Step 13
Decorate the quiver with colouring materials stickers or fabric shapes however you like.
Step 14
Share your finished quiver on DIY.org.
Help!?
If I don't have corrugated cardboard, what can I use instead for the quiver tube?
Use a sturdy cereal-box panel or poster board cut to the same arrow-length rectangle and roll and tape it following the 'draw a rectangle' and 'roll the cardboard rectangle into a tube shape' steps, then reinforce the seam with extra tape.
My tube keeps unrolling or the seam comes apart — how can I fix that?
Reopen the tube, add a strip of strong packing tape along the overlapping seam and on the inside or run a bead of craft glue on the overlap and hold until set as described in 'Tape or glue the overlapping seam to hold the tube closed'.
How can I adapt this activity for a 4-year-old versus a 10-year-old?
For a 4-year-old have an adult pre-measure and pre-cut the rectangle, circle, and punch the strap holes so the child can wrap the fabric and decorate, while a 10-year-old can measure, draw, cut, glue the seam, make the holes, and tie the strap independently following each step.
What are simple ways to personalize or upgrade the finished quiver beyond stickers?
Before wrapping the tube, glue a fabric lining and foam padding to the glued bottom, then add sewn or glued cardboard pockets or elastic loops to the fabric cover and decorate per the 'Decorate the quiver' step for extra storage and flair.
Watch videos on how to make a wearable quiver
How to Make BROADHEAD ARROWS and PVC QUIVER!! (easy peasy lemon squeezy)
4 Videos
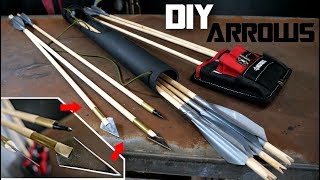
How to Make BROADHEAD ARROWS and PVC QUIVER!! (easy peasy lemon squeezy)
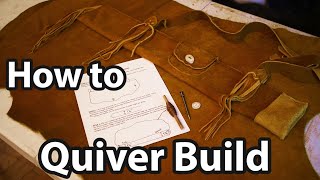
How to Build an Arrow Quiver
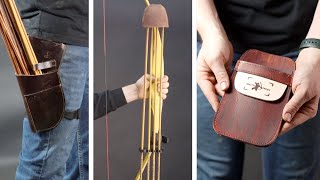
How To Chose The Right Archery Quiver For Your Needs.
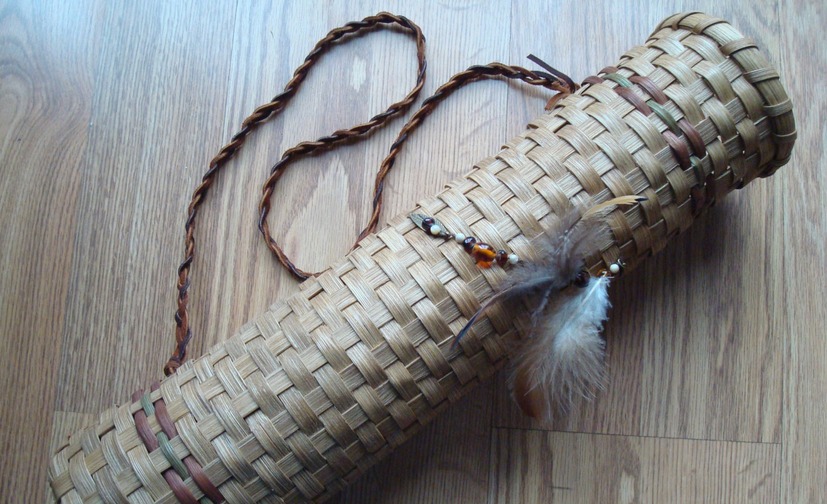
How to make a primitive ARROW QUIVER from Tree Bark - bushcraft style
Facts about fabric and cardboard crafts for kids
🏹 Quivers have been used for thousands of years — archaeologists find them in many ancient cultures from hunting communities to armies.
📦 Doubling up cardboard or rolling it into tubes can make a lightweight quiver nearly as sturdy as thin wood for costume or toy use.
🧵 Simple hand stitches (like a running stitch or whipstitch) or fabric glue can securely attach straps without a sewing machine.
♻️ Making toys from recycled cardboard and old fabric is eco-friendly and gives materials a fun second life.
🦺 Using foam-tipped arrows and a soft, well-designed quiver keeps imaginative play much safer for kids.
How do I make a wearable quiver for toy arrows?
What materials do I need to make a cardboard and fabric quiver?
What ages is making a wearable quiver suitable for?
What safety tips, benefits, or variations should I know for this quiver project?
