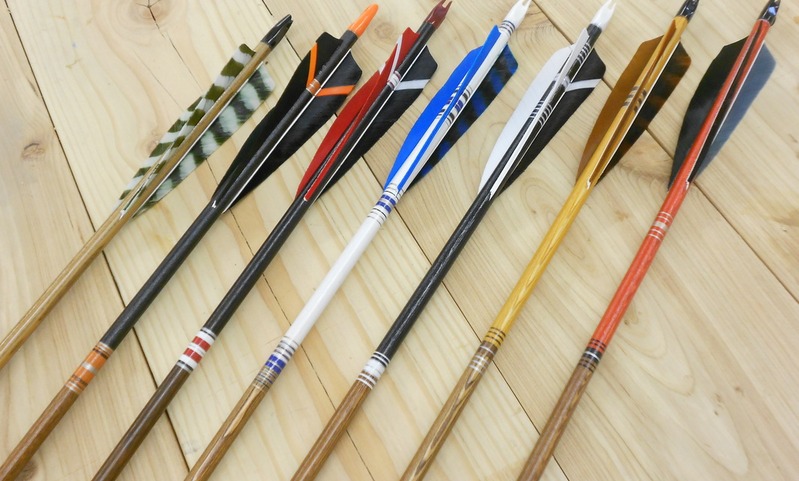
Crest arrows
Design and build cardboard arrows with crest-shaped fletching, decorate them, then test and compare flight to learn symmetry, balance, and aerodynamics.


Step-by-step guide to design and build cardboard crest arrows
RESIN AND CRAYON CRAFTS FOR EVERYBODY
Step 1
Gather all your materials and set them on a clear table so you can see everything.
Step 2
Draw a crest shaped template labeled A on the cardboard about 5 cm tall and 4 cm wide.
Step 3
Draw a different crest shaped template labeled B on the cardboard so it looks visibly different from A.
Step 4
Cut out both crest templates from the cardboard carefully.
Step 5
Trace two copies of template A and two copies of template B onto the cardboard.
Step 6
Cut out the four crest shaped fletchings you traced.
Step 7
Decorate each pair of fletchings so the two A pieces match and the two B pieces match.
Step 8
Attach the two A fletchings to one shaft near the back using tape or glue so they sit opposite each other.
Step 9
Attach the two B fletchings to the other shaft near the back using tape or glue so they sit opposite each other.
Step 10
Make a nock on each shaft by wrapping a small bit of tape around the back end leaving a tiny groove for your finger.
Step 11
Find and mark the balance point on both arrows by balancing each on your finger and marking the spot with a pencil.
Step 12
Take Arrow A to an open safe space and gently launch it like a glider while watching how it flies.
Step 13
Take Arrow B to the same open space and gently launch it while watching how it flies.
Step 14
Compare which arrow flew straighter farther or spun more and decide which crest shape seemed more stable.
Step 15
Share photos and what you learned about symmetry balance and aerodynamics of your arrows on DIY.org
Help!?
What can we use if we don't have cardboard, shafts, or tape?
Use cereal-box or shoebox cardboard for the crest templates, pencils/chopsticks/straws as the arrow shafts, and masking tape or a glue stick in Step 8–9 to attach the fletchings and make the nock.
My arrow wobbles or veers when I launch it — what should I check and fix?
Check that each pair of A or B fletchings are matched and taped opposite each other per Steps 6–9, re-find and adjust the balance point marked in Step 10, and add or remove a tiny piece of tape near the tip if one side is heavier before re-testing in Steps 11–12.
How can I change this activity for younger or older kids?
For younger children (3–6) have an adult pre-cut larger crest templates and use straws and glue sticks for Steps 2–9, while older kids (10+) can precisely measure the balance point in Step 10 and experiment with different crest shapes and tip weights during Steps 11–13 to study aerodynamics.
How can we extend or personalize the crest arrows once they're flying?
Decorate crests with paint or markers per Step 5, add removable clay weights to the arrow tip to compare flight distances in Steps 11–12, try new crest shapes in Steps 2–4, and then share photos and your symmetry/balance findings on DIY.org as suggested in the final step.
Watch videos on how to design and build cardboard crest arrows
Create With Resin, Clay And Glue Gun
4 Videos

Create With Resin, Clay And Glue Gun

Colourful DIY`s And Crafts With Glue Gun And Resin

Incredible Crafts You Can Do With Resin, 3D Pen and Glue Gun
Creative Crafts With Resin, Clay and Glue Gun
Facts about aerodynamics for kids
🏹 Humans have used arrows for thousands of years — some archaeological arrowheads are over 9,000 years old.
🪶 Fletching (feathers or plastic vanes) makes arrows spin and stabilizes flight; small changes to fletching can dramatically change how an arrow flies.
⚖️ Moving an arrow's center of mass forward (a heavier tip) usually makes it fly straighter and resist tumbling.
🌬️ Aerodynamics is why tiny asymmetries or rough edges create drag and turbulence that make arrows wobble or curve.
📦 Corrugated cardboard gets strength from its fluted layer, making it a lightweight, stiff material great for DIY fletching and prototypes.
How do I build and test cardboard crest arrows step by step?
What materials do I need to make cardboard crest arrows?
What ages is the cardboard crest arrows activity suitable for?
What are the learning benefits and safety tips for making crest arrows?
