Make a model of dna
Build a colorful 3D DNA model using pipe cleaners and beads. Twist strands, pair bases correctly, and learn about genetic structure.


Step-by-step guide to make a model of DNA
DIY DNA Working Model | EASY Science Project | 3D DNA Structure
Step 1
Gather all the materials and clear a flat workspace to build on.
Step 2
Choose which bead color will mean A which will mean T which will mean C which will mean G and remember A pairs with T and C pairs with G.
Step 3
Lay two long pipe cleaners parallel about one inch apart to be the two sugar phosphate backbones.
Step 4
Cut 10 to 14 short pipe cleaner pieces about two inches long to make the rungs of the ladder.
Step 5
Thread two beads onto each short piece following your color pairing so each rung shows a correct base pair.
Step 6
Attach the top rung by wrapping each short piece end once around one backbone and twisting the ends to hold it in place.
Step 7
Add the rest of the rungs down the length of the backbones spaced evenly about one centimeter apart and twist each end to secure.
Step 8
Gently twist the whole ladder from one end to turn it into a spiral and form the double helix shape.
Step 9
Use clear tape to tuck any sharp ends and check that all beads and rungs are held firmly.
Step 10
Share your finished DNA model on DIY.org
Help!?
What can I use if I can't find pipe cleaners or small beads?
Use two flexible straws or strips of thin cardboard for the two sugar-phosphate backbones and replace small beads with punched paper circles, pasta tubes, or buttons threaded onto short craft wire or cut straw pieces used as the two-inch rungs.
My rungs keep slipping and beads fall off—how do I stop that?
Follow the instruction to wrap each short piece end once around the backbone and twist the ends tightly, then trim and cover sharp bits with clear tape and optionally add a drop of craft glue to bead holes before securing each rung.
How can I change this activity for different ages?
For preschoolers make 4–6 rungs and pre-thread beads, for elementary kids follow the full steps with 10–14 two-inch rungs spaced about 1 cm apart to practice pairing, and for teens increase the ladder length, label base sequences, and explore helix turns when you twist the ladder.
How can we extend or personalize the finished DNA model?
Add masking-tape labels for A/T/C/G to your chosen bead colors, glue the helix to cardboard for display, create a 'mutation' by swapping one paired rung, and then photograph or share your finished DNA model on DIY.org.
Watch videos on how to make a model of DNA
How to Make Easy DNA Model for School | Easy Styrofoam 3D Double Helix DIY Tutorial
4 Videos
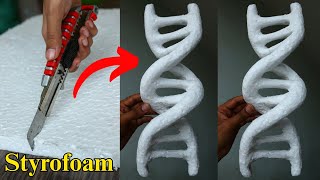
How to Make Easy DNA Model for School | Easy Styrofoam 3D Double Helix DIY Tutorial
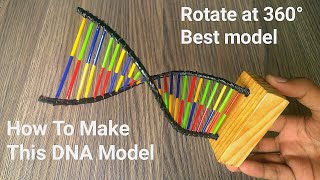
How to make DNA model very easy at home | 3d rotate DNA model ideas for science project DIY
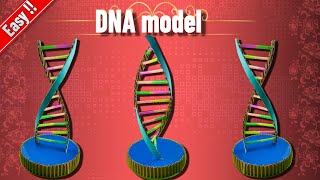
How to Craft a Stunning Cardboard DNA Model | Ultimate DIY Science Project Guide!
Easy! How to make a DNA Model from ice cream sticks (science project)
Facts about DNA and genetics
🧬 A single human cell's DNA, if uncoiled, would be about 2 meters (6.5 feet) long!
🧪 The human genome contains roughly 3 billion base pairs — that's a massive instruction book!
🎯 DNA bases pair like puzzle pieces: Adenine (A) pairs with Thymine (T), and Cytosine (C) pairs with Guanine (G).
🔬 The double helix shape was proposed by Watson and Crick in 1953 using crucial X-ray images from Rosalind Franklin.
🛡️ When DNA is copied, cells proofread their work so mistakes are very rare — about 1 error per billion bases.
How do you make a 3D DNA model with pipe cleaners and beads?
What materials do I need to build a pipe cleaner and bead DNA model?
What ages is this DNA model activity suitable for?
What are the benefits of making a DNA model and how can we vary the project?
