Produce maple syrup
Collect sap from maple trees, filter and boil it down with adult supervision to make natural maple syrup, learning about trees and evaporation.


Step-by-step guide to produce maple syrup
Learn About Making Maple Syrup! | Caitie's Classroom Field Trip | Super Simple Play
Step 1
Choose a healthy maple tree that is at least 10 inches in diameter.
Step 2
Ask an adult to check the tree and get permission to tap it.
Step 3
Measure and mark a spot 2 to 4 feet above the ground on the trunk.
Step 4
Have an adult drill a clean hole 1.5 to 2 inches deep with a 7/16-inch bit at a slight upward angle.
Step 5
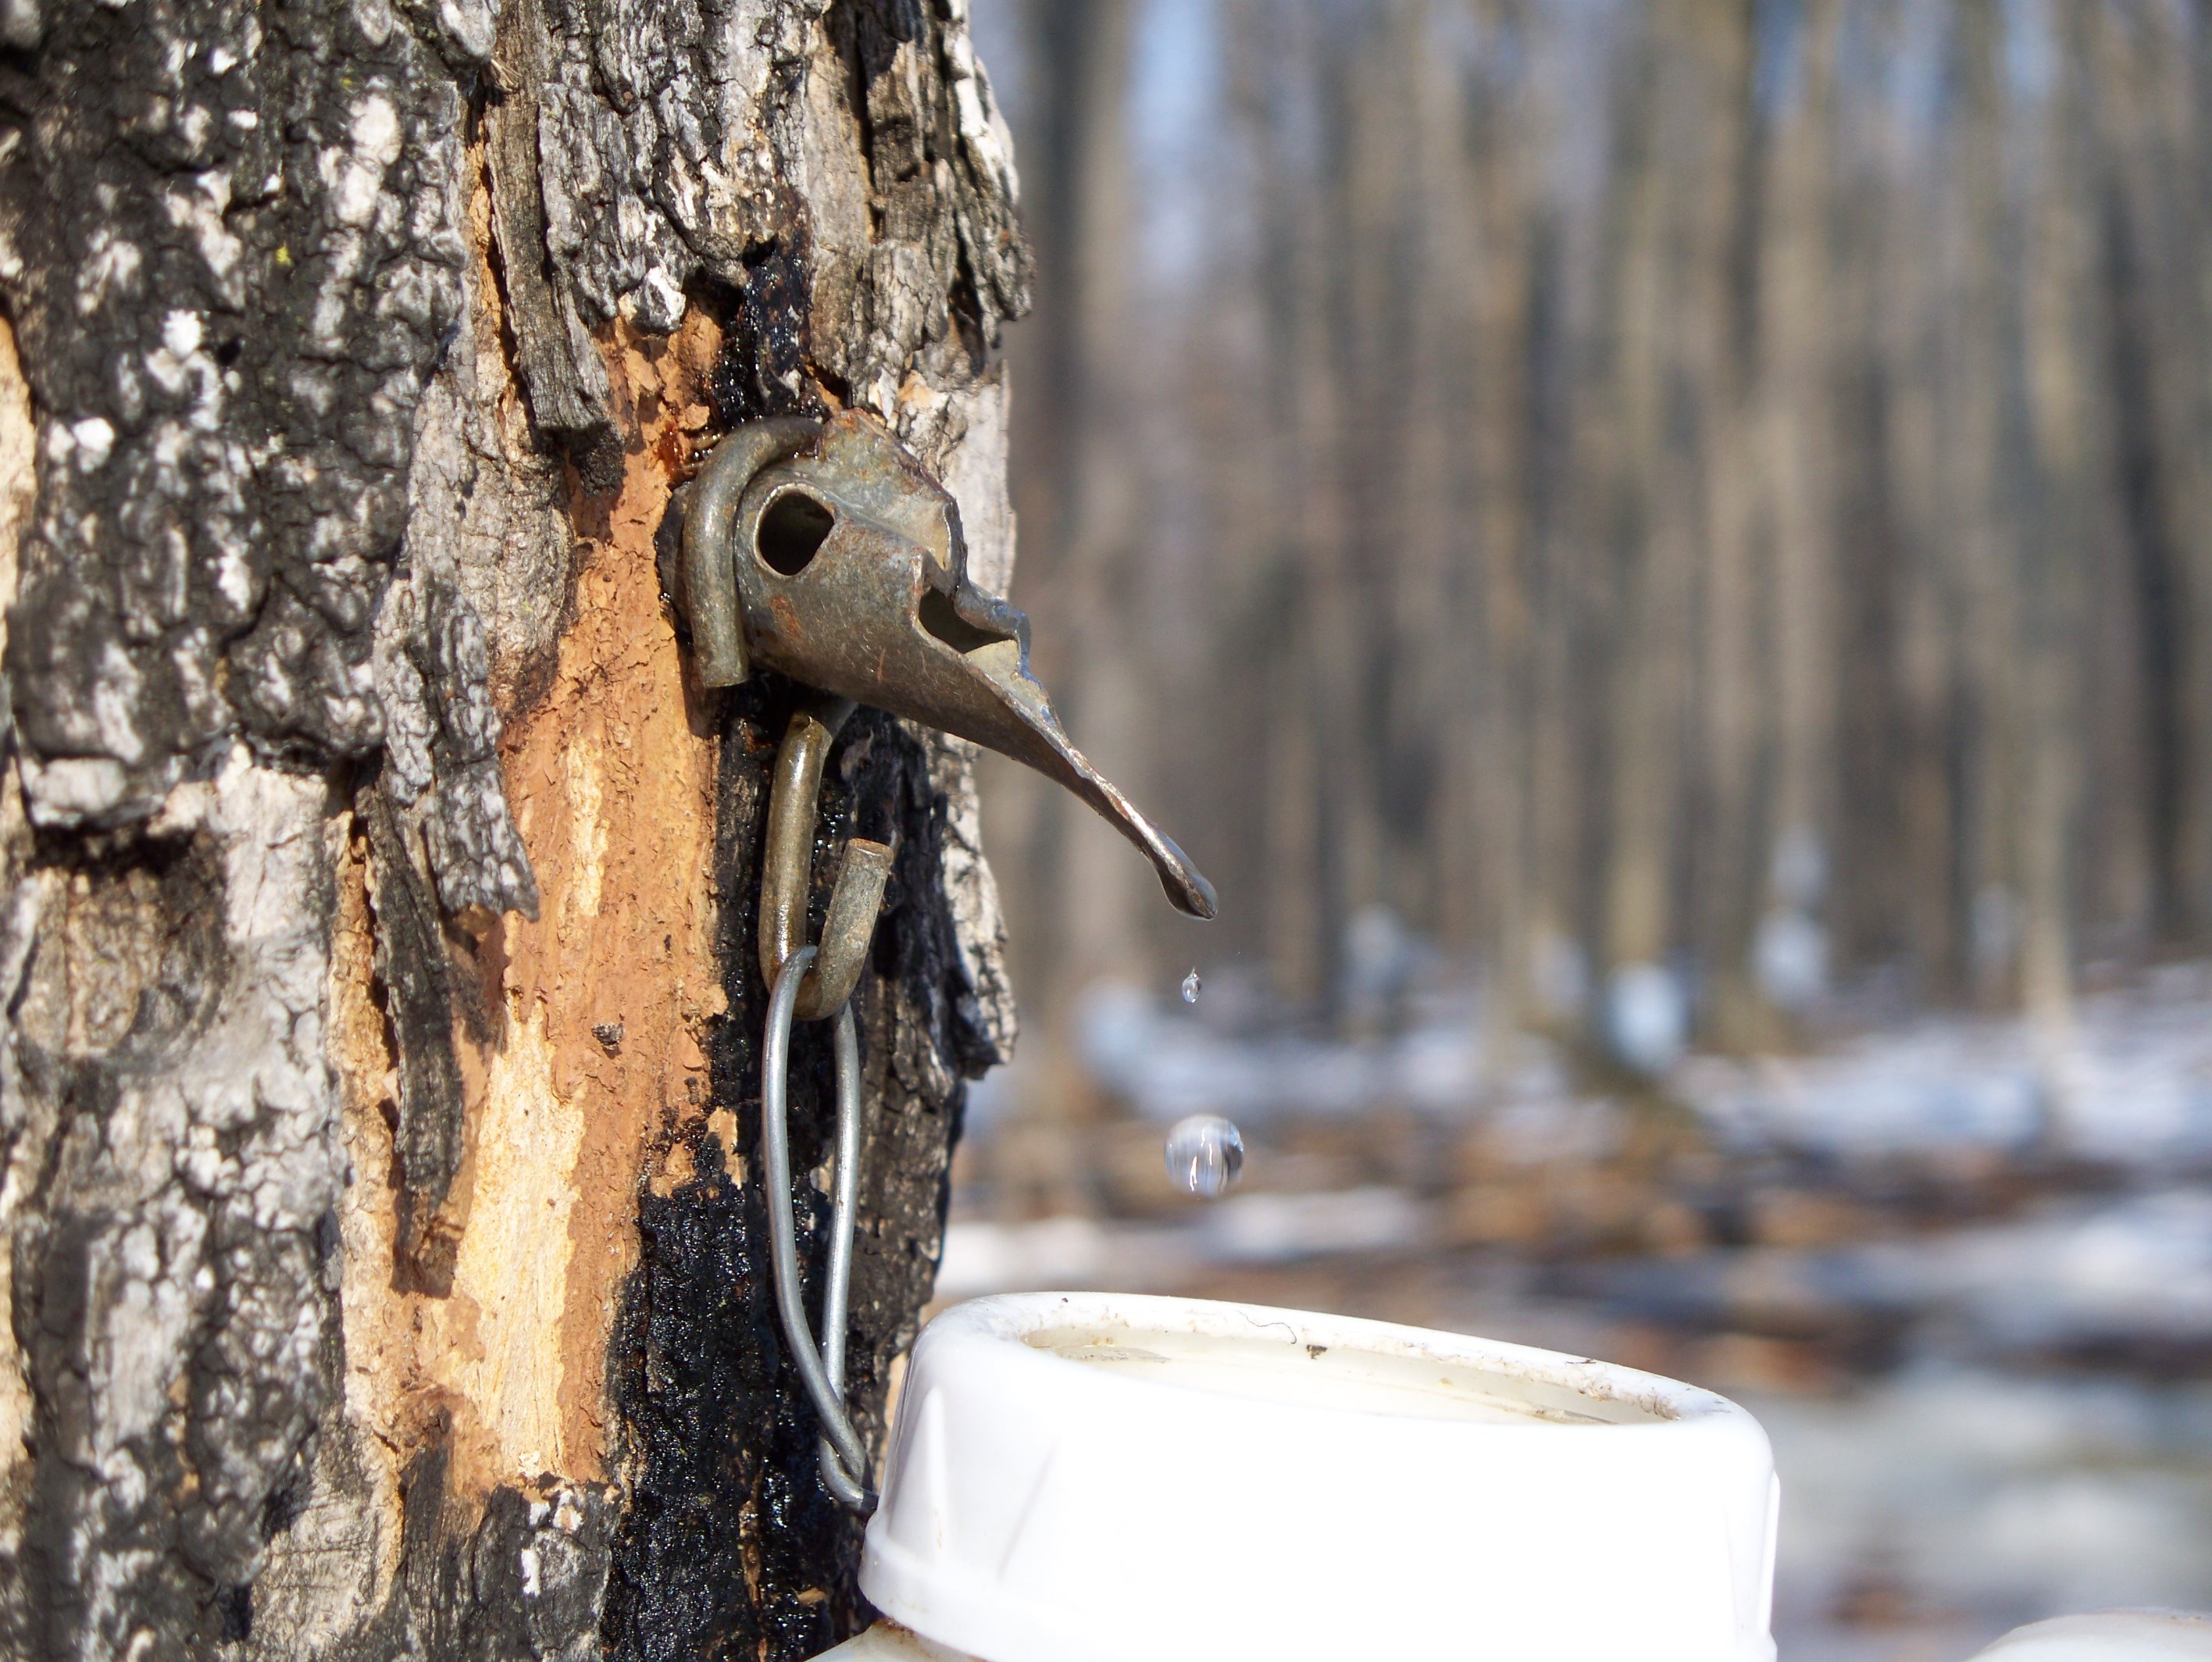
Have an adult gently tap a food-grade spile into the hole until it fits snugly.
Step 6
Hang a clean food-grade bucket with a lid under the spile so sap can drip in and stay clean.
Step 7
Every day, pour the sap from the bucket into a clean container and keep the sap cool until you have enough.
Step 8
Filter the collected sap through cheesecloth or a coffee filter into a large stainless-steel pot.
Step 9
With an adult, bring the filtered sap to a steady rolling boil on your heat source.
Step 10
While boiling, have the adult skim any foam off the surface with a spoon.
Step 11
Keep boiling and watch the thermometer until it reaches about 219°F (104°C) or about 7°F above your local boiling point, then turn off the heat.
Step 12
Let the syrup cool slightly and test thickness by placing a small spoonful on a cold plate to see if it coats the spoon.
Step 13
With an adult's help, pour the hot syrup into clean jars leaving a little space at the top.
Step 14
Seal and label the jars with the date and store them in the refrigerator or freezer.
Step 15
Share a photo and story of your finished maple syrup on DIY.org.
Help!?
If I can't find a 7/16-inch drill bit or a food-grade spile, what can we substitute?
Have an adult use the nearest-size drill bit within about 1/32 inch and a certified food-grade spout or food-grade silicone tubing fitted snugly into the 1.5–2 inch hole so sap can drip into the food-grade bucket.
Sap isn't flowing into the bucket — what should we check or fix?
Check that the adult drilled a clean 1.5–2 inch hole at a slight upward angle with the 7/16-inch bit, that the food-grade spile is tapped in snugly (not loose or clogged), and that the tree is healthy and being tapped during sap-flow conditions.
How can we adapt the activity for different age groups?
Preschoolers can help spot and mark a healthy maple 2–4 feet up and hang the clean food-grade bucket, school-age kids can measure, filter sap through cheesecloth or a coffee filter, and teens can help monitor the boil to about 219°F (104°C) and pour hot syrup into jars with an adult.
How can we enhance or personalize our homemade maple syrup project?
Experiment with syrup thickness by testing a spoonful on a cold plate, add small flavored batches (like a splash of vanilla or a cinnamon stick after boiling), and decorate and label the sealed jars with the date before sharing your photo and story on DIY.org.
Watch videos on how to produce maple syrup
How to Make Maple Syrup at Home With ONE Tree | Backyard Tapping Guide for Beginners
4 Videos
How to Make Maple Syrup at Home With ONE Tree | Backyard Tapping Guide for Beginners

Ever Wonder How Maple Syrup Is Made? | Highlights Kids
How to Make Maple Syrup at Home | Collecting, Boiling & Filtering Sap

How Maple Syrup Is Made 🍁 | Science for Kids | Tree Tapping & Boiling Sap Explained! Sweet Science!
Facts about maple sugaring
🍁 Sugar maple trees store starch in winter that turns into sugar in spring — that sweetens the sap!
💧 It takes about 40 liters (around 10 gallons) of sap to make 1 liter (about 1 quart) of maple syrup — roughly a 40:1 ratio.
❄️ Sap flows best during freeze–thaw cycles: cold nights below freezing and warmer days in late winter/early spring.
🔥 Boiling evaporates water out of the sap; finished maple syrup is concentrated to about 66% sugar.
🍯 Indigenous peoples of northeastern North America were making maple syrup long before European settlers learned the methods.
How do you make maple syrup with kids?
What materials do I need to make maple syrup?
What ages is making maple syrup suitable for?
Safety tips for making maple syrup with children
