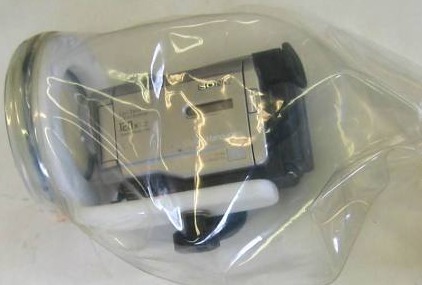
Build a waterproof camera case
Build a waterproof camera case using a clear plastic container, silicone sealant, foam padding, and tape, protecting a small camera with adult help.


Step-by-step guide to build a waterproof camera case
How to make Pinhole Camera easily at home 100% working| Akhil's collection
Step 1
Gather all materials and bring them to a clean flat workspace.
Step 2
Wipe the inside and outside of the container and the lid dry with a cloth.
Step 3
With an adult, cut a piece of foam to fit snugly in the bottom of the container.
Step 4
Press the cut foam piece firmly into the bottom of the container.
Step 5
Place the camera on the foam with the lens facing the clearest side of the container.
Step 6
Cut small foam pieces and tuck them around the camera so it cannot move.
Step 7
Close the lid gently to check that the camera sits flat and the lid can close without bulging.
Step 8
Open the lid and apply a continuous bead of silicone sealant around the lid rim avoiding the clear wall where the lens will face.
Step 9
Press the lid onto the container firmly so the silicone spreads and makes a seal.
Step 10
Wrap strong tape around the seam where the lid meets the container to hold the lid closed while the silicone cures.
Step 11
Let the silicone cure completely for the time listed on the tube before touching the seal.
Step 12
Place a dry paper towel inside the empty sealed case and close it for a leak test.
Step 13
With an adult, gently lower the sealed empty case into a bowl of water for 30 seconds then lift it out.
Step 14
If the paper towel stayed dry ask an adult to help you place the camera inside the case and close it securely.
Step 15
Share your finished waterproof camera case on DIY.org.
Help!?
Can I substitute materials if I can't find silicone sealant or foam?
Use aquarium-safe or marine-grade silicone in place of regular silicone sealant, and substitute closed-cell camping foam or layers of bubble wrap cut to fit the bottom and sides instead of craft foam.
What should I do if the camera moves inside the case or the paper towel gets wet during the leak test?
If the camera shifts, trim and add extra small foam pieces and press them firmly (steps 3–5), and if the paper towel becomes wet after the 30-second water test, let the silicone cure fully, remove the lid, reapply a continuous bead of silicone around the rim avoiding the clear wall, press the lid on, wrap strong tape tightly, and repeat the leak test with an adult.
How can I adapt this activity for different ages?
For preschoolers, have an adult do the cutting and silicone steps while the child arranges foam pieces and closes the lid; for elementary kids, let them cut foam with safety scissors and help apply tape; and for teens, allow supervised silicone application, precision trimming, and performing the 30-second water leak test with an adult.
How can we improve or personalize our waterproof camera case after following the instructions?
To enhance it, add a silica gel packet inside before sealing (instead of the paper towel), glue a small foam or plastic mount so the camera sits centered facing the clearest side, attach a taped lanyard or flotation collar to the outside, and decorate the case before sharing it on DIY.org.
Watch videos on how to build a waterproof camera case
Budget Friendly Waterproof Digital Camera - Field Test/Review
3 Videos
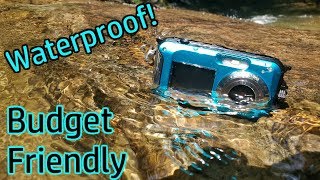
Budget Friendly Waterproof Digital Camera - Field Test/Review
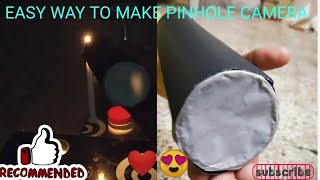
HOW TO MAKE A PINHOLE CAMERA AT HOME IN EASY WAY || PINHOLE CAMERA FOR SCHOOL PROJECT || DIY📷📸
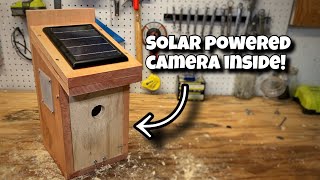
EASIEST DIY Birdhouse with Solar Powered Wifi Camera inside, Every Step Explained
Facts about waterproofing and electronics protection for kids
🐠 Underwater photography lets you capture colorful reefs and weird sea creatures using special housings that keep cameras dry.
🧴 Silicone sealant stays flexible after it cures, so a silicone bead can keep a seal watertight through hot sun and cold water.
🧽 Closed-cell foam doesn't absorb water and even floats, which makes it perfect padding for a waterproof camera case.
📦 Many clear protective containers are made from impact-resistant polycarbonate, a plastic often used for durable housings.
🔎 Tiny gaps are how water sneaks in — always test a homemade case with a paper towel inside before putting your camera in water.
How do you build a waterproof camera case using a clear plastic container?
What materials do I need to make a waterproof camera case?
What ages is building a waterproof camera case suitable for?
What safety tips should I follow when making a waterproof camera case?
