Build a buoy
Make a small floating buoy from a plastic bottle, foam, and weights, test buoyancy and stability in water, and record observations.


Step-by-step guide to build a buoy
Science at Home: Principle of Buoyancy Experiment
Step 1
Make sure the plastic bottle is empty and dry.
Step 2
Cut the foam into strips or pieces that will wrap around the bottle.
Step 3
Wrap the foam pieces around the middle or sides of the bottle.
Step 4
Secure the foam to the bottle using tape so it does not fall off.
Step 5
Drop a few small weights into the bottom of the bottle to add ballast.
Step 6
Screw the cap back onto the bottle tightly.
Step 7
Tape the cap shut so the weights cannot fall out.
Step 8
Gently place the bottle in the tub of water to see if it floats.
Step 9
Observe how the buoy floats and notice if it tilts or stays upright.
Step 10
Write your first observations in the notebook (how much is under water and whether it rocks).
Step 11
Add or remove one small weight to try to make the buoy steadier.
Step 12
Put the bottle back in the water to test the change.
Step 13
Write what changed in the notebook and note which setup was most stable.
Step 14
Share a photo and your notes about your finished buoy on DIY.org.
Help!?
What can we use if craft foam strips are hard to find?
Use folded kitchen sponge, bubble wrap, or cut pool noodle strips wrapped around the plastic bottle and secured with tape as substitutes for the foam pieces.
The foam keeps sliding off or the bottle sinks—what should we try?
Wrap the foam around the middle or sides of the bottle exactly as the instructions say, secure it tightly with tape, add or remove small weights for proper ballast, and tape the cap shut so the weights can't shift.
How can we adapt the activity for younger or older children?
For younger kids have an adult pre-cut foam and help tape pieces to the bottle while the child drops in weights and records simple observations in the notebook, and for older kids have them test different foam placements, measure how much is under water, and compare which setup is most stable.
How can we extend or personalize the buoy project after testing?
Decorate or paint the plastic bottle, experiment with two bottles joined together or different foam shapes to improve steadiness, take photos, and share your detailed notes and results on DIY.org.
Watch videos on how to build a buoy
5 Top New Science Project Ideas for School - Easy Science Project Compilation
4 Videos
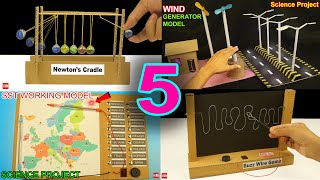
5 Top New Science Project Ideas for School - Easy Science Project Compilation
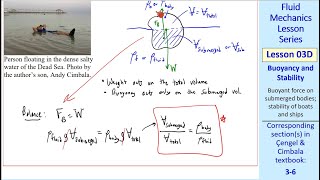
Fluid Mechanics Lesson 03D: Buoyancy and Stability
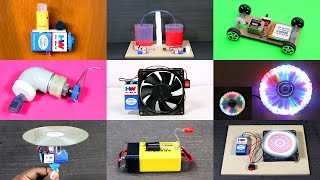
Top 10 Simple School Science Project Ideas for Science Exhibition - Part 2

How to build a Project SeaSense sensor buoy, an overview.
Facts about buoyancy and flotation
🧪 Archimedes figured out buoyancy when he noticed water rise in his bath — that's where “Eureka!” comes from.
🛟 Buoys come in bright colors and many shapes to mark safe routes, hazards, and anchor points for boats.
♻️ An empty plastic bottle floats because it traps air, which makes it less dense than water — perfect for DIY buoys!
⚖️ Putting weight low and centered on a buoy makes it more stable; weight placed high can make it tip over.
🌊 Scientists use huge instrumented buoys to track waves, weather, and even ocean temperatures for climate studies.
How do you build a small floating buoy with a plastic bottle?
What materials do I need to make a floating buoy from a plastic bottle and foam?
What ages is this buoy-building activity suitable for?
What safety tips and variations can we try when building and testing a buoy?
