Build a water balloon launcher
Build a water balloon launcher from a plastic spoon, rubber bands, and string. Aim, measure distance, and practice safe play with adult supervision.


Step-by-step guide to build a water balloon launcher
How Do You Make A Water Balloon Launcher? - The Family Getaway Guide
Step 1
Gather all the Materials Needed on a table so everything is ready.
Step 2
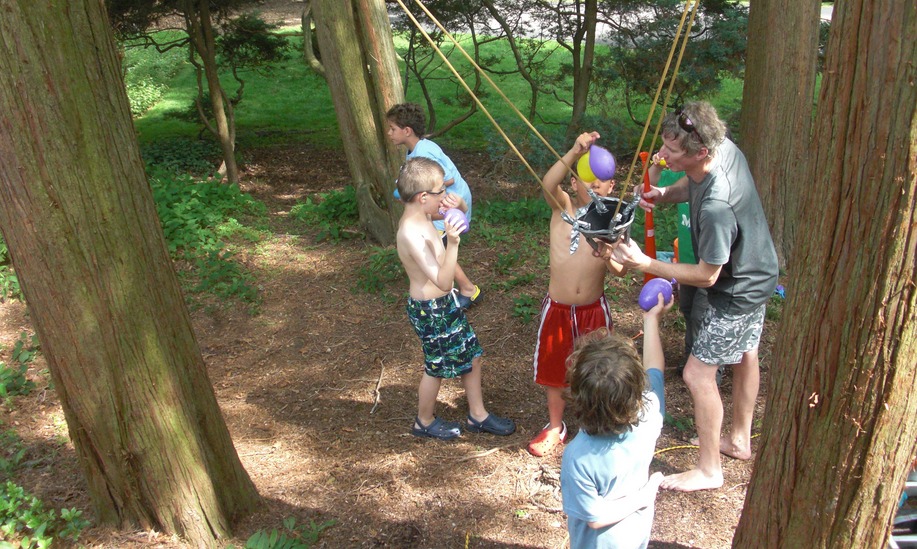
Ask an adult to help you with the project and to stay with you while you play.
Step 3
With the adult pick a safe open outdoor space where you will use the launcher.
Step 4
Fill one water balloon from the bucket or bowl of water and tie it closed tightly.
Step 5
Place the spoon bowl on the end of the stick and wrap two or more rubber bands tightly around the spoon handle and stick to secure the spoon.
Step 6
Link three rubber bands together by hooking them end to end to make a longer stretchy launch band.
Step 7
Tie one end of the string around the stick about 5 centimeters from the spoon to make a small anchor knot.
Step 8
Loop one end of the linked stretchy rubber band through the string anchor and fasten it so it will not slip off.
Step 9
Hook the other end of the stretchy rubber band around the rim or handle of the spoon so it will pull the spoon forward when stretched.
Step 10
Place the tied water balloon gently in the spoon bowl so it sits snugly.
Step 11
Pull the spoon back with your hand to stretch the rubber band and hold it steady.
Step 12
Aim the spoon low at the open ground in the safe area while the adult watches.
Step 13
Release the spoon to launch the water balloon toward the ground target.
Step 14
Measure how far the balloon traveled using the measuring tape or ruler and mark the distance with the marker.
Step 15
Share your finished water balloon launcher and the distance it launched on DIY.org
Help!?
What can we use instead of rubber bands or a spoon if we can't find them?
If you can't find rubber bands or a spoon, use 2–3 elastic hair ties or a short piece of surgical tubing linked together as the stretchy launch band and swap the spoon for a sturdy plastic ladle or small wooden scoop while using a broom handle or wooden dowel as the stick.
What should we do if the rubber bands keep slipping or the water balloon pops before launch?
If the stretchy rubber bands slip off the string anchor or the balloon bursts, tighten the anchor knot about 5 centimeters from the spoon, add an extra rubber band wrapped around the spoon handle and stick to secure the spoon, and avoid overfilling the water balloon so it sits snugly in the spoon bowl.
How can we adapt this activity for younger children or older kids?
For younger children have the adult handle the pulling and releasing steps with only one linked rubber band and a half-filled water balloon for lower power, while older kids can assemble the spoon and linked-band launcher themselves, experiment with more linked rubber bands, and accurately measure distances with the measuring tape or ruler.
How can we improve or personalize the water balloon launcher beyond the basic build?
Personalize the launcher by decorating the stick and spoon with waterproof paint or tape, add a small cardboard sight near the 5-centimeter anchor knot for better aiming, set up numbered ground targets and mark distances with the marker and measuring tape or ruler, then share results on DIY.org.
Watch videos on how to build a water balloon launcher
DIY Water Balloon Launcher!
4 Videos
DIY Water Balloon Launcher!
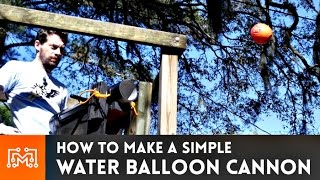
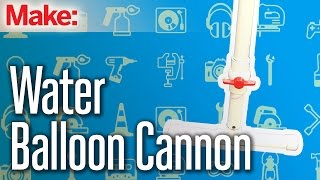
Water Balloon Cannon // How-To | I Like To Make Stuff
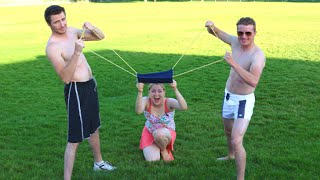
How To Make A Water Balloon Launcher! Over 220 Feet!
Weekend Project: Water Balloon Cannon
Facts about DIY outdoor toys and safe play
🎯 Projectile motion: launch angle and speed decide how far a water balloon flies — in a vacuum the theoretical best angle for max range is 45°.
🧵 Rubber bands were patented for commercial use by Stephen Perry in 1845 — they act like simple energy-storing springs for your launcher.
🎈 Water balloons use thin latex so they burst on impact and release water quickly, which makes them fun but also messier than solid projectiles.
🏺 Catapults are ancient: Greeks and Romans used torsion-powered versions to fling heavy stones and supplies during sieges.
🛡️ Safety first: always use adult supervision, never aim at faces or animals, and set a clear play zone before launching.
How do you build and use a water balloon launcher?
What materials do I need for a DIY water balloon launcher?
What ages is a water balloon launcher suitable for?
How can we stay safe and make the activity fun?
