Go fishing
Make a simple magnetic fishing rod and fish from paper or cardboard, then catch them to learn about magnets, counting, and hand-eye coordination.

Step-by-step guide to make a simple magnetic fishing rod and paper fish
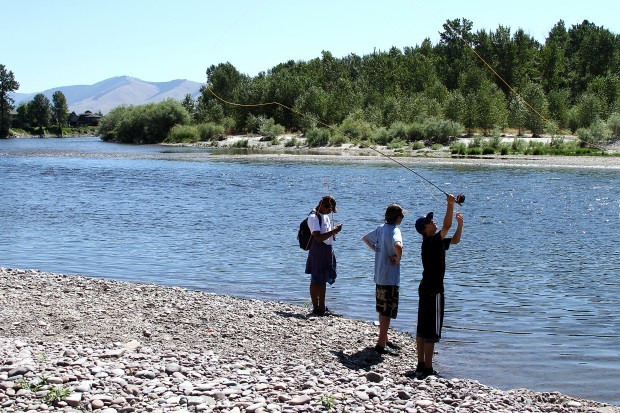
How To Teach A Kid To Fish For The First Time
Step 1
Gather the materials listed.
Step 2
Tie one end of the string tightly around one end of the stick or pencil.
Step 3
Tape the small magnet to the free end of the string so it hangs securely.
Step 4
Draw several fish shapes on the paper or cardboard using simple outlines.
Step 5
Cut out each fish shape with scissors.
Step 6
Color and decorate each fish with your coloring materials.
Step 7
Attach one paper clip to each fish by sliding it onto the fish's mouth or body.
Step 8
Spread the fish out on the floor or place them into a shallow bowl to make a pond.
Step 9
Hold the fishing rod and lower the magnet close to a chosen fish until the magnet touches the paper clip.
Step 10
Lift the rod slowly so the magnet picks the fish up.
Step 11
Place the caught fish into a bucket or plate.
Step 12
Count the fish in the bucket out loud after each catch.
Step 13
Try turning the magnet away from a fish to see that it will not stick.
Step 14
Make the game harder by adding an extra paper clip to a fish or moving the pond farther away and try again.
Step 15
Share your finished fishing game and what you learned on DIY.org.
Help!?
What can we use if we don't have a small magnet, tape, or a stick/pencil?
If you don't have a small magnet, tape a metal washer or a bent sturdy paper clip to the free end of the string so it can pick up paper clips, use a ruler or wooden dowel instead of the stick/pencil when you tie the string, and substitute yarn or twine for the string and a rubber band or strong glue in place of tape.
My magnet won't pick up the paper clips — what should I check or fix?
Make sure the tape isn't covering the magnet's working face, retie the string tightly around the stick so the rod is stable, slide the paper clip farther onto the fish's mouth as in the 'Attach one paper clip' step, and lower the magnet until it actually touches the paper clip rather than hovering above it.
How can I adapt the activity for very young children or older kids?
For toddlers, pre-cut larger cardboard fish, use jumbo paper clips and have an adult do the cutting and tying steps, while older kids can cut smaller fish, add extra paper clips to certain fish as suggested in 'Make the game harder', time each catch, or keep score for competition.
What are simple ways to extend or personalize the fishing game after we've made the fish?
Personalize and color each fish with names or point values during the 'Color and decorate' step, add 'trash' pieces with no paper clips to practice sorting, try two rods for races, and share photos and what you learned on DIY.org as the final step.
Watch videos on how to make a simple magnetic fishing rod and paper fish
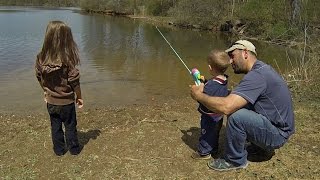
Fishing 101: Fishing with Kids
4 Videos

Fishing 101: Fishing with Kids

Teaching A TODDLER How To Fish?! Tips & Tricks For Fishing With Kids
KIDS FISHING - A FEW TIPS & TRICKS!
"Fishing Fun with Kids: Easy Tips and Exciting Catches for the Whole Family!"
Facts about magnets and hands-on STEM for kids
🧲 Neodymium magnets are tiny but super strong — some can lift hundreds of times their own weight.
🎣 Magnetic fishing toys have been used for decades to teach kids patience, counting, and coordination.
♻️ Recycled cardboard (like cereal boxes) makes quick, sturdy fish — great for upcycling and reducing waste.
🧮 You can turn each catch into a math game: add, subtract, or sort fish by color or number.
🤹 Playing a magnetic fishing game helps build hand–eye coordination and fine motor skills.
How do you make and play a magnetic fishing game for kids?
What materials do I need to make a magnetic fishing rod and fish?
What ages is magnetic fishing suitable for?
What are the benefits and safety tips for magnetic fishing, plus fun variations?
