Dissect an owl pellet
Dissect an owl pellet while wearing gloves, using tweezers and a magnifying glass to find and identify tiny bones, recording findings and exploring food chains.
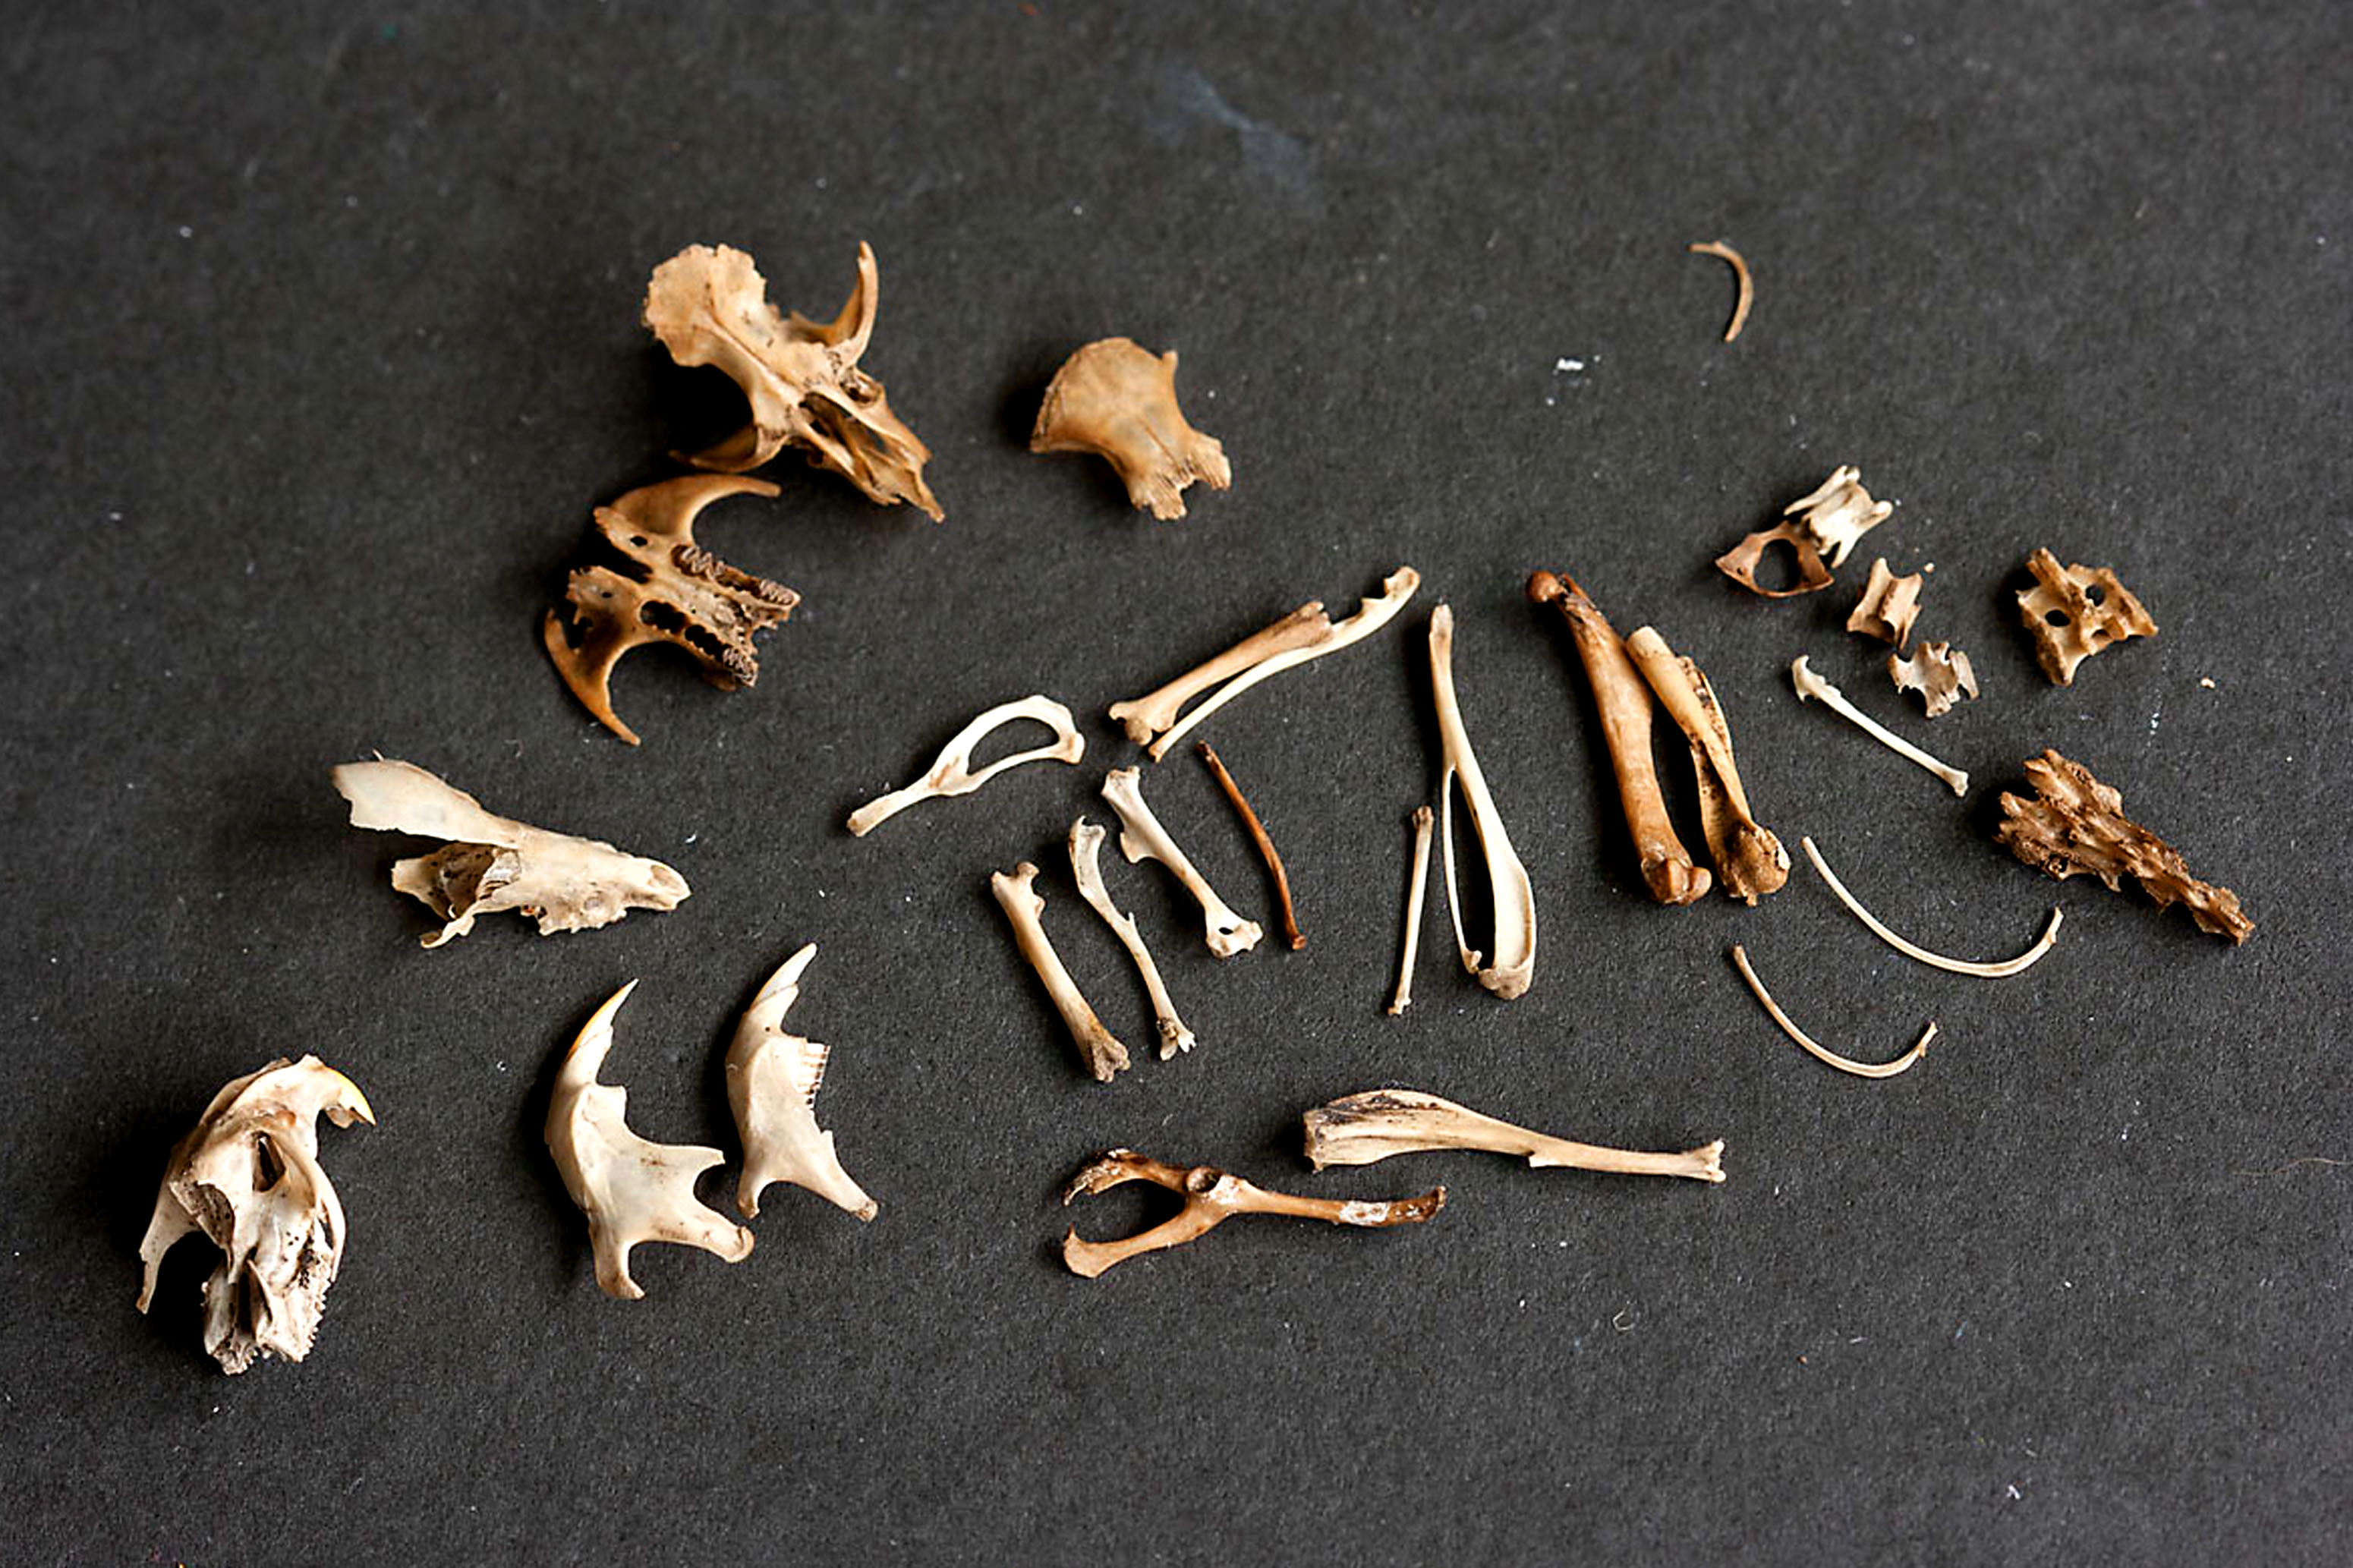
About this activity
Dissect an owl pellet while wearing gloves, using tweezers and a magnifying glass to find and identify tiny bones, recording findings and exploring food chains.
What you need
Step by step
- 1
Step 1
Put on your disposable gloves so your hands stay clean and safe.
- 2
Step 2
Set the owl pellet on the tray or white paper to give yourself a clean workspace.
- 3
Step 3
Look at the pellet with the magnifying glass to notice lumps and possible bone shapes.
- 4
Step 4
Use the tweezers to gently tease apart the pellet starting from the edge to reveal hidden pieces.
- 5
Step 5
Use the small paintbrush or a toothpick to sweep away fur and dust so the tiny bones show clearly.
- 6
Step 6
Pick out each bone with the tweezers and lay them in a neat line on the paper.
- 7
Step 7
Examine each bone closely with the magnifying glass to see its size and shape.
- 8
Step 8
Compare each bone to the bone identification chart to find the correct bone names.
- 9
Step 9
Count how many of each bone you found and write these numbers in your notebook.
- 10
Step 10
Draw a simple food chain in your notebook showing the owl, its prey, and where the prey gets its food.
- 11
Step 11
Put all leftover pellet material into the sealable plastic bag for safe disposal.
- 12
Step 12
Remove your gloves and throw them away as instructed by your adult supervisor.
- 13
Step 13
Wash your hands with soap and water for at least 20 seconds to stay clean.
- 14
Step 14
Share your finished bone layout and notes on DIY.org so others can see your discovery.
Fun facts
How do you dissect an owl pellet safely and effectively?
Start by covering your workspace with paper or a tray and put on disposable gloves. Gently tease the pellet apart using tweezers and wooden probes under a magnifying glass. Work slowly, moving small clumps to reveal tiny bones—skulls, jaws, vertebrae. Place bones on a labeled paper grid, photograph and sketch each find. Compare bones to an identification chart to name species. Record measurements and observations, dispose of waste, remove gloves, and wash hands thoroughly.
What materials do I need to dissect an owl pellet?
Essential materials: pre-cleaned owl pellet(s), disposable gloves, fine-tipped tweezers or forceps, wooden probes or toothpicks, magnifying glass or low-power microscope, tray or disposable paper, small sorting dishes, bone identification chart or guidebook, ruler or calipers, notebook and pencil for records, zip-top bags for storage, disinfectant wipes, and hand sanitizer. Optional: safety goggles, camera, and reference photos for comparison.
What ages is owl pellet dissection suitable for?
This activity suits children about 8 years and older with adult supervision. Ages 8–12 can handle fine motor work and identification tasks with help; teens can work independently and do measurements or research. Younger children (5–7) can observe or sort larger bones while adults do delicate work. Always supervise, adapt tools and explanations to the child's skill level, and emphasize safety and hygiene.
What are the benefits and safety tips for dissecting owl pellets?
Benefits: dissecting owl pellets teaches food chains, predator-prey relationships, and mammal anatomy, reinforcing biology and earth science concepts. It builds observation, classification, fine-motor skills, patience, and scientific recording (sketching, measuring, noting evidence). It encourages curiosity, hypothesis testing, and respect for ecosystems. For safety, always use gloves, work on disposable surfaces or trays, avoid inhaling dust, and wash hands after handling. Supervised activities
Watch & Learn
Need help?
What can we use instead of disposable gloves, a magnifying glass, or tweezers if we don't have them?
Use clean zip-top baggies slipped over hands instead of disposable gloves, a smartphone camera with zoom or reading glasses in place of the magnifying glass, and a clean sewing needle, paperclip, or blunt toothpick instead of tweezers when you gently tease apart the pellet.
Why might bones be hard to separate or get lost, and how can we prevent that during the dissection?
Work over the tray or white paper and follow the step to start teasing from the pellet edge with tweezers while using the small paintbrush or toothpick to sweep away fur so tiny bones stay visible and can be laid in a neat line.
How can we adapt this owl pellet activity for younger children or older kids?
For younger children have an adult pre-open the pellet and let them pick and count larger bones with larger tweezers or blunt sticks, while older kids should compare each bone to the bone identification chart, record exact counts in the notebook, and draw a more detailed food chain.
What are some ways to extend or personalize the dissection after arranging the bones?
After you place bones in a neat line and identify them, glue or tape them to cardstock with labels from the bone identification chart, photograph the layout to share on DIY.org, and compare counts from multiple pellets to make a chart in your notebook.