Photograph a bird with a high-power lens
With an adult, use a camera and high-power lens to photograph a bird from a distance, practice focus and patience, and avoid disturbing wildlife.


Step-by-step guide to photograph a bird with a high-power lens
BIRD PHOTOGRAPHY 101: Beginners guide for settings, finding birds, tricks, equipment, and more!
Step 1
Choose a safe bird-watching spot and a time when birds are active like early morning or late afternoon.
Step 2
Pack your gear into a bag so everything is easy to carry to your spot.
Step 3
With an adult, check the camera battery is charged and a blank memory card is inside.
Step 4
Walk quietly to your chosen spot with your adult so you do not scare birds away.
Step 5
Sit or hide quietly and stay still so birds feel safe and come closer on their own.
Step 6
Set up the tripod and mount the camera so your shots stay steady.
Step 7
With an adult, attach the high-power lens and remove the lens cap carefully.
Step 8
With an adult, set the camera to Shutter Priority or Sports mode and choose a shutter speed around 1/1000s or faster for sharp bird photos.
Step 9
With an adult, turn on continuous autofocus and burst/continuous shooting so you can follow the bird’s movement.
Step 10
Use your binoculars to spot a bird from a distance without approaching it.
Step 11
Slowly raise your camera to eye level, half-press the shutter to lock focus, then press fully and hold to take bursts when the bird is in the frame.
Step 12
Review your favorite photo with your adult and share your finished bird photo and a short note about how you took it on DIY.org.
Help!?
What can we use if we don't have a high-power lens or a tripod?
Use a bridge camera or smartphone with a clip-on telephoto or a DSLR plus a teleconverter and stabilize it on a beanbag, fence, or backpack instead of the tripod while still bringing binoculars and a blank memory card as the instructions list.
My photos are blurry even though I set a fast shutter speed—what should we check?
Check that the tripod or makeshift support is steady, confirm continuous autofocus and burst/continuous shooting are on, half-press the shutter to lock focus before taking bursts, and verify the shutter speed is around 1/1000s or faster as instructed.
How can we adapt this bird-photography activity for a 5-year-old versus a 12-year-old?
For a 5-year-old, let them be the spotter with binoculars and press the shutter while an adult handles attaching the high-power lens and camera settings, whereas a 12-year-old can help set Shutter Priority to ~1/1000s, enable continuous autofocus/burst mode, and review photos to upload to DIY.org.
How can we extend or personalize the finished bird-photo project?
Create a seasonal photo journal by photographing birds at different times, record the spot, lens, tripod setup, and shutter settings used for each shot, lightly edit your favorite image, and share the finished photo with a short note on DIY.org as the instructions suggest.
Watch videos on how to photograph a bird with a high-power lens
Beginner Bird Photography: Settings, Framing, & More
4 Videos
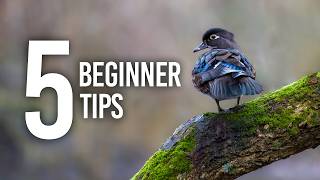
Beginner Bird Photography: Settings, Framing, & More
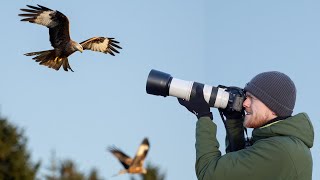
How to Photograph Birds in Flight | Tips and Tricks Bird Photography
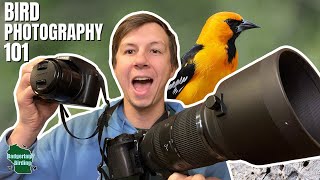
The ULTIMATE Guide to Beginner Bird Photography and Digital Cameras!
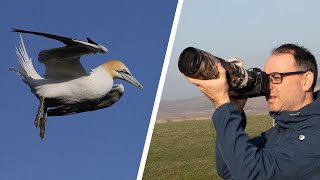
Birds in Flight Photography for Beginners (Mirrorless Camera)
Facts about wildlife photography for kids
📷 Telephoto lenses (300mm+) are common for bird photos because they let you shoot from far away without scaring birds.
🐦 There are about 10,000 known bird species worldwide — lots of subjects to discover!
👀 Back-button focus and continuous AF modes help keep fast-moving birds sharp in flight.
⏳ Many wildlife photographers spend minutes to hours waiting for a single great shot — patience pays off.
🌿 Getting too close or using recorded calls can disturb birds and sometimes cause nest abandonment — always prioritize their safety.
How do I photograph a bird with a high-power lens without disturbing it?
What materials do I need to photograph birds with a high-power lens?
What ages is bird photography with a high-power lens suitable for?
What are the benefits and safety tips for children photographing birds?
