Apply makeup
Learn safe face-painting techniques using water-based, child-safe colors to create simple designs, practice hygiene, and remove makeup gently with soap and water.


Step-by-step guide to apply makeup (face painting)
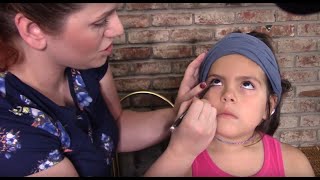
10 Year Old Kid Teaches Makeup! Easy Foundation Routine Makeup Tutorial
Step 1
Wash your hands with soap and water for at least 20 seconds so the paints stay clean.
Step 2
Place a towel over your shoulders to protect your clothes from splashes.
Step 3
Tie back your hair with a headband or hair tie so it stays out of your face.
Step 4
Squeeze a small amount of each paint color into separate bowls or sections of your palette.
Step 5
Apply a tiny dot of paint behind your ear or on your inner wrist for a patch test.
Step 6
Wait 15 minutes and check for any redness or itching before painting your face.
Step 7
Dampen your brush or sponge with a little water so the paint goes on smoothly.
Step 8
Dip the damp brush or sponge into one paint color to pick up a small amount.
Step 9
Practice simple shapes like a heart star or stripe on the back of your hand to get comfortable.
Step 10
Rinse your brush in the water container when you are done with one color.
Step 11
Wipe the brush on the towel before switching to a new color.
Step 12
With adult supervision paint a simple design on your cheek or forehead using small gentle strokes.
Step 13
Gently wash the face paint off with mild soap and water using a soft washcloth.
Step 14
Pat your face dry with the towel so your skin stays gentle and clean.
Step 15
Share your finished creation on DIY.org
Help!?
What can we use if we don't have face paints, a palette, or small brushes?
Use washable water-based children's craft paints in place of 'each paint color,' a disposable paper plate as your 'palette,' and cotton buds or makeup sponges instead of small brushes, and still perform the 'patch test' behind the ear for 15 minutes.
Why does the paint look streaky or too thick and how can we fix it?
If paint is streaky or thick, follow 'Dampen your brush or sponge with a little water' and pick up a smaller amount of paint, rinse the brush in the water container between colors, and 'wipe the brush on the towel before switching' to keep strokes smooth.
How should we change the activity for a 2-year-old, a 6-year-old, or a 10-year-old?
For a 2-year-old use stickers or very simple one-color shapes with adult application and short patch testing, for a 6-year-old practice the 'simple shapes' on the back of the hand and let them try gentle self-painting with supervision, and for a 10-year-old encourage more detailed designs on the cheek or forehead and sharing the result on DIY.org.
How can we personalize or extend the face-painting once we finish the basic design?
After the basic design, consider adding glue-on face gems applied with cosmetic adhesive after the paint dries, use a thin brush to add fine details and highlights, or take photos to 'Share your finished creation on DIY.org' while remembering to 'gently wash the face paint off with mild soap and water' afterward.
Watch videos on how to apply makeup (face painting)
Basic Stage Makeup for Kids - Tips & Tricks
4 Videos
Basic Stage Makeup for Kids - Tips & Tricks
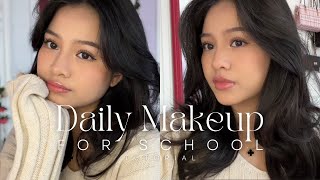
Daily Makeup Tutorial for School (beginner-friendly)

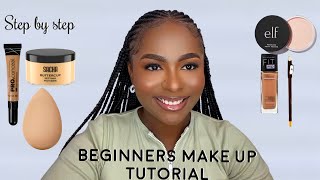
How To Apply Step-by-step makeup for Beginners!
Step by Step 'Simple Makeup' Tutorial for Beginners| Affordable Makeup Products..
Facts about face painting safety for kids
🎨 Water-based face paints are made to wash off easily with soap and water — perfect for kids and quick cleanup.
🧴 Choose products labeled “cosmetic-grade” or “non-toxic”; many craft paints are not safe for skin.
🧼 Most face paint comes off with gentle soap, lukewarm water, and a soft cloth—no harsh scrubbing needed.
🚫 Avoid using paints near the eyes and mouth unless they’re specifically formulated for those sensitive areas.
👂 Always do a tiny patch test 24 hours before painting to check for allergic reactions on children’s more sensitive skin.
How do I teach my child to apply safe face paint at home?
What materials do I need for child-safe face painting?
What ages is face painting suitable for?
What are the benefits and safety tips for children's face painting, and how can I vary designs?
