Practice drawing textures
Practice drawing different textures by creating small samples of fur, wood grain, brick, scales, and metal using pencil, pen, and shading techniques.

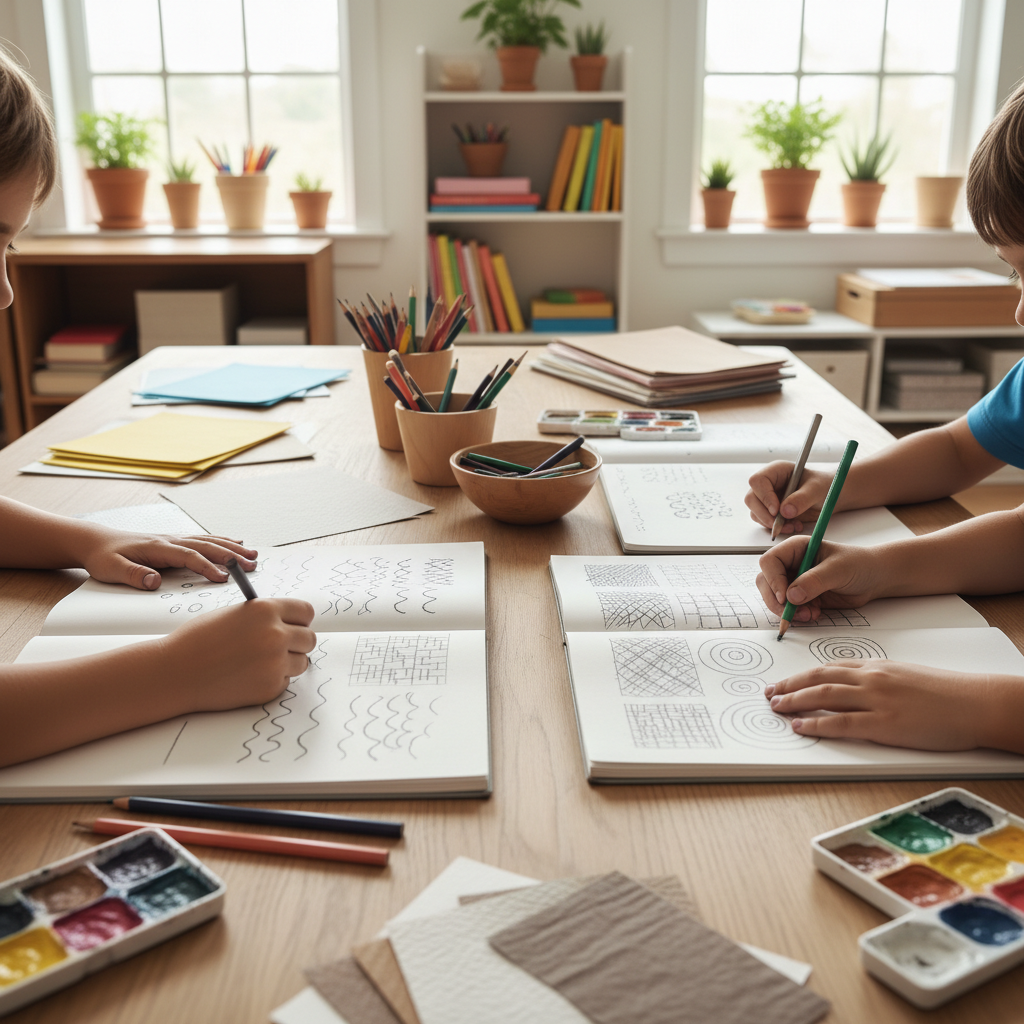

Step-by-step guide to practice drawing different textures (fur, wood grain, brick, scales, metal)
Step 1
Clear a flat workspace and place all your materials where you can reach them easily.
Step 2
Choose five small reference pictures that show fur wood grain bricks scales and metal.
Step 3
Lightly draw five equal squares on your paper to make five texture sample boxes.
Step 4
In the first square make lots of short light pencil strokes that follow the direction the fur grows.
Step 5
Use your pen to go over some pencil hairs to make darker strands in the fur square.
Step 6
Darken the base of some fur strokes with your pencil to show shadow under the fur.
Step 7
In the second square draw long flowing pencil lines and a couple round knots to map wood grain.
Step 8
Trace several wood grain lines with your pen to make the grain stand out.
Step 9
In the third square use your ruler and pencil to draw a brick grid.
Step 10
Use your pen to draw the mortar lines between the bricks.
Step 11
In the fourth square draw overlapping rounded shapes with pencil to make scales.
Step 12
Use your pen to add crisp edges to each scale so they look layered.
Step 13
In the fifth square lightly sketch reflected shapes and hard edge lines with pencil to map metal highlights.
Step 14
Use your blending stump or tissue to smooth the graphite in the metal square and create shiny gradients.
Step 15
Share a photo of your finished texture practice on DIY.org
Help!?
I don't have a blending stump or tissue—what can I use instead?
If you don't have a blending stump or tissue for smoothing graphite in the metal square, use a rolled-up piece of clean tissue, a cotton swab, or a fingertip (lightly) to create the same shiny gradients.
My pen smudges the pencil or bleeds on the paper when I trace—how can I prevent this?
To avoid smudging or bleeding when you trace over pencil in the fur, wood grain, brick, and scale squares, erase extra pencil lines first, test your pen on scrap paper, and wait briefly after heavy graphite shading (especially in the metal square) before inking.
How can I adapt this activity for younger or older kids?
For younger children, simplify by drawing three larger squares and using crayons or colored pencils for the fur, wood, and brick steps with help using the ruler, while older kids can add finer cross-hatching, more detailed scale edges with a fine pen, and extra texture boxes.
How can we extend or personalize the texture samples after finishing the five squares?
Extend the activity by arranging the finished texture squares into a collage creature or landscape, adding color with colored pencils or watercolor over the pencil strokes and pen lines, labeling each box with the technique used, and photographing it to share on DIY.org.
Watch videos on how to practice drawing different textures (fur, wood grain, brick, scales, metal)
Texture INTERACTIVE FOR KIDS
4 Videos
Texture INTERACTIVE FOR KIDS
Learn To Draw Texture! | Jump into Drawing for Kids
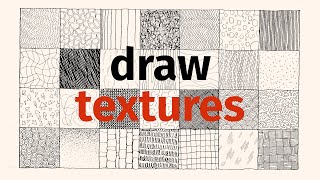
Practice Drawing Textures

How to Draw Texture using the Texture Hand Worksheet
Facts about drawing techniques for kids
✏️ The 'lead' in pencils is actually graphite — discovered in 1564 in England — and artists pick grades like HB or 2B to get lighter or darker shading.
🖊️ Pen-and-ink drawings can last for centuries, and artists use hatching and cross-hatching to build tones without erasing.
🐾 Realistic fur is often drawn with hundreds of short, directional strokes stacked in layers to show fluff and flow.
🪵 Wood grain is as unique as a fingerprint, so artists vary curve shapes and line pressure to mimic knots and rings.
⚙️ Metal looks shiny because it reflects its surroundings — artists create that effect with sharp highlights and smooth reflected gradients.
How do I practice drawing textures like fur, wood grain, brick, scales, and metal?
What materials do I need to practice drawing textures with pencil, pen, and shading techniques?
What ages is this texture drawing activity suitable for?
What are the benefits of practicing texture drawing for children?
