Make a special effects photo
Create a special effects photo using a smartphone or camera, simple props, colored lights, and a free app to add motion, glow, and ghost effects.


Step-by-step guide to make a special effects photo
7 In-Camera Effects (you can do with household items)
Step 1
Pick a fun theme like spooky magical or superhero to guide your special effects.
Step 2
Gather two or three simple props that match your theme and put them by your backdrop.
Step 3
Hang the plain sheet or choose a clear empty wall to make your backdrop and smooth out wrinkles.
Step 4
Cover flashlights with colored cellophane or set up colored lights to make bright mood colors.
Step 5
Mount your phone on the tripod or place it on a steady surface and line up the scene in the frame.
Step 6
Position your props and choose where you will stand or sit so you know the exact spot to pose.
Step 7
Turn off the room lights and switch on your colored lights to see how the colors look on your props.
Step 8
Take a bunch of photos and one short video trying one still pose and one slow movement for motion options.
Step 9
Open the free app and import the best photo or the short video you like the most.
Step 10
Add a motion effect to make streaks or movement and save a copy when it looks cool.
Step 11
Add a glow effect to bright areas to make colors pop and save another copy.
Step 12
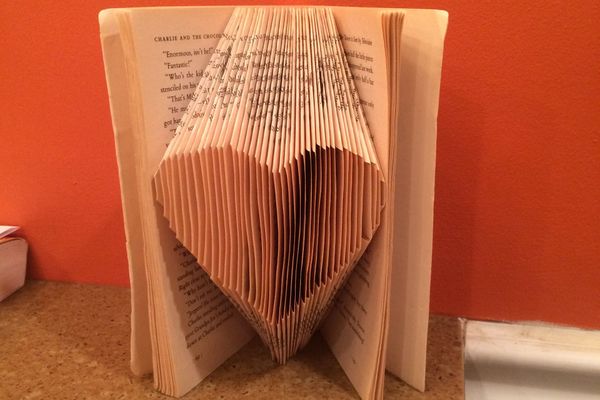
Add a ghost effect by duplicating the subject lowering opacity and blending until it looks spooky or magical then save the final image.
Step 13
Share your finished special effects photo on DIY.org so everyone can see your awesome creation.
Help!?
What can we use instead of colored cellophane, a tripod, or a plain sheet if we can't find them?
For the 'cover flashlights with colored cellophane' step you can use colored plastic wrap, translucent tissue paper, or a piece of colored printer paper taped over the flashlight, replace the tripod by propping your phone on a stack of books or a jar as you 'mount your phone on the tripod,' and swap the plain sheet backdrop for a solid-colored curtain or large poster board hung on the wall.
My photos are coming out blurry or the ghost layer won't line up—what should I try?
If shots are blurry after you 'turn off the room lights' and use colored lights, move the lights closer or increase brightness, stabilize the phone on the tripod or steady surface and use the timer to avoid shake, and for the 'ghost effect' make small pose markers on the floor and nudge the duplicated, lowered-opacity layer in the app until it lines up.
How can I change the activity for different ages so it's safe and fun for everyone?
For younger kids simplify the setup by choosing one easy theme, using just one prop and capturing still photos with adult help for the 'position your props' and 'take a bunch of photos' steps, while older kids can experiment with longer slow-motion video, more props, and advanced blending when they 'add motion,' 'glow,' and 'ghost' effects themselves.
What are some cool ways to extend or personalize the special effects photo after finishing the basic steps?
To enhance the final image, hang lightweight props on fishing line before you 'position your props' to create levitation, combine the motion, glow, and ghost effects into a short looping video in the app, and then export versions to share on DIY.org or print for a themed photo book.
Watch videos on how to make a special effects photo
Miniature World Photography Ideas You Can Easily Recreate 🌍✨
4 Videos
Miniature World Photography Ideas You Can Easily Recreate 🌍✨
How to Build a DIY Mini Camera Obscura

Make special sound effects using household items
Camera Magic Tricks & Transitions that ANYONE can do
Facts about photography for kids
📱 Today most everyday photos are taken with smartphones — your pocket camera is powerful enough for creative special-effects shots!
🎨 Pablo Picasso teamed up with photographer Gjon Mili in 1949 to make some of the first famous light-painting photographs.
💡 Light painting uses long exposures so tiny LEDs and flashlights become bright streaks, like drawing with light.
👻 A classic "ghost" photo can be made by using a long exposure while the subject briefly moves or steps out of the frame.
✨ Many free mobile apps let you add motion, glow, and ghost-like overlays after shooting, using simple masks and sliders kids can learn quickly.
How do I create a special effects photo with my child using a smartphone or camera?
What materials do I need to make a special effects photo at home?
What ages is this special effects photo activity suitable for?
What safety tips should I follow when making special effects photos with kids?
