Make an acrobatic toy
Build a cardboard acrobat toy with a paperclip hinge and rubber-band motor, then test flips, spins, and balance to learn motion and stability.


Step-by-step guide to build a cardboard acrobatic toy with a paperclip hinge and rubber-band motor
DIY Heritage Acrobat Toy Project - Teaching Simple Machine Concepts Through Hands On Learning
Step 1
Draw an acrobat figure and a rectangular base with two small support tabs on the base using your pencil.
Step 2
Cut out the acrobat and the base (including the two support tabs) from the cardboard.
Step 3
Fold each support tab upright so they stand up on the base.
Step 4
Cut the drinking straw into two short 2 cm sleeves.
Step 5
Tape one straw sleeve onto each folded support so the straw holes line up across the supports.
Step 6
Make a small hole through the center of the acrobat body where the rod will go.
Step 7
Unbend the paperclip into a straight rod but keep a small hook at one end to hold the rubber band.
Step 8
Slide the paperclip rod through the two straw sleeves so it can spin freely across the supports.
Step 9
Thread the paperclip through the hole in the acrobat so the acrobat sits on the rod and can rotate.
Step 10
Hook one end of the rubber band onto the small hook on the paperclip.
Step 11
Tape the other end of the rubber band firmly to the front edge of the base to anchor it.
Step 12
Wind the acrobat by turning the rod or body several times so the rubber band stores energy.
Step 13
Release the rod to watch the acrobat flip and spin across the supports.
Step 14
Adjust balance by sliding the acrobat along the rod or taping tiny cardboard bits to its head or feet until flips and spins are smooth.
Step 15
Share your finished acrobatic toy and what you learned about motion and balance on DIY.org.
Help!?
What can we use if we don't have a paperclip or drinking straws?
If you don't have a paperclip, unbend a thin floral wire or straightened twist-tie to make the rod with a small hook for the rubber band, and if you lack drinking straws cut two 2 cm sleeves from a rolled strip of thin card or a plastic stirrer to tape onto the folded support tabs.
The rod won't spin or the acrobat doesn't flip smoothly—what should we check?
Make sure the two 2 cm straw sleeves are taped upright with their holes aligned across the supports so the paperclip rod can rotate freely, gently widen the sleeve holes or smooth the rod if they rub, and adjust balance by sliding the acrobat along the rod or taping tiny cardboard bits to its head or feet as the instructions suggest.
How can I adapt this activity for younger or older kids?
For younger children have an adult cut out the acrobat and base, fold the support tabs, tape the 2 cm straw sleeves, and thread the rod while letting the child draw and wind the rubber band, whereas older kids can design different acrobat shapes, experiment with rubber-band tension and balance adjustments, and try multiple acrobats on the same rod.
How can we extend or personalize the acrobatic toy after finishing it?
Personalize and extend the toy by decorating the acrobat, adding extra cardboard pieces to change balance, stringing two acrobats on the paperclip rod to test interactions, or anchoring a second rubber band to the base to increase spin and compare flipping patterns.
Watch videos on how to build a cardboard acrobatic toy with a paperclip hinge and rubber-band motor
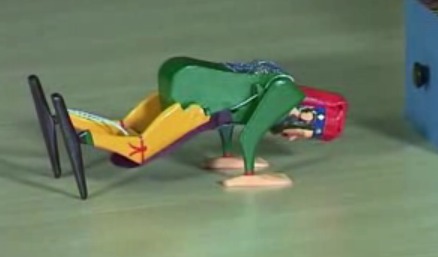
2 Acrobat Toys from Bamboo Stick - Easy but Interesting
4 Videos
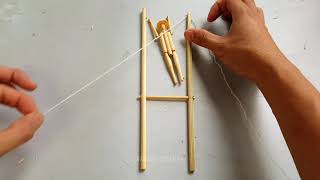
2 Acrobat Toys from Bamboo Stick - Easy but Interesting
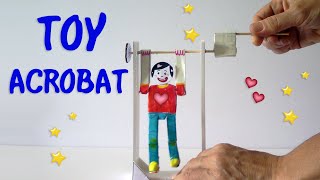
Toy Acrobat - Ana | DIY Crafts
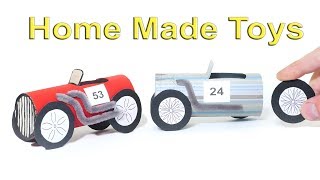
Make Simple Home Made Toys for your Kids
DIY Clapping Toy 👏 | Fun & Easy Craft for Kids #diy #craft #craftyfun #kids
Facts about motion, balance, and simple mechanics
📎 A paperclip is just a single bent wire — kids often reshape them into hinges, hooks, and tiny tools.
🪢 Rubber bands store elastic potential energy that turns into motion when released, powering flips and spins.
📦 Cardboard is lightweight, stiff, and easy to cut, which makes it perfect for quick toy prototypes and models.
⚖️ An object's balance depends on its center of mass — lower it to increase stability, raise it to make flips easier.
🔄 Twisting or stretching a rubber-band motor creates torque; more twist usually means more spin or stronger flips.
How do I build a cardboard acrobat toy with a paperclip hinge and rubber-band motor?
What materials do I need to make the cardboard acrobat toy?
What ages is this cardboard acrobat activity suitable for?
What are the benefits of making a cardboard acrobat toy?
