Build a flying toy
Build a simple foam glider using foam sheet, craft sticks, and tape. Test flight stability, adjust balance, and learn about lift and trim.


Step-by-step guide to build a simple foam glider
How to make a simple flying toy |
Step 1
Gather your materials and clear a flat workspace so you have room to build and test your glider.
Step 2
Use the ruler and marker to draw a fuselage strip about 25 cm long and 4 cm wide on the foam sheet.
Step 3
Use the ruler and marker to draw a wing rectangle about 24 cm wide and 8 cm deep on the foam sheet.
Step 4
Mark the exact center of the wing by drawing a short line down the middle where the fuselage will sit.
Step 5
Use the ruler and marker to draw a small horizontal tail about 10 cm wide and 3 cm deep on the foam sheet.
Step 6
Cut out the fuselage wing and tail foam pieces carefully with scissors.
Step 7
Cut a narrow slot along the wing centerline about halfway through the wing thickness so the fuselage can slide in.
Step 8
Slide the fuselage through the wing slot until the wing sits at the middle of the fuselage.
Step 9
Tape one craft stick under the wing across the center to stiffen it so the wing stays flat in flight.
Step 10
Cut a small shallow slot at the rear end of the fuselage sized for the tail piece.
Step 11
Insert the tail into the rear slot and tape it flat so the tail stays straight across the fuselage.
Step 12
Tape one or two paperclips or a small coin to the nose as a weight to help balance the glider.
Step 13
Stand on a chair or step with an adult and gently launch the glider straight and level to see how it flies.
Step 14
Move the nose weight forward or backward a little at a time to change balance until the glider flies straight and stable.
Step 15
Take a photo or short description of your finished foam glider and share it on DIY.org
Help!?
What can I use instead of a foam sheet or craft stick if I can't find them?
If you don't have a foam sheet, use sturdy cardboard cut to the same fuselage (25 cm × 4 cm), wing (24 cm × 8 cm), and tail (10 cm × 3 cm) dimensions and reinforce the wing by taping a popsicle stick or extra cardboard under the wing as you would the craft stick.
My wing or fuselage won’t fit together or the glider wobbles — how do I fix that?
Check that you cut the wing slot only halfway through the wing thickness as instructed and adjust the slot slightly with scissors, then tape a craft stick under the wing and move the nose weight forward or back a little at a time to stabilize flight.
How can I adapt this build for younger children or older kids who want more challenge?
For preschoolers have an adult pre-cut the fuselage, wing, and tail from the given measurements and let them slide, tape, and decorate, while older kids can alter wing width/depth, add trimming tabs, or test different nose weights to study stability and lift.
What are simple ways to improve flight distance or personalize the glider?
To enhance flight and personalize your glider, add a small upward dihedral to the wing tips by bending and taping them, try different nose weights like paperclips or coins for balance, and decorate the foam before testing as instructed.
Watch videos on how to build a simple foam glider
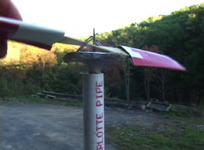
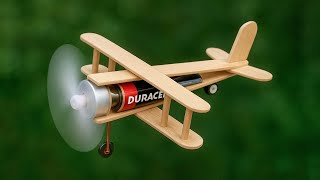
How to Build an Easy and Inexpensive Model Airplane that Flies
4 Videos
How to Build an Easy and Inexpensive Model Airplane that Flies
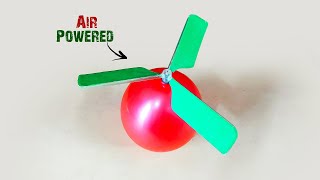
How to make Balloon Helicopter | DIY Air Powered Flying Toy | Science Project
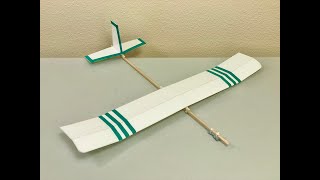
How to Make an Easy Toy Airplane at Home | Simple Toy Ideas \ Invention Crafts
how to make Balloon Helicopter , how to make Flying toy , easy homemade propeller flying helicopter
Facts about aerodynamics and model flight
🛩️ Gliders can stay aloft for hours by riding warm rising air called thermals.
⚖️ The steadiest flight happens when the glider’s center of gravity sits slightly in front of the wing’s midpoint — that small shift is called trim.
🎯 Tiny tweaks like bending a tail or adding a bit of tape to the nose can turn a nose-dive into a smooth glide by changing balance.
🌬️ Wings make lift because air moves faster over the top surface, creating lower pressure above the wing than below it.
📐 A small dihedral (wing tips tilted up) helps toy gliders self-correct and stay level when they roll.
How do I make a simple foam glider with my child?
What materials do I need to build a foam glider?
What ages is this foam glider activity suitable for?
What are the benefits and safety tips for building and flying foam gliders?
