Create a visual pun
Create a visual pun by drawing or making a collage of two objects that form a joke, then label and explain your idea.


Step-by-step guide to create a visual pun
Teach your elementary school child how to create punderful puns!
Step 1
Think of two objects you can mash together to make a funny picture and give your visual pun a short name.
Step 2
Draw three tiny thumbnail sketches to try different ways the two objects could join and pick your favorite sketch.
Step 3
Clear a workspace and put your chosen materials within easy reach.
Step 4
Lightly sketch the final placement of the two objects on your paper so you know where everything will go.
Step 5
Make the combined image by either gluing cut pictures into place or drawing the merged object directly on the paper.
Step 6
Add small silly details that make the pun obvious and fun like faces props or extra features.
Step 7
Colour and outline your picture so the shapes and joke stand out clearly.
Step 8
Make a neat label with the pun name on a small piece of paper and attach it near your picture.
Step 9
Write one or two sentences below the picture that explain the joke and sign your name.
Step 10
Upload or post your finished visual pun and the explanation on DIY.org so everyone can see your funny idea.
Help!?
If I don't have glue, magazines, or colored pencils, what can I substitute so I can still make the collage and colour it?
For gluing (step 5) use a glue stick, double-sided tape, or clear packing tape; for cut pictures (step 5) print images, use stickers, or draw the parts directly; and for colouring (step 6) use markers, crayons, or watercolour paints you already have.
My cut pictures keep slipping or don't match my light sketch—how do I fix alignment and make the final mash-up neat?
Follow the instruction to lightly sketch final placement first (step 4), then use a glue stick or tape and tweezers, press the collage under a heavy book to set, or switch to drawing the merged object directly (step 5) if glued pieces won't stay put.
How can I adapt this activity for different ages so it's challenging but doable?
For preschoolers simplify by skipping thumbnail sketches and using pre-cut images and stickers for step 5 with an adult helping to attach the label and write the sentence (steps 7–8), for elementary kids keep all steps but use simple one-sentence explanations, and for teens add complex mash-ups, refined colouring techniques (step 6), and a longer caption before uploading (step 9).
What are some ways to improve or personalise my visual pun beyond the basic steps?
Enhance the piece by adding tiny props or textured materials for the silly details (step 5–6), designing a decorative label style for the pun name (step 7), creating a series of puns on a theme, or photographing and turning the artwork into a short animated GIF before posting on DIY.org (step 9).
Watch videos on how to create a visual pun
How to Draw Peas in a Pod ❤️ Cute Pun Art #1
4 Videos
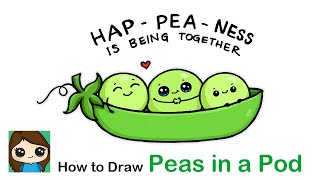
How to Draw Peas in a Pod ❤️ Cute Pun Art #1
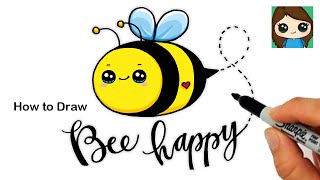
How to Draw a Bee 🐝 | Cute Pun Art #5
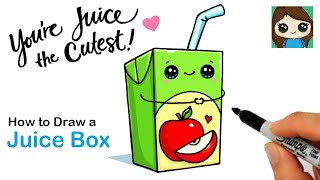
How to Draw a Juice Box 🍎 Cute Pun Art #12
MOST Cute Drawing Tricks That Will Brighten Your Day | Easy Drawing Tutorial!
Facts about visual puns and collage art
🎨 Salvador Dalí and other surrealists loved double images and visual tricks that work like visual puns.
🧩 A rebus uses pictures to stand in for words or parts of words — it's the picture-puzzle cousin of a pun.
✂️ Collage was popularized by Picasso and Georges Braque in the early 1900s with techniques called papiers collés.
😂 The English word “pun” goes back to the 17th century and celebrates playful, surprising wordplay.
🧠 Mixing images and humor (like a visual pun) helps people remember ideas better — it's great for storytelling!
How do you create a visual pun by drawing or making a collage?
What materials do I need to make a visual pun collage?
What ages is this visual pun activity suitable for?
What are the benefits, safety tips, and variations for making visual puns?
