Design a civilization
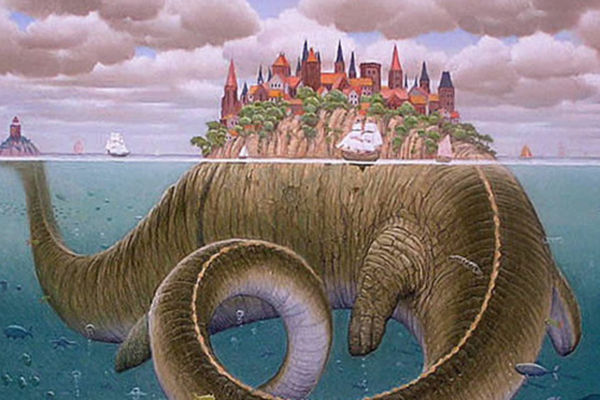
Design a tabletop miniature civilization using paper, clay, and drawings; plan homes, farms, roads, and rules, then explain your choices to others.


Step-by-step guide to design a tabletop miniature civilization
What Is a Civilization? - How Civilization Spreads
Step 1
Gather all your materials and clear a flat workspace.
Step 2
Choose a theme for your civilization like island forest futuristic or desert.
Step 3
Decide the scale of your model such as 1 inch equals 1 neighborhood block.
Step 4
Draw a base map on a sheet of paper showing the edges of your civilization.
Step 5
Sketch and label zones for homes farms roads and public spaces on your map.
Step 6
Use modeling clay to sculpt at least three different styles of homes.
Step 7
Use modeling clay to sculpt farms fields or animal pens for your map.
Step 8
Cut paper strips to make roads and bridges.
Step 9
Glue the paper roads and bridges onto the base map.
Step 10
Place the clay homes and farms onto the labeled zones on your map.
Step 11
Add small details like trees fences benches or signs using clay or coloring materials.
Step 12
Write three simple rules for your civilization on a small paper sign.
Step 13
Place the rule sign on your model where everyone can see it.
Step 14
Practice explaining one design choice out loud so you can tell others why you made it.
Step 15
Share your finished creation on DIY.org
Help!?
What can we use instead of modeling clay or special glue if we can't find them at home?
If modeling clay or glue is hard to find, substitute homemade salt dough or Play-Doh or air-dry clay to sculpt homes and farms and use double-sided tape, a glue stick, or folded cardboard tabs to attach the paper roads and bridges to the base map.
What should we do if the paper roads keep peeling up or the clay homes keep sliding off the map?
If roads peel or clay homes slide, add small cardboard or paper tabs under the paper strips before gluing, mount each clay house on a thin cardboard base and glue that base to the labeled zone, and let air-dry clay harden fully so pieces stay put.
How can we change this activity to suit younger or older kids?
For younger children, use a larger scale, pre-cut the paper roads and simplify to two home styles with big clay shapes, while older kids can work to a precise scale (e.g., 1 inch = 1 block), add detailed zoning labels, build sturdier bridges from cardboard, and write more complex rules for their civilization.
How can we make the civilization model more creative or more advanced after finishing the basic steps?
To extend the project, personalize the base map with paint or colored pencils, add tiny LED lights in public spaces, create movable cardboard vehicles for the roads, include more diverse clay buildings, and turn the three rules on the sign into a short role‑playing game about living in your civilization.
Watch videos on how to design a tabletop miniature civilization
What is Civilization? (for kids) | Learn how civilizaitons evolved | Lesson Boosters Social Studies
4 Videos
What is Civilization? (for kids) | Learn how civilizaitons evolved | Lesson Boosters Social Studies
Types of Communities | Learn about communities for kids and help them learn how to identify them

Communities for Kids - Types of Communities | Social Studies for Kids | Kids Academy

Exploring Egyptian Civilization for Kids I Educational Videos for Children
Facts about model-making and urban planning for kids
🏙️ Ancient cities like Mohenjo-daro (over 4,000 years old) used neat grid streets — great inspiration for planning your tiny roads!
🧱 The world’s oldest model village, Bekonscot in England, opened in 1929 and still delights visitors with tiny houses and towns.
🎨 Paper craft artists can build entire miniature cities using only paper, scissors, and glue — no clay required!
🌾 Simple farming tricks you can model, like crop rotation, have been used for centuries to keep soil healthy and productive.
🎲 Turning your civilization’s rules into a game is classic tabletop fun — many board games let players build roads, farms, and cities as they play.
How do I help my child design a tabletop miniature civilization?
What materials are needed to build a tabletop miniature civilization with paper and clay?
What ages is designing a tabletop civilization suitable for?
What are the benefits of designing a tabletop miniature civilization for kids?
