Make a seismometer
Build a simple seismometer using a suspended marker, cardboard base, and paper roll to record vibrations, then test responses to gentle taps and footsteps.


Step-by-step guide to make a seismometer
How to Make a Seismograph - STEM Activity
Step 1
Cut a rectangle of cardboard about the size of a small book to be your seismometer base.
Step 2
Lay two pencils across the cardboard about 8 centimeters apart where the paper roll will sit.
Step 3
Tape the ends of each pencil down so the pencils stay in place but can still let a roll turn between them.
Step 4
Slide the paper roll onto the two pencils so the roll sits between them and can spin freely.
Step 5
Give the roll a gentle spin to make sure it turns easily and adjust the tape if it sticks.
Step 6
Tie one end of the string around the top of the marker so the marker hangs like a little pendulum.
Step 7
Fold a small scrap of cardboard into an L shape and tape it upright near the center of the base to be a hanger.
Step 8
Tape the other end of the string to the top of the upright so the marker tip just lightly touches the paper on the roll.
Step 9
Tape a small weight to the bottom of the marker if it needs to hang steadier and swing smoothly.
Step 10
Unroll a few centimeters of paper so a clean strip sits under the marker and hold the free end gently.
Step 11
Ask a helper to give gentle taps near the base and then try a heavier stomp so you have two kinds of vibrations to record.
Step 12
Slowly pull the paper roll while the helper taps so the marker draws lines that show the vibrations.
Step 13
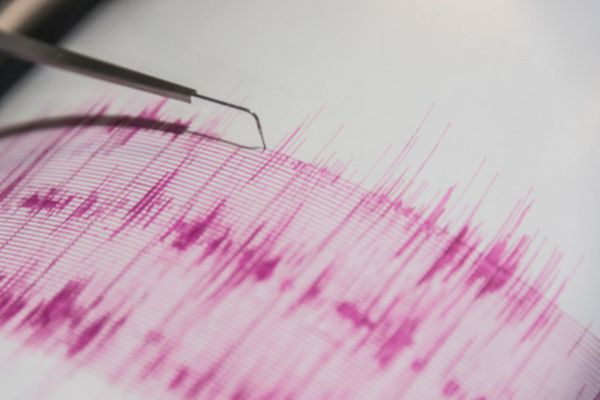
Compare the marks on the paper and notice which taps made small wiggles and which made big wiggles.
Step 14
Share a photo or video of your finished seismometer and your vibration recordings on DIY.org
Help!?
What can I use if I can't find a paper roll, pencils, or a marker for this seismometer?
Use an empty toilet-paper or paper-towel tube for the roll, replace the two pencils with chopsticks, wooden skewers, or thin dowels taped to the cardboard base, and swap the marker for a pen, crayon, or felt-tip capped with a small paperclip weight.
My roll won't spin or the marker doesn't leave a clear line—how do I fix it?
If the roll sticks in Step 5, loosen or reposition the tape holding the pencils and add small cardboard spacers so the roll spins freely, and if the marker tip barely touches or smudges the paper in Step 8, adjust the hanger height or remove the extra weight taped to the marker until it just lightly contacts the paper.
How can I adapt this activity for different ages or skill levels?
For preschoolers, have an adult pre-cut the cardboard and set up the pencils and hanger from Steps 1–8 so the child can focus on pulling the paper and watching taps, while older kids can measure the 8 cm spacing precisely, experiment with different weights in Step 10, and record timings of wiggles to analyze vibration strength.
What are some ways to extend or personalize the seismometer after finishing the basic build?
Try adding extra markers at different heights on the same roll, use colored inks or pens when pulling the paper in Step 12 to compare amplitudes, tape a smartphone to record video of the paper for playback, or make a scale on the paper to quantify how big each stomp's wiggles are.
Watch videos on how to make a seismometer
How to make seismograph at home | DIY seismograph | dArtofScience
4 Videos
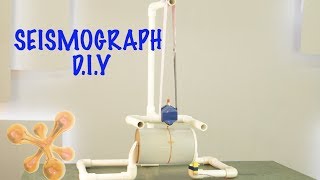
How to make seismograph at home | DIY seismograph | dArtofScience

How Does A SEISMOGRAPH Work
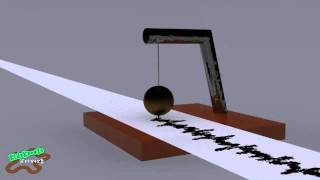
How a Seismograph Works
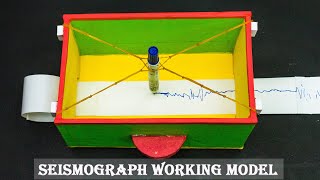
Seismograph Working Model | Science Projects
Facts about seismology and earthquake science for kids
🔬 Modern seismometers can detect ground movements smaller than the width of a human hair.
🌊 The largest recorded earthquake was magnitude 9.5 (1960 Valdivia, Chile).
🏺 The earliest known seismos was invented by Chinese scientist Zhang Heng in 132 CE to show quake direction.
🛰️ Seismographs are used to monitor earthquakes, volcanic activity, and even underground nuclear tests.
👣 A simple suspended-marker and rolling-paper seismometer can easily record taps, footsteps, and nearby rumbling.
How do you build and test a simple homemade seismometer?
What materials do I need to make a seismometer at home?
What ages is this homemade seismometer activity suitable for?
What safety tips and variations can make the seismometer better?
