Make rocks
Make faux rocks by shaping papier-mâché over crumpled newspaper, sanding and painting realistic textures to create a mini rock collection.


Step-by-step guide to make faux papier-mâché rocks
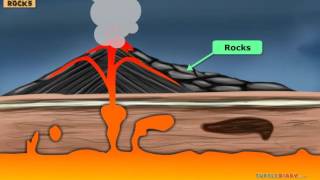
Types of rocks | Igneous, sedimentary & metamorphic rocks | Educational science lesson
Step 1
Cover your work surface with extra newspaper to keep it clean.
Step 2
Crumple sheets of newspaper into palm-sized balls to make rough rock shapes.
Step 3
Wrap each crumpled ball with masking tape to hold the shape firmly.
Step 4
Mix one part white glue with one part water in the bowl and stir until smooth to make papier-mâché paste.
Step 5
Tear more newspaper into strips about 1–2 inches wide to use for layering.
Step 6
Cover each taped shape with the papier-mâché strips until each rock has 2–3 full layers.
Step 7
Let the papier-mâché rocks dry completely until hard, about 6–24 hours depending on size.
Step 8
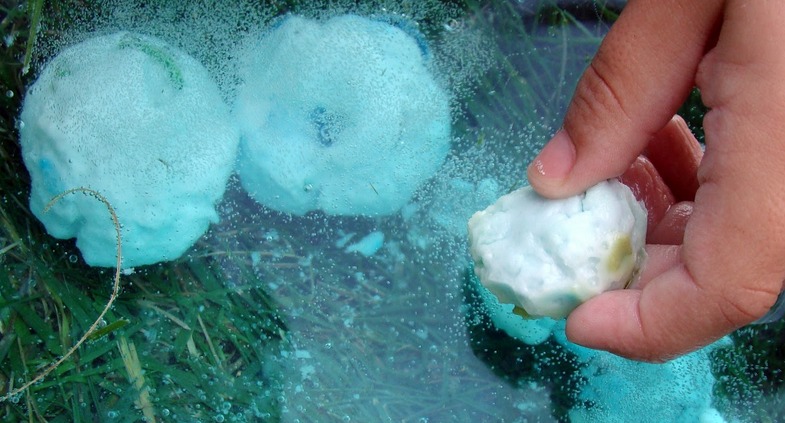
Sand the dry rocks gently to smooth bumps and shape edges.
Step 9
Paint a solid base coat on each rock using a natural rock color.
Step 10
Let the base coat dry completely until not tacky to the touch.
Step 11
Dab darker and lighter paint shades with a sponge to create mottled rock texture.
Step 12
Use a thin brush to add fine veins and speckles for realistic detail.
Step 13
Apply a clear acrylic sealer over each painted rock to protect the colors.
Step 14
Let the sealer dry completely until the rocks feel dry to the touch.
Step 15
Share your finished rock collection on DIY.org
Help!?
What can we use if masking tape or white glue are hard to find?
For the step that says "Wrap each crumpled ball with masking tape," you can use duct tape or packing tape to hold the shape, and for the papier-mâché paste that says "Mix one part white glue with one part water" you can substitute any PVA school glue or clear craft glue at the same 1:1 ratio.
My papier-mâché rocks are peeling or staying soggy—how do I fix that?
Make sure you press each 1–2 inch newspaper strip flat over the taped shape while applying the 1:1 glue-and-water paste, build the recommended 2–3 full layers, and let the rocks dry undisturbed for the full 6–24 hours (flipping them once) before sanding or painting.
How can I adapt this activity for toddlers, school-age kids, and older kids?
For toddlers, pre-crumple and tape the palm-sized balls and skip sanding and thin-brush details while using washable tempera for the base coat; for school-age kids, let them tear strips, apply 2–3 layers, and dab base and mottled colors with a sponge; for older kids, encourage extra layers, careful sanding to shape edges, and adding fine veins with a thin brush before sealing with acrylic sealer.
What are easy ways to personalize or extend the finished rocks?
After painting and letting the base coat dry, personalize by sponging mottled colors, adding fine veins with a thin brush, writing names or designs on the base coat, adding glow-in-the-dark paint or small magnets to the back, and finishing everything with the clear acrylic sealer from the instructions.
Watch videos on how to make faux papier-mâché rocks
The Rock Cycle Explained: How Rocks Form and Change Over Time
4 Videos

The Rock Cycle Explained: How Rocks Form and Change Over Time
3 Different Types of Rocks & How They're Formed *COOL* Science for Kids

What Are Rocks and How Do They Form? Crash Course Geography #18
The 3 Types of Rocks | Educational Science Rap Curriculum
Facts about papier-mâché and paper crafts
📰 Papier-mâché is made from torn paper and an adhesive — it’s lightweight, strong, and has been used for centuries in masks and models.
🪨 Artists can make faux rocks that look real by building texture, sanding, and using layered paint techniques like dry-brushing and washes.
🪚 Sandpaper grits range from coarse to very fine; start with a coarse grit (around 80–120) to shape and finish with 220+ for a smooth surface.
🎨 Acrylic paints are water-based and fast-drying, which makes them great for layering colors and sealing papier-mâché faux rocks.
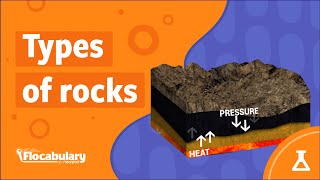
🌋 Real rocks are grouped into three main types—igneous, sedimentary, and metamorphic—so kids can compare their mini rocks to real geology types.
How do I make faux rocks with papier-mâché?
What materials do I need to make papier-mâché rocks?
What ages is papier-mâché rock making suitable for?
What are the benefits of making a mini rock collection with papier-mâché?
