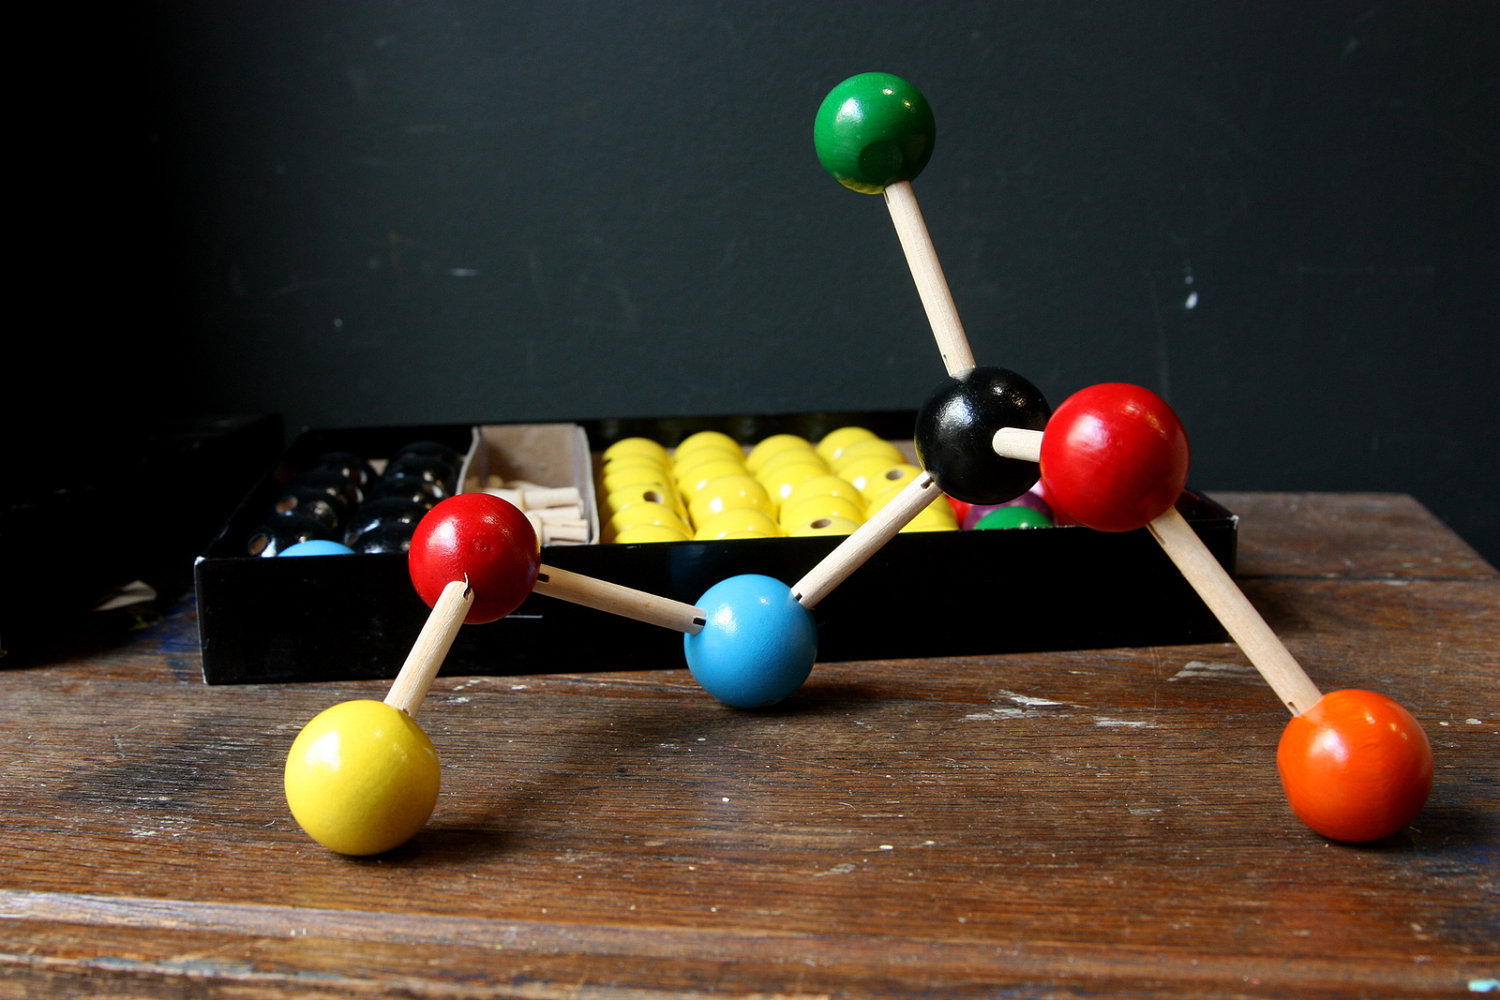
Build a molecular model
Build a 3D molecular model using colored clay or foam balls and toothpicks to represent atoms and bonds, exploring simple molecules and structures.

Step-by-step guide to build a 3D molecular model
How To Make A Molecule Model | Science For Kids
Step 1
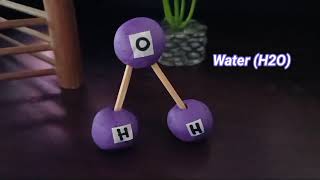
Pick one simple molecule to build like water H2O methane CH4 or carbon dioxide CO2.
Step 2
Choose one color for each atom type and write a tiny color key on your paper so you remember which color means which atom.
Step 3
Make or select one clay or foam ball for every atom in your chosen molecule and place them on the tray.
Step 4
Write the chemical symbol on each ball with the marker so each atom is labeled for example H O or C.
Step 5
Put the atom that will be in the center of the molecule in the middle of the tray.
Step 6
Push a toothpick partway into the center atom at each spot where it needs to form a bond.
Step 7
Press the free end of each toothpick into the atom that bonds to the center atom so the two balls are joined.
Step 8
Make double bonds by placing two toothpicks side by side and triple bonds by placing three toothpicks side by side when your molecule needs them.
Step 9
Gently move the toothpicks so the atoms sit at the right angles to show the molecule's 3D shape like tetrahedral linear or bent.
Step 10
Check your model for loose parts and push toothpicks in a bit more or reshape balls until the model is stable.
Step 11
Write the molecule's name and chemical formula on a small card and place it beside your model.
Step 12
Share your finished molecular model on DIY.org
Help!?
If I don't have toothpicks or modeling clay, what can I use instead for the parts where the instructions say to 'push a toothpick partway into the center atom' and 'press the free end'?
Use uncooked spaghetti or short wooden skewers instead of toothpicks and substitute marshmallows, foam balls, or tightly rolled aluminum foil for the clay balls when following the same push-and-press steps.
Why do the atoms keep falling off and how can I fix loose parts as suggested in the 'Check your model' step?
If atoms come loose, push the toothpicks deeper into both the center and outer balls, reshape or firm the balls (chill clay or use denser foam), and add a tiny dab of school glue where the toothpick enters to stabilize the joint.
How can I make this activity easier for younger kids or more challenging for older kids using the steps like choosing a molecule, coloring atoms, and arranging toothpicks for 3D angles?
For younger kids simplify to water with large foam balls, pre-written chemical symbols, and pre-inserted toothpicks, while older kids can build methane or CO2, create double/triple bonds as described, and carefully adjust toothpicks to show tetrahedral, linear, or bent angles before writing the formula card.
What are some ways to extend or personalize the model after I 'write the molecule's name and chemical formula on a small card' and prepare to 'share your finished molecular model on DIY.org'?
Enhance the project by mounting the model on a small base, adding printed labels for each atom and bond type beside the name/formula card, using colored wire to show bond polarity or varied toothpick lengths for bond lengths, and photographing the finished display to upload to DIY.org.
Watch videos on how to build a 3D molecular model
How To Build Molecules - Specific Step-By-Step Examples!
4 Videos
How To Build Molecules - Specific Step-By-Step Examples!
How To Make 3D MOLECULAR MODELS Using STYRO BALL | IN CHEMISTRY For Your School Project |
How to make Molecular Model using Clay
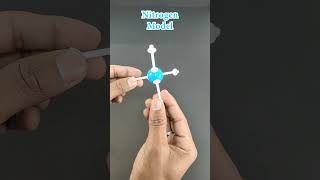
Molecular Model | Making of Atomic Model | Carbon, Sulphur, Oxygen, Nitrogen, Hydrogen, etc.
Facts about basic chemistry and molecular structure
🧪 A single water molecule (H2O) has three atoms — two hydrogens and one oxygen, perfect for a tiny 3D model!
🧲 Toothpicks work great as 'bonds' because they show connections and angles between atoms in a simple way.
🔬 The ball-and-stick model helps scientists and students see molecules in 3D and predict shapes and angles.
🧱 Atoms are mostly empty space — if an atom were the size of a stadium, its nucleus would be about the size of a pea!
🌈 Chemists use colors to tell elements apart: white for hydrogen, red for oxygen, black for carbon, and blue for nitrogen.
How do you build a 3D molecular model with clay and toothpicks?
What materials do I need to build a molecular model?
What ages is the molecular model activity suitable for?
What are the benefits of building molecular models and variations for the activity?
