Experiment with soap
Make and test homemade foaming soap and bubbles using mild soap, water, and glycerin; observe lather, bubble size, and cleaning properties safely.


Step-by-step guide to make and test homemade foaming soap and bubbles
Soap Making Tutorial and Recipe for Absolute Beginners (you can do it!)
Step 1
Gather all Materials Needed and sit at a table with an adult nearby.
Step 2
Pour 1/2 cup water into Cup A using the measuring cup.
Step 3
Pour 1/2 cup water into Cup B using the measuring cup.
Step 4
Add 1 teaspoon mild liquid soap to Cup A with the measuring spoon.
Step 5
Add 1 teaspoon mild liquid soap to Cup B with the measuring spoon.
Step 6
Add 1/2 teaspoon glycerin to Cup B with the measuring spoon.
Step 7
Stir Cup A gently for 10 seconds with the spoon or stir stick.
Step 8
Stir Cup B gently for 10 seconds with the spoon or stir stick.
Step 9
Put a small smear of jam on a plastic spoon to make a tiny safe cleaning test spot.
Step 10
Wet your hands under running water to get ready to make lather.
Step 11
Pour a small amount of the mixture from Cup A onto your wet palm.
Step 12
Rub your palms together for 10 seconds to make and feel the lather.
Step 13
Use a small spoonful of mixture from Cup A to scrub the jam smear on the plastic spoon to test cleaning power.
Step 14
Make bubbles by dipping a bubble wand or straw into Cup B and blowing gently then watch bubble size and how long they last.
Step 15
Share your finished experiment and what you observed about lather bubble size and cleaning on DIY.org
Help!?
What can we use if glycerin or measuring spoons are hard to find?
If you don't have glycerin for the 'Add 1/2 teaspoon glycerin to Cup B' step, substitute an equal amount of light corn syrup, and if you lack measuring spoons use a level ordinary kitchen teaspoon to approximate the 1/2 and 1 teaspoon amounts.
Why did Cup A produce little lather or fail to clean the jam smear, and how can we fix it?
If Cup A makes little lather or doesn't remove the jam smear, try stirring a bit longer than 10 seconds with slightly warmer water, pour a slightly larger amount of the mixture onto your wet palm, or scrub the jam smear longer with the spoonful from Cup A.
How can we adapt the steps for different ages so it stays safe and fun?
For toddlers have an adult pour the 1/2 cup water and add soap while the child feels the lather and watches Cup B bubbles, for school-age kids let them measure, stir both cups, do the jam-cleaning test and record observations, and for older kids turn it into a controlled experiment by changing soap types or glycerin amounts to compare lather, bubble size, and cleaning power.
What are simple ways to extend or personalize the experiment after finishing the basic steps?
Extend the activity by testing different mild liquid soaps in separate cups, adding a drop of food coloring to Cup B to make visible bubbles (on plastic only), or making a chart to rate lather, bubble size, and jam-cleaning power to share on DIY.org.
Watch videos on how to make and test homemade foaming soap and bubbles
Beginner's Guide to Lye Safety | Bramble Berry Basics of Soap Making
4 Videos
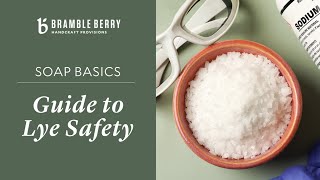
Beginner's Guide to Lye Safety | Bramble Berry Basics of Soap Making
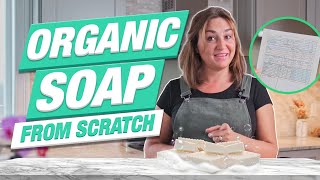
How to make Organic Soap from SCRATCH 🧼 P.S. I explain the science behind it too!
First Time Soap Making Tips! 🛁 🧼
Soap Making Safety Essentials - Detailed Lye Safety Video - ESSENTIAL Viewing for all Soap Makers
Facts about soap chemistry and bubble science
🧼 Soap molecules have two ends — a water-loving head and an oil-loving tail — which lets soap lift grease into water.
💧 Glycerin (glycerol) is a safe, sweet-smelling liquid that thickens bubble films and helps bubbles last longer by slowing evaporation.
🫧 A soap bubble's film can be only a few hundred nanometers thick (much thinner than a hair), which is why you see rainbow colors from light interference.
🧪 Soap works by lowering water's surface tension so it can spread and form micelles that trap dirt and oils to rinse away.
🧽 Lots of fluffy lather looks impressive, but scrubbing action and rinsing are just as important as soap for cleaning well.
How do I make and test homemade foaming soap and bubbles at home?
What materials do I need to make foaming soap and bubbles?
What ages is this soap experiment suitable for?
What are the benefits and safety tips for this foam and bubble experiment?
