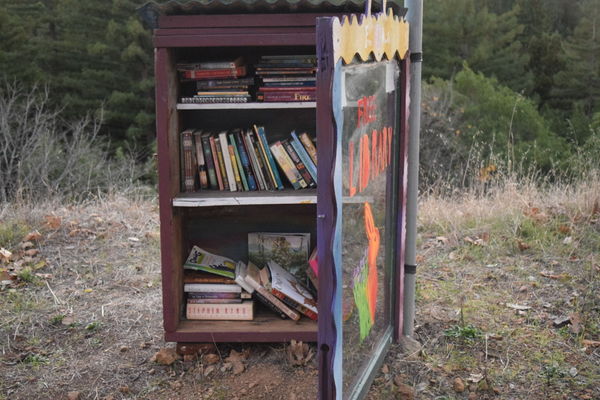
Build a free little library
Build a small outdoor free little library with adult help using wood or recycled materials, paint and stock it, and learn community sharing.


Step-by-step guide to build a free little library
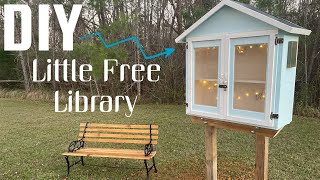
DIY Little Free Library - Sharing books with your Neighborhood
Step 1
Pick a safe level spot outside near a walkway.
Step 2
Ask an adult to check and approve the spot.
Step 3
Measure and mark the size of your little library on the wood with a measuring tape and pencil.
Step 4
Ask an adult to cut the wood pieces to the sizes you marked.
Step 5
Sand all cut edges until they are smooth and safe to touch.
Step 6
Ask an adult to assemble the back and sides using nails or screws.
Step 7
Ask an adult to attach the roof piece with a slight overhang using nails or screws.
Step 8
Ask an adult to attach a hinge and small latch to the front so it can open and close.
Step 9
Paint the outside of your little library with outdoor paint and decorate it with fun designs.
Step 10
Let the paint dry completely before you touch it.
Step 11
Apply waterproof sealant to the outside and roof to protect it from rain.
Step 12
Ask an adult to mount the library to the chosen spot by securing it to a post or wall.
Step 13
Fill the library with a variety of clean books suitable for your neighbors.
Step 14
Attach a small sign near the door that says "Free Little Library Take a Book Return a Book."
Step 15
Share your finished little library on DIY.org
Help!?
What can we use if we can't find the specific wood or hardware listed in the instructions?
If you can't find new plywood, use a sturdy recycled wooden crate or pallet and ask an adult to cut and sand it to the measured sizes in steps 3–5, or use a weatherproof plastic storage bin as the library body and attach a hinged lid per steps 7–8.
What should we do if rain or leaks get books wet after the roof is attached?
If rain gets inside after you attach the roof (step 7), ask an adult to seal the roof seams with exterior caulk and then reapply waterproof sealant to the outside and roof as in step 10 so the library stays dry.
How can we change the project for different age groups so it's safe and fun?
For younger kids (under 7), let them pick paint colors and decorate the outside (step 9) and fill the library with picture books (step 12) while an adult handles measuring and cutting (steps 3–5), and older kids can help measure, sand, and assist during assembly (steps 3–6).
How can we enhance or personalize our little library after it's built?
To personalize and improve your little library, paint a neighborhood map and add a small solar LED light inside the roof after attaching it in step 7, install a clear acrylic window on the front for weather protection before applying sealant in step 10, and include a guestbook with the books in step 12.
Watch videos on how to build a free little library
DIY LITTLE FREE LIBRARY WITH PLANS | Renee Renovates
4 Videos
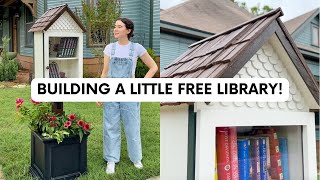
DIY LITTLE FREE LIBRARY WITH PLANS | Renee Renovates
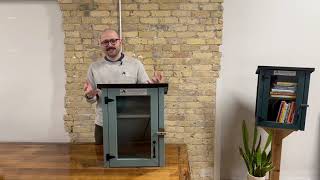
How to Build a Little Free Library Kit
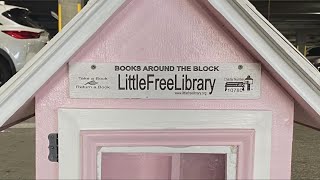
JAY D-I-Y: How to build your own little free library
Little Free Library Build | DIY
Facts about DIY woodworking and community book sharing
📚 The Little Free Library movement began in 2009 when Todd Bol built a model schoolhouse for his mother.
🌍 There are registered Little Free Libraries in more than 100 countries around the world.
🤝 The simple motto 'Take a Book, Leave a Book' helps neighbors share stories without a library card.
🛠️ You can build a sturdy tiny library from scrap wood or a recycled mailbox — a great upcycling project.
🎨 A coat of exterior paint plus waterproof sealant helps your outdoor library keep books dry for many seasons.
How do I build a free little library with my child?
What materials do I need to build a small outdoor free little library?
What ages is building a free little library suitable for?
What are the benefits and safety tips for kids building a free little library?
