Set up a shelter in the wild
Build a simple lean-to shelter using branches, leaves, and rope with adult supervision, practicing site selection, fastening techniques, and staying dry.

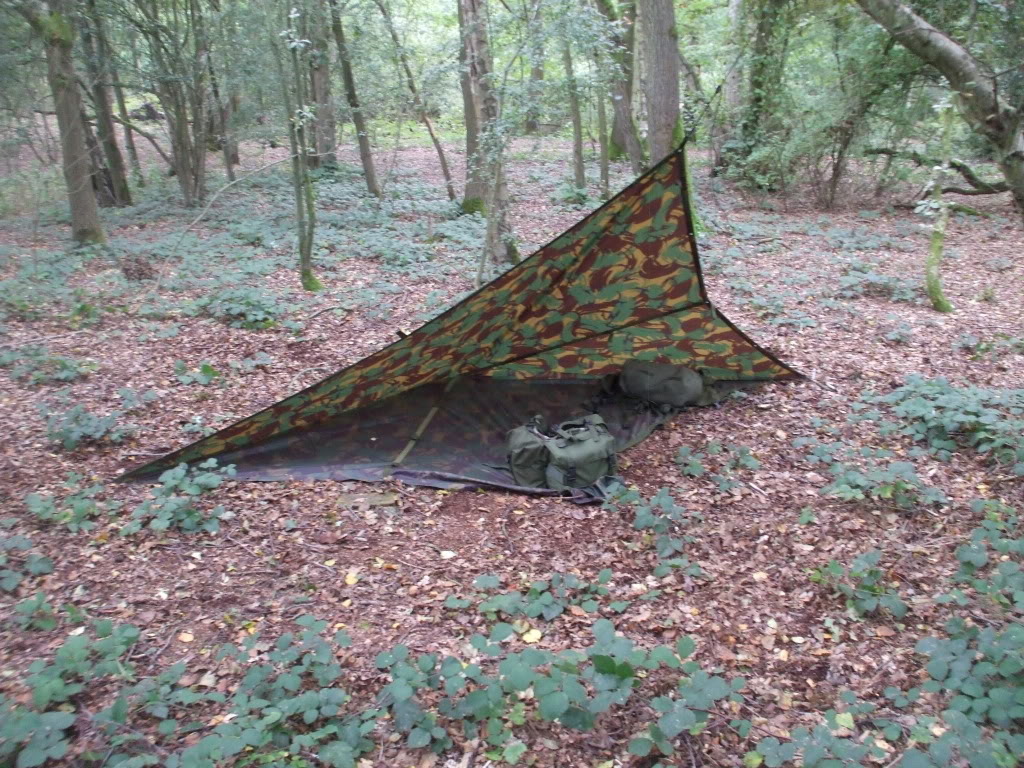

Step-by-step guide to build a lean-to shelter in the wild
Bushcraft for kids: How to build a mini shelter AT HOME
Step 1
With an adult, pick a safe flat dry spot away from dead branches water and steep slopes.
Step 2
Gather the ridgepole ribs leafy branches rope and tarp or leaves in one place using gloves if you like.
Step 3
Find two sturdy supports such as forked sticks or two trees about chest height and set them 4–6 feet apart.
Step 4
Place the long stick across the two supports so it becomes the slanted ridgepole backbone of your lean-to.
Step 5
Tie the ridgepole firmly to each support with rope using a secure knot while an adult helps you.
Step 6
Lean the shorter sticks against the ridgepole on one side evenly spaced to make the frame ribs.
Step 7
Layer large leafy branches over the ribs starting at the bottom and overlapping like roof shingles.
Step 8
Add more branches and smaller twigs to fill any gaps until the roof looks thick and blocks light and wind.
Step 9
Spread the tarp or pile dry leaves on the shelter floor to make a dry cozy sleeping or sitting area.
Step 10
Gently press and shake parts of the shelter to check for loose pieces and ask the adult to retie or reinforce any weak spots.
Step 11
Share a photo or description of your finished lean-to on DIY.org
Help!?
What can we use if we don't have rope or a tarp?
If you don't have rope, use strong paracord, sturdy vines, or cut strips of a heavy shirt to tie the ridgepole to the supports, and if you don't have a tarp lay a thick layer of large leafy branches or dry leaves over the ribs to act as a roof covering.
The ridgepole keeps slipping — how do we fix it?
Make sure your supports are sturdy forked sticks or trees about chest height set 4–6 feet apart, have an adult hold the ridgepole while you tie secure knots to each support, and wedge extra sticks or add more ties to stop slipping.
How can we adapt this shelter activity for younger or older kids?
For younger children have the adult pick the safe flat dry spot and handle the knot-tying while kids gather branches and layer leaves, and for older kids let them measure the 4–6 foot span, tie the ridgepole themselves, and build a thicker layered roof for better wind and light blocking.
How can we make the lean-to cozier or more personal?
Spread the tarp or pile extra dry leaves on the shelter floor for insulation, add smaller twigs and leafy branches to fill gaps that let in wind and light, and decorate the outside with natural items before sharing a photo on DIY.org.
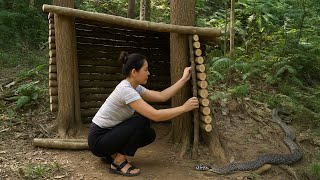
Watch videos on how to build a lean-to shelter in the wild
How to Build a Simple Wooden Shelter in the Forest | Survival Skills
4 Videos
How to Build a Simple Wooden Shelter in the Forest | Survival Skills
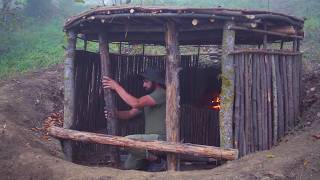
SURVIVAL Expert Builds ROUND Dugout Shelter in the WILD! Grass Roof & Fireplace
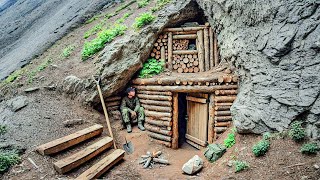
Bushcraft Survival Shelter Build - Full Process from Start to Finish
Building a Survival Wooden Shelter in 7 Days | Bushcraft Skills to Hide from Wild Animals
Facts about wilderness survival skills for kids
🪵 A lean-to is one of the oldest shelters — people have used simple slanted roofs to stay dry and warm for thousands of years.
🔗 Knots like the square knot and taut-line hitch are handy for fastening branches and keeping shelter lines tight and adjustable.
🌧️ Pitch your lean-to with the open side away from the wind to stop rain from blowing into your shelter.
🍂 Laying a thick bed of leaves or brush under your shelter traps air and makes a much warmer, comfier sleeping surface.
🔥 A small, controlled fire placed safely outside the shelter can warm the area and dry damp clothes — always use adult supervision and follow fire rules.
How do you build a simple lean-to shelter in the wild with a child?
What materials do I need to build a lean-to shelter with a child?
What ages is building a lean-to shelter suitable for?
What safety tips should I follow when building a lean-to shelter with a child?
