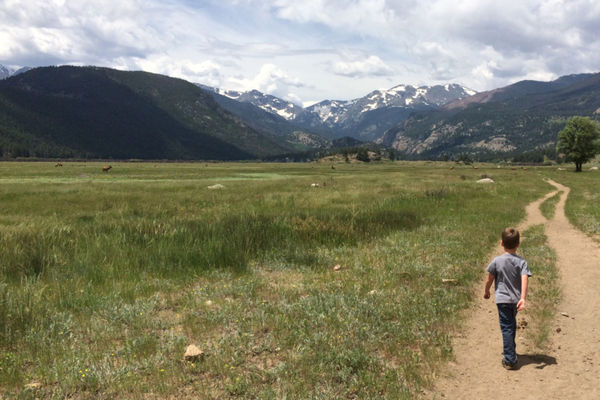
Travel a trail
Plan and follow a short nature trail, map it, record observations, and create simple trail markers to learn navigation and observation skills.


Step-by-step guide to plan and follow a short nature trail
Basics of Hiking with Kids
Step 1
Gather all your materials and take them outside to the place you will explore.
Step 2
Ask an adult for permission and help pick a short safe route you can finish in about 10 to 20 minutes.
Step 3
Walk the route slowly one time to see what is along the way and notice safe places to stop.
Step 4
Choose 4 to 6 distinct waypoints along the route and write a simple name for each in your notebook.
Step 5
Measure the route by counting your normal steps or using the measuring tape and write the approximate distance.
Step 6
Draw a simple map on your paper showing the start point end point and each named waypoint.
Step 7
Make simple trail markers by tying ribbons to sticks or arranging stones into small arrows.
Step 8
Place one marker at each waypoint so you can find the same spots again.
Step 9
Walk the trail again following your map and the markers to practice navigation.
Step 10
Stop at each waypoint and write one short observation and a quick sketch of something you notice.
Step 11
Pick up any trash and remove your markers so the trail stays clean and natural.
Step 12
Share your finished map and observations on DIY.org
Help!?
What can we use if we don't have ribbons, a measuring tape, or a notebook?
Use yarn or cloth strips tied to sticks instead of ribbons, count your normal steps or use a smartphone measuring app instead of a tape, and jot notes on scrap paper or a phone note instead of a notebook.
What should we do if trail markers keep falling over or people move them?
Replace lightweight ribbons with small stacked stones or tie ribbons tightly to thicker sticks and place markers in sheltered spots at each waypoint so you can reliably find the same spots again.
How can I change the activity for younger kids or make it harder for older kids?
For younger children shorten the route, pick 2–3 clear waypoints and let them draw pictures for each stop, while older kids can map 5–6+ waypoints, measure distances with a tape or GPS, and record more detailed observations and sketches.
How can we extend or personalize our trail map and observations before sharing them on DIY.org?
Enhance your simple map by adding a color-coded legend for ribbons, photos of each waypoint, a species or scavenger checklist at stops, and timing notes so your finished map and observations are richer when you share them on DIY.org.
Watch videos on how to plan and follow a short nature trail
How Do Junior Ranger Programs Make Hiking Fun For Kids? - The Hiker's Advice
3 Videos

How Do Junior Ranger Programs Make Hiking Fun For Kids? - The Hiker's Advice

What Makes A Hiking Trail Truly Kid-friendly? - The Hiker's Advice

What Makes A Hiking Trail Exciting For Little Explorers? - The Hiker's Advice
Facts about outdoor navigation and nature observation for kids
🧭 Compasses point toward Earth's magnetic north, which is not the same as true (geographic) north — explorers learn both!
🗺️ Old maps sometimes showed sea monsters or fanciful drawings in unknown areas — mapmakers had a sense of humor (and mystery)!
🌲 Trail blazes are simple painted marks or signs that use colors and shapes so hikers can follow the right path without getting lost.
🏃♂️ Orienteering began in Sweden as military training in the 1800s and today it's a fun worldwide sport where people race using maps and compasses.
🔬 Apps like iNaturalist let kids snap photos of plants and animals and share them with scientists to help track nature around the world.
How do we plan and follow a short nature trail with map-making and trail markers?
What materials do I need to plan and map a short nature trail with markers?
What ages is this trail-mapping and observation activity suitable for?
What are the benefits and safety tips for doing a short nature trail with mapping and markers?
