Design a cover
Design a colorful book cover using paper, markers, collage materials, and simple measurements; plan layout, create imagery, and add a title and author.


Step-by-step guide to design a colorful book cover
How to design your own book cover | Art projects for kids | #doitwithdiy
Step 1
Gather all the materials from the list and bring them to your workspace.
Step 2
Clear a flat workspace so you have room to work and move pieces around.
Step 3
Use the ruler and pencil to draw a 1-inch margin around the edge of your paper.
Step 4
Lightly divide the inside area into three zones for the title main image and author using the ruler and pencil.
Step 5
Choose three main colors for your cover to make a simple color scheme.
Step 6
Sketch your main image lightly in the image zone with your pencil.
Step 7
Cut collage pieces from magazines or colored paper that match your idea and colors.
Step 8
Arrange the collage pieces on the cover without gluing to try different layouts.
Step 9
Glue the collage pieces in place once you like the layout.
Step 10
Outline your pencil sketch with a marker to make the main image stand out.
Step 11
Color the image and background using your coloring materials.
Step 12
Draw the title letters large and bold in the title zone with your pencil.
Step 13
Trace and fill the title letters with markers to make the title bright and clear.
Step 14
Write the author name neatly in the author zone with a marker and add small finishing details.
Step 15
Share a photo of your finished book cover on DIY.org.
Help!?
If I don't have a ruler, magazines, or markers listed in the materials, what can I use instead?
Use a straight edge like a hardcover book or the edge of a cereal box to draw the 1-inch margin, tear or cut colored paper or fabric scraps in place of magazines for collage pieces, and swap markers for crayons or colored pencils when tracing and filling the title.
What should I do if my collage pieces keep sliding around or the marker outlines smudge after gluing?
First follow the instruction to arrange collage pieces without gluing until you like the layout, then use a glue stick or double-sided tape for even adhesion and let the glue fully dry before outlining your pencil sketch with a marker to prevent smudging.
How can I adapt the steps for different ages so the activity is safe and fun for everyone?
For preschoolers have an adult pre-draw the 1-inch margin and pre-cut collage pieces so they can focus on arranging and coloring, for elementary kids let them measure, sketch the zones, and glue pieces themselves, and for older kids encourage precise ruler use, detailed lettering, and more complex collage shapes during the sketch-and-arrange steps.
How can we make the finished cover more special or lasting after following all the steps?
After coloring, outlining, and writing the author name as instructed, personalize and protect the cover by adding textured elements like fabric scraps or foam letters, sealing it with clear contact paper or a thin layer of Mod Podge, and creating a matching back cover or a blurb to glue inside before sharing the photo on DIY.org.
Watch videos on how to design a colorful book cover
Design Your Own Cool BOOK COVER!
4 Videos

Design Your Own Cool BOOK COVER!
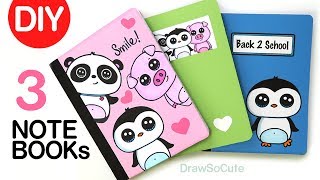
DIY Notebook Cover Designs for Back to School | Super EASY!
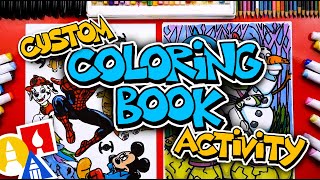
Happy Coloring Book Day ~ Custom Coloring Page Activity
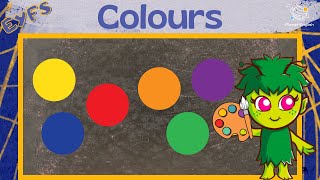
Colours for Kindergarten | EYFS Activity
Facts about book cover design and paper crafts
🎨 Designers often aim to hook readers in 3–5 seconds — that’s how fast a cover can make a first impression.
📚 Dust jackets and decorative covers became common in the 19th century and have helped sell books ever since.
✂️ Collage was popularized by Pablo Picasso and Georges Braque in the early 20th century and is great for playful textures.
🖍️ Markers come in water-based (washable) and alcohol-based (more vibrant and permanent) — pick the right type for your project.
📏 Simple measurements like margins and spine width (a few centimeters) make a cover look neat and professional.
How do I help my child design a colorful book cover?
What materials do I need to design a book cover with my child?
What ages is designing a book cover suitable for?
What are the benefits of designing book covers with children?
