Build a cardboard vehicle
Construct a small cardboard vehicle with wheels, axles, and decorations using recyclable materials, learn simple mechanics, and test how well it rolls.


Step-by-step guide to build a cardboard vehicle
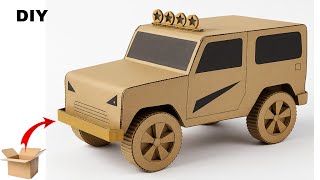
How to make a cardboard car | Easy DIY project | School project easy ideas #carboardcraft
Step 1
Gather all the materials and clear a flat workspace to build on.
Step 2
Draw a rectangle about 15 cm long and 8 cm wide on the cardboard for your vehicle chassis.
Step 3
Carefully cut out the cardboard rectangle to make the chassis.
Step 4
Flip the chassis over and mark two axle positions by placing a small mark across the width about 2 cm in from each short end.
Step 5
Tape two drinking straws to the underside of the chassis over the marks so each straw runs side to side and is straight.
Step 6
Trim two wooden skewers so each skewer is about 2 cm longer than the width of the chassis.
Step 7
Make small holes in the centers of four bottle caps so the skewers can pass through the caps.
Step 8
Push each skewer through a pair of bottle caps so each skewer has one cap on each end to create two axle assemblies.
Step 9
Slide the first axle assembly through the front straw on the underside of the chassis so the wheels sit outside the chassis.
Step 10
Slide the second axle assembly through the rear straw on the underside of the chassis so the wheels sit outside the chassis.
Step 11
Secure each wheel by wrapping a small piece of tape around the skewer just outside each bottle cap so the wheels cannot slide off.
Step 12
Decorate your vehicle using colouring materials and extra cardboard pieces to add windows spoilers or a driver.
Step 13
Place your vehicle on a flat floor give it a gentle push and measure how far it rolls using the ruler to test its performance.
Step 14
Share your finished creation on DIY.org.
Help!?
What can I use instead of wooden skewers, drinking straws, or bottle caps if they are hard to find?
Use chopsticks or thin wooden dowels instead of skewers, cut sections of a pen barrel or sturdy craft straws to tape under the chassis in place of the drinking straws, and substitute large buttons, toy wheels, or jar lids for the bottle caps when making the axle assemblies.
Why won't my wheels spin freely and how can I fix it?
If wheels stick, check that the straws taped to the underside of the chassis are straight and not pinching the skewers, widen the holes in the bottle caps slightly and sand or trim skewer ends, and secure each wheel with a small tape wrap placed just outside the caps so they can't slide but can still rotate.
How can I adapt this cardboard vehicle activity for younger children or older kids?
For younger kids have an adult cut the 15 cm × 8 cm chassis and pre-thread axles using large buttons or toy wheels for safety, while older children can trim skewers to custom lengths, add aerodynamic spoilers from extra cardboard, and measure roll distances to compare designs.
How can we make the vehicle go farther or personalize its look beyond the basic decoration step?
To improve distance swap to larger or lighter wheels (replace bottle caps), reduce axle friction by using smooth pen-barrel sleeves instead of straws, add a rubber-band motor or adjustable cardboard spoiler, and decorate with extra cardboard pieces to personalize as described in the decoration step.
Watch videos on how to build a cardboard vehicle
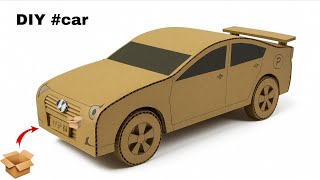
How to make a car with cardboard | DIY project | Easy & Fun tutorial#howtomakecardboardcar
4 Videos

How to make a car with cardboard | DIY project | Easy & Fun tutorial#howtomakecardboardcar
Easy Cardboard Car Model | DIY Craft for Kids & Beginners
How to Make Cardboard Car | Easy DIY Cardboard Car Making at Home
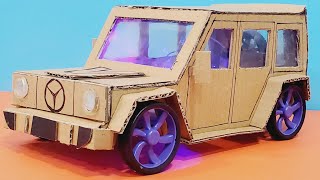
DIY: How to Make a Cardboard Car | Step-by-Step Tutorial
Facts about simple mechanics for kids
🚗 The wheel was invented around 3500 BCE — that’s more than 5,000 years ago!
⚙️ The wheel and axle is one of the six classical simple machines that makes moving things easier.
♻️ Corrugated cardboard was invented in the 19th century and is one of the most recycled materials worldwide.
🧈 Less friction = more rolling: smoother wheels and a little wax or graphite on the axle help your cardboard car go farther.
🏁 Small changes — like wheel size, axle height, or where you add weight — can totally change which car wins a race!
How do you build a cardboard vehicle with wheels and axles?
What materials do I need to build a cardboard vehicle?
What ages is this cardboard vehicle activity suitable for?
What are the benefits of building cardboard vehicles (and any safety tips)?
