Make a cardboard toy
Build a moving cardboard toy car with recycled boxes, wheels, and simple axles. Decorate, test rolling, and learn about design and friction.


Step-by-step guide to make a moving cardboard toy car
4 amazing cardboard toys make at home | DIY cardboard toy | Cardboard crafts
Step 1
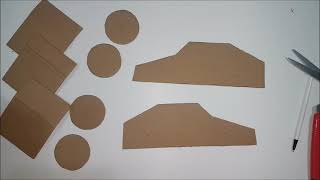
Gather all materials and lay them out on a clean flat table.
Step 2
Use the ruler and pencil to draw a rectangle about 15 cm long and 8 cm wide on the cardboard for the car body.
Step 3
Mark two axle positions by drawing short lines across the rectangle about 2 cm in from each short end.
Step 4
Cut out the car body shape from the cardboard along your pencil lines.
Step 5
Cut two plastic straws to the width of the car body so each straw will act as an axle sleeve.
Step 6
Tape each straw piece underneath the car body at the axle marks so the straws are straight and centered.
Step 7
Push a wooden skewer through each taped straw so the skewers run across the car and act as axles.
Step 8
Make a small centered hole in the middle of each bottle cap to create four wheels.
Step 9
Push one bottle cap onto each end of the skewers and secure the wheels with a little tape or glue so they do not fall off.
Step 10
Trim any skewer ends that stick out too far so the wheels can spin freely.
Step 11
Roll your car on a smooth floor and then on a carpet to see how friction changes how far it goes.
Step 12
Adjust axle alignment by nudging the skewers or moving the straw sleeves until the car rolls straight without wobbling.
Step 13
Decorate your car with colouring materials and stickers to make it look awesome.
Step 14
Share your finished moving cardboard toy car on DIY.org.
Help!?
What can I use instead of wooden skewers, bottle caps, or plastic straws if I can't find them?
If you don't have wooden skewers, use trimmed pencils or straight barbecue skewers as axles, swap bottle caps for round cardboard discs or toy wheels to push onto the skewers, and replace the plastic straw axle sleeves with short rolled-up pieces of cardstock or sections of thicker drinking straws taped under the car at the axle marks.
My car wobbles or the wheels don't spin—what should I check and fix?
Check that each straw sleeve is taped straight and centered under the axle marks, trim skewer ends so caps don't rub the cardboard, and reseat or add a little tape or glue to the bottle-cap wheels so they sit snug but can still rotate freely.
How can I adapt this activity for different ages or skill levels?
For toddlers, pre-cut the car body and pre-punch the bottle-cap holes and help push skewers through taped straws, while older kids can precisely measure the 15 cm × 8 cm body, experiment with axle alignment adjustments for straight rolling, or design a rubber-band motor to power the car.
What are some fun ways to improve or personalize the cardboard car after following the instructions?
You can add traction by gluing thin rubber bands around the bottle-cap wheels, secure wheels with small tape collars on the skewers for stability, decorate with paint and stickers as suggested, and test how far it rolls on floor versus carpet before sharing your results on DIY.org.
Watch videos on how to make a moving cardboard toy car
Cool DIY Toys You Can Create At Home || DIY Crafts From Cardboard
4 Videos
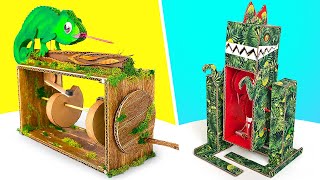
Cool DIY Toys You Can Create At Home || DIY Crafts From Cardboard
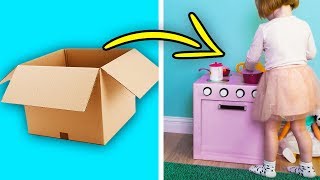
10 GREAT CARDBOARD DIYS FOR KIDS
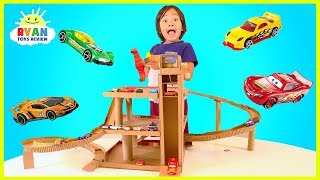
How to Make Cardboard Toy Car Garage Playset with lift for Hot Wheels and Disney Cars
DIY Cardboard Toy Car
Facts about basic engineering and recycling for kids
🛞 A wheel and axle is one of the six classical simple machines and helps objects roll with far less effort.
♻️ Cardboard is one of the easiest materials to recycle and reuse—perfect for making eco-friendly toys.
🚗 Toy cars have been made for centuries, but mass-produced miniature cars became wildly popular in the 20th century.
🧪 Friction converts motion into heat, so smoother axles or a little lubrication can help your cardboard car roll farther.
🔧 Simple axles can be made from skewers, straws, or wooden dowels—adding small washers or spacers reduces wobble.
How do I build a moving cardboard toy car step by step?
What materials and tools do I need to make a cardboard toy car with moving wheels?
What ages is this moving cardboard toy car activity suitable for?
What are the benefits, safety tips, and fun variations for a cardboard toy car project?
