Make a cardboard instrument
Build a simple cardboard guitar using recycled boxes, rubber bands, and glue; learn about sound, vibration, and tuning while decorating your instrument creatively.

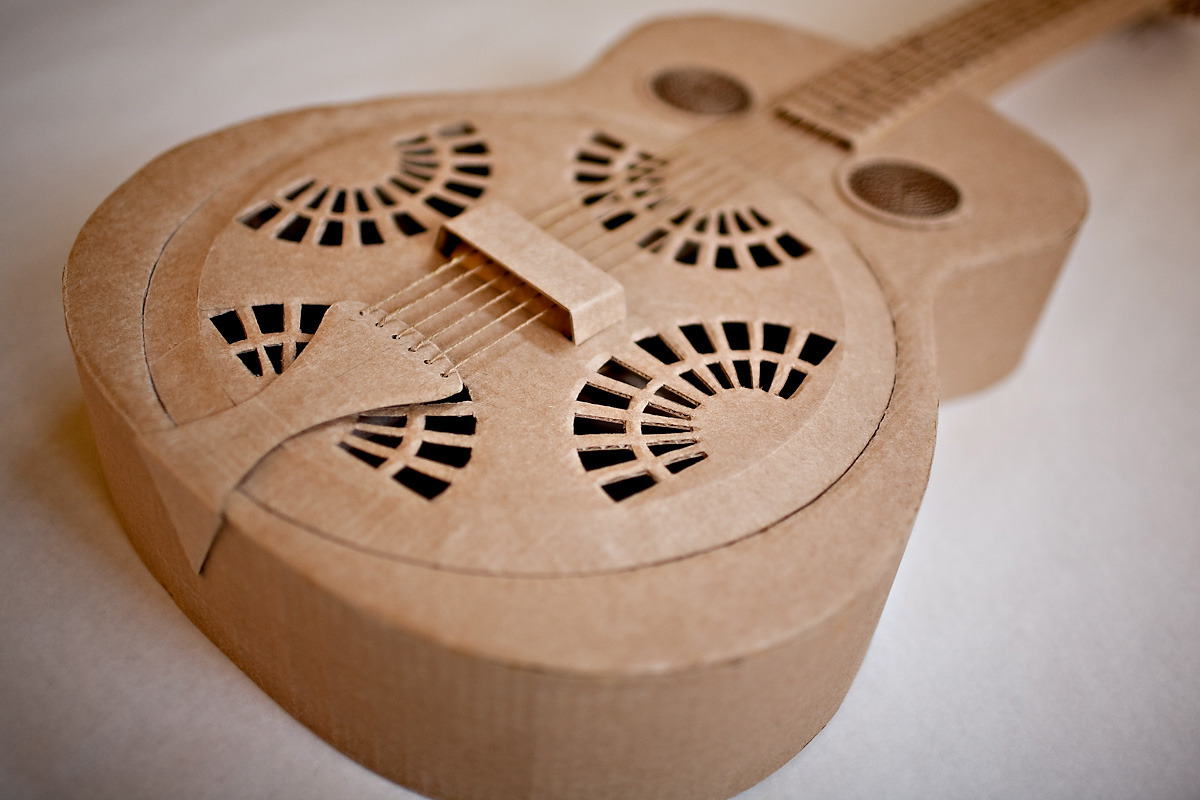

Step-by-step guide to make a cardboard guitar
How to make DIY Musical Instruments for Kids!!
Step 1
Gather all your materials on a clear table so everything is easy to reach.
Step 2
Draw a simple guitar body shape on the cardboard and then trace the same shape again to make two identical pieces.
Step 3
Cut out both guitar body shapes carefully using scissors or a craft knife with adult help.
Step 4
Glue the two body shapes together to make a thicker guitar body and press until the glue holds.
Step 5
Draw and cut a round sound hole near the middle of the guitar top layer so sound can come out.
Step 6
Cut a long rectangle from cardboard for the neck and glue it to the top center of the body so it looks like a guitar neck.
Step 7
Glue a thin cardboard strip or craft stick near the bottom of the body to make a bridge for the strings to rest on.
Step 8
Cut small notches at the top and bottom edges of the body to hold the rubber bands in place.
Step 9
Stretch rubber bands from the top notches to the bottom notches so they run over the bridge and act as strings.
Step 10
Pluck each rubber band gently and listen carefully to hear the vibration and difference in sound.
Step 11
Tune each rubber band by sliding it along the neck or moving it slightly on the bridge until you like the pitch.
Step 12
Decorate your guitar with colouring materials and stickers to make it look awesome.
Step 13
Take a photo or short note about your instrument and share your finished creation on DIY.org.
Help!?
What can we use if we don't have rubber bands or a craft stick?
Use elastic hair ties or cut strips of an old elastic belt as strings and substitute a wooden ruler, popsicle stick, or folded cardboard for the bridge when you glue a thin cardboard strip or craft stick near the bottom of the body.
My glued layers keep separating or the rubber bands keep slipping—what should I do?
Press the two body shapes together under a heavy book until the glue dries fully and make smaller, tighter notches or secure the bands with a little tape or glue at the top and bottom so they stay over the bridge and don't slip.
How can I adapt this activity for younger kids or make it more challenging for older kids?
For younger children, have adults pre-cut the two guitar body shapes and the sound hole and let kids stretch rubber bands and decorate with colouring materials, while older kids can safely use a craft knife with supervision to refine the sound hole, add frets with tape, or experiment with different neck shapes when gluing the neck to the body.
How can we improve the sound or personalize the instrument?
Try different rubber band thicknesses, move the bridge position or add a paper towel tube under the body for more resonance, and personalize by decorating with stickers and colouring materials before taking a photo to share on DIY.org.
Watch videos on how to make a cardboard guitar
How to make a String Instrument from Cardboard | Cardboard Harp
4 Videos
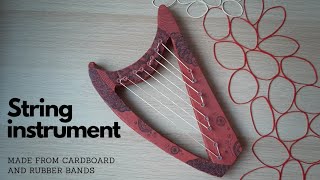
How to make a String Instrument from Cardboard | Cardboard Harp
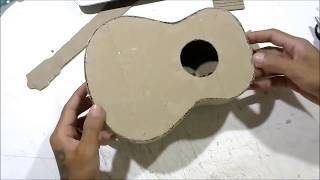
How to make an Acoustic Guitar from cardboard
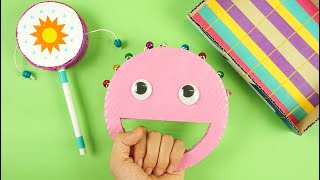
3 Easy Musical Instruments craft you can do anytime - DIY
How to make an Easy Tambourine from Cardboard and Buttons? | Musical Instruments | Craft Ideas | DIY
Facts about musical instruments and sound
🎸 Most guitars have six strings, but even a single rubber band can make a plucked-string sound for experiments.
🪢 Rubber bands were first patented in 1845 by Stephen Perry and stretch thanks to rubber's elastic properties.
📦 Corrugated cardboard is lightweight, strong, and one of the easiest materials to recycle into crafts and instruments.
🔊 Sound travels through air at about 343 m/s (1,125 ft/s) at 20°C — that's how fast vibrations reach your ear.
🎶 Pitch depends on tension and length: tighten a string or shorten its vibrating length to make higher notes.
How do you build a simple cardboard guitar using recycled boxes?
What materials do I need to make a cardboard guitar?
What ages is this cardboard instrument activity suitable for?
What are the benefits and safety tips for making and playing a cardboard guitar?
