Paint and finish cardboard
Paint and finish a cardboard project like a decorated storage box or mini model, learning light sanding, sealing, and layering paint for a smooth finish.


Step-by-step guide to paint and finish cardboard
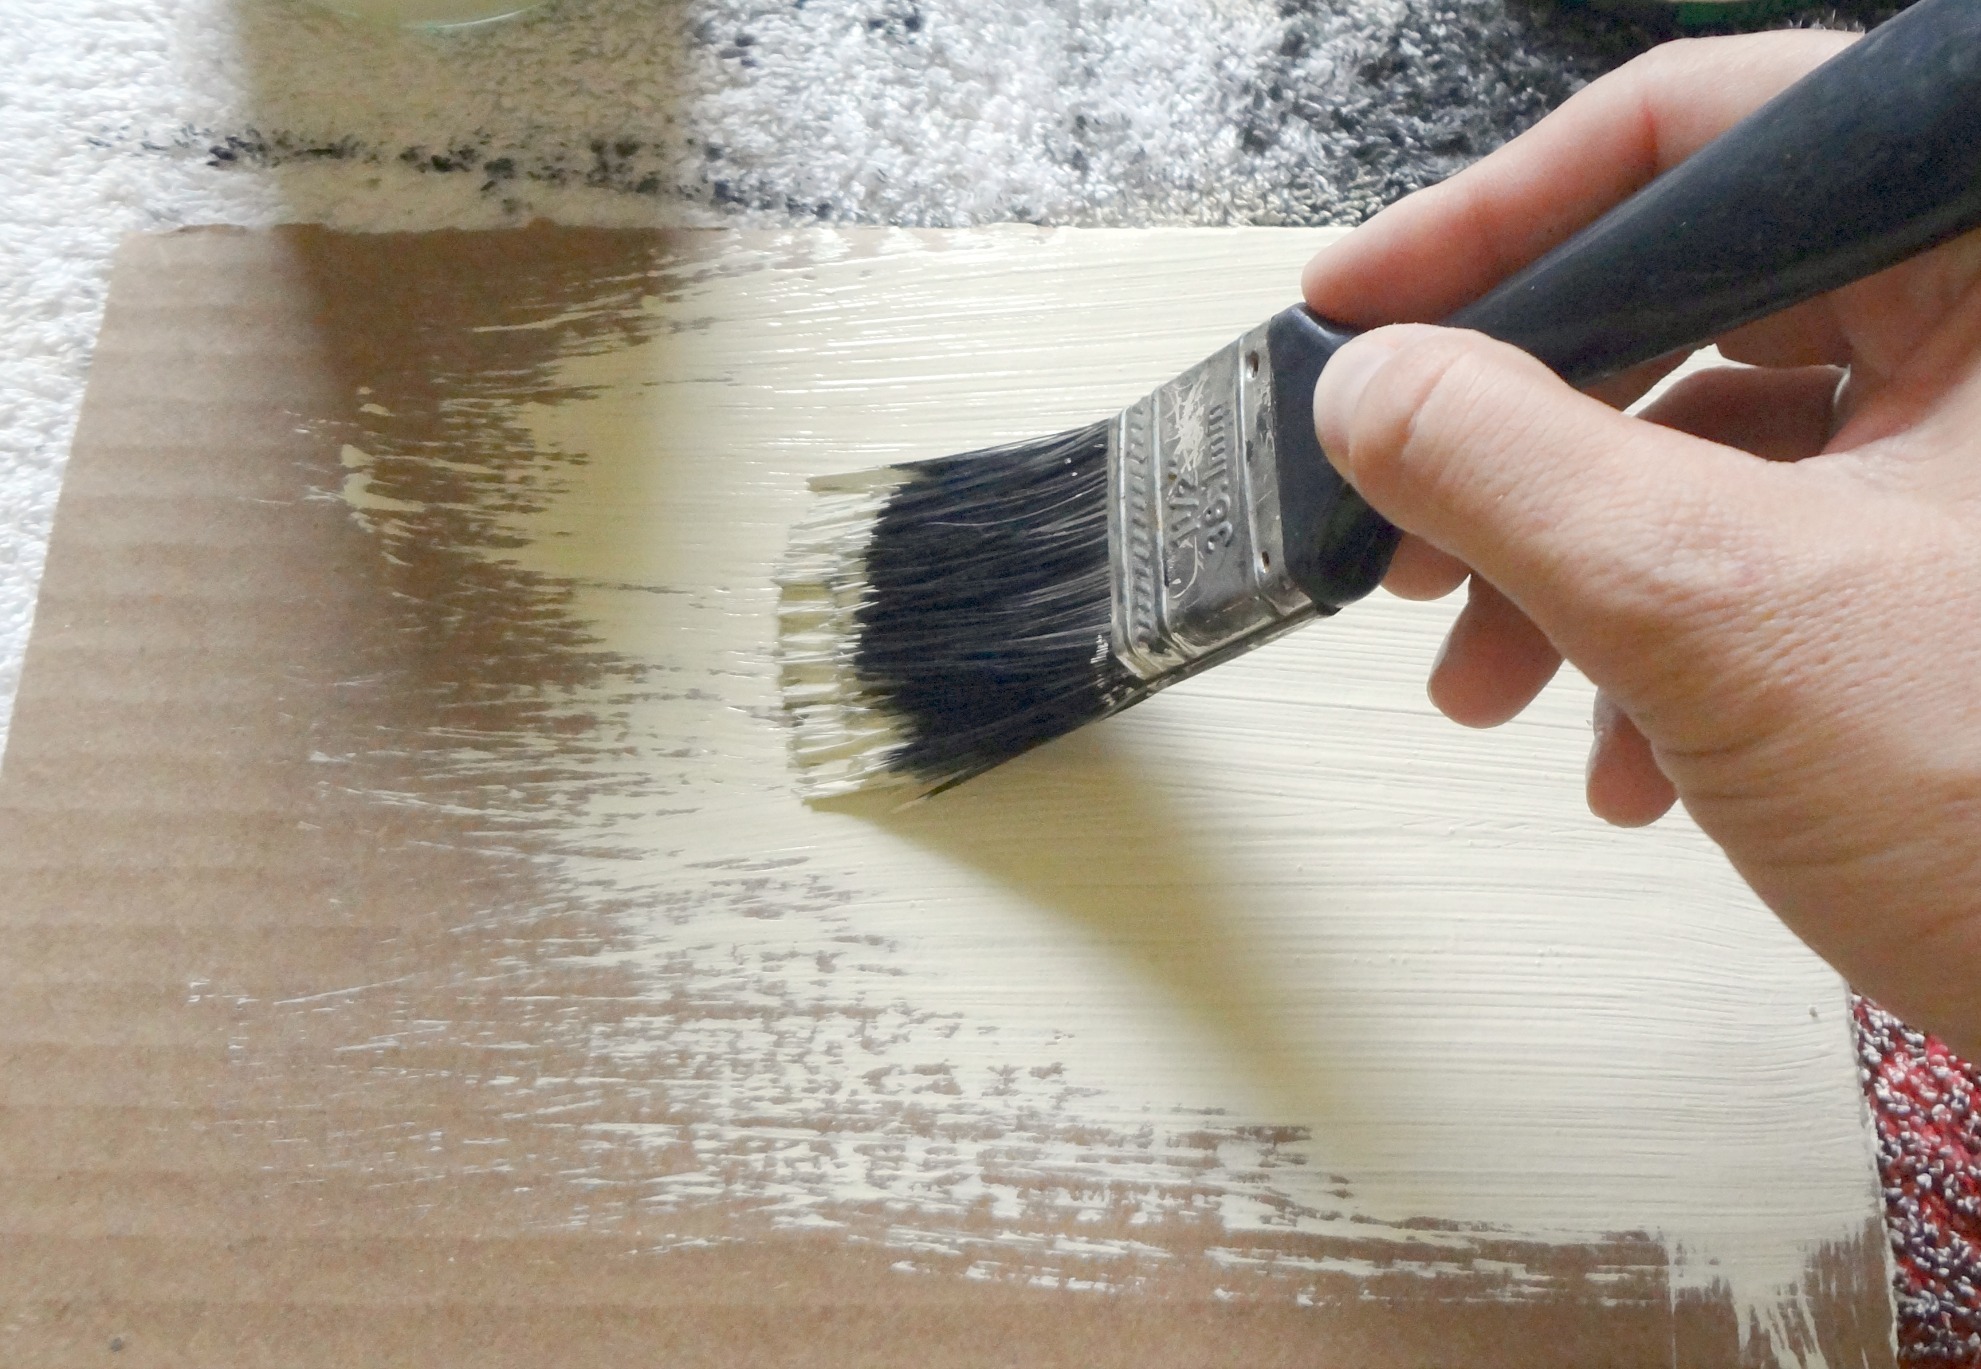
DIY | How to paint faux wood grain on cardboard | EASY
Step 1
Clear a flat workspace and lay down the protective cover so your table stays clean.
Step 2
Place your cardboard project on the covered workspace and arrange your materials within reach.
Step 3
Use masking tape to cover any seams or areas you do not want painted.
Step 4
Lightly sand the cardboard surface with the fine grit sandpaper to make it smooth.
Step 5
Wipe away sanding dust with a paper towel so the surface is clean.
Step 6
Paint a thin even layer of primer or white acrylic paint over the cardboard to seal it.
Step 7
Allow the primer coat to dry completely before touching it.
Step 8
Lightly sand the primed surface to smooth any bumps or brush marks.
Step 9
Paint a thin even base coat of your chosen color over the primed surface.
Step 10
Let the base coat dry completely so the paint sets.
Step 11
Apply additional thin paint coats and let each coat dry until the color looks smooth and even.
Step 12
Add decorative details like patterns or pictures once the final coat is dry.
Step 13
Brush a thin even layer of clear acrylic sealer or Mod Podge over the whole project to protect it.
Step 14
Allow the sealer to dry fully so your finish is hard and protected.
Step 15
Share a photo of your finished cardboard creation on DIY.org so others can see your awesome work.
Help!?
What can I use if I don't have white acrylic primer or Mod Podge?
If you don't have white acrylic primer for step 6, apply a thin even coat of watered-down white school glue or gesso to seal the cardboard, and if you lack Mod Podge for step 12 use a thin layer of clear acrylic sealer or brush-on polyurethane as the protective finish.
My paint is wrinkling or the cardboard is buckling—what should I try?
If the cardboard buckles or paint wrinkles (common when the surface gets too wet in steps 6–10), fix it by applying much thinner coats, letting each coat dry completely as directed in steps 7–10, and using the masking tape from step 3 to protect seams.
How can I adapt this project for different ages?
For preschoolers skip the fine-grit sanding in step 4, have an adult pre-apply masking tape in step 3, and let them use washable tempera for the base coat in step 8, while older kids can do the light sanding in step 7, use spray primer in step 6, and add detailed patterns or stencils in step 11 before sealing in step 12.
How can we enhance or personalize the finished cardboard piece?
To personalize and extend the project, add textured collage elements (tissue or fabric) before priming in step 6, use metallic or glow-in-the-dark acrylics for decorative details in step 11, and finish with an extra coat of clear sealer in step 12 so your piece is durable enough to photograph and share on DIY.org in step 14.
Watch videos on how to paint and finish cardboard
How to finish your cardboard project with gummed craft paper step by step
4 Videos

How to finish your cardboard project with gummed craft paper step by step
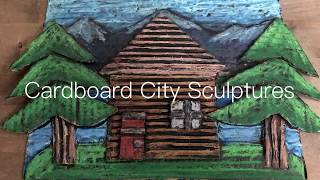
Art for Kids: Cardboard Relief Sculptures - Simple Tutorial
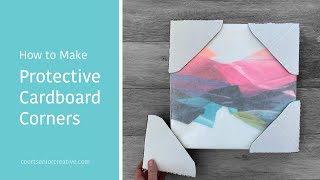
How to Make Cardboard Corners | DIY Cardboard Corners for Paintings
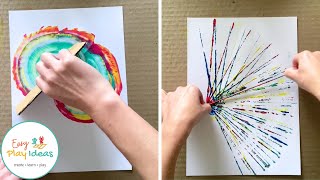
Abstract Painting Ideas for Kids | Process Art Ideas for Kids | Painting Ideas for Kids
Facts about painting and finishing for kids
🎨 Acrylic paint can dry in 10–20 minutes for a thin layer, so kids can often add another coat the same day.
🧽 Light sanding between coats removes tiny bumps and helps paint layers stick for a super-smooth finish.
🖌️ Gesso is a primer that seals cardboard fibers so colors stay bright and don’t soak into the surface.
📦 Cardboard is usually made from recycled paper, so decorating and sealing it helps your project last longer.
🛡️ A clear sealer (varnish or craft sealer) acts like armor to protect painted surfaces from scratches and spills.
How do I paint and finish a cardboard storage box for a smooth, durable finish?
What materials do I need to paint and finish a cardboard project?
What ages is painting and finishing a cardboard craft suitable for?
What are the benefits of finishing a cardboard project and key safety tips?
