Grow plants in a container
Grow edible herbs or flowers in a small container using soil, seeds, watering, and sunlight; observe growth, measure changes, and care for the plants.

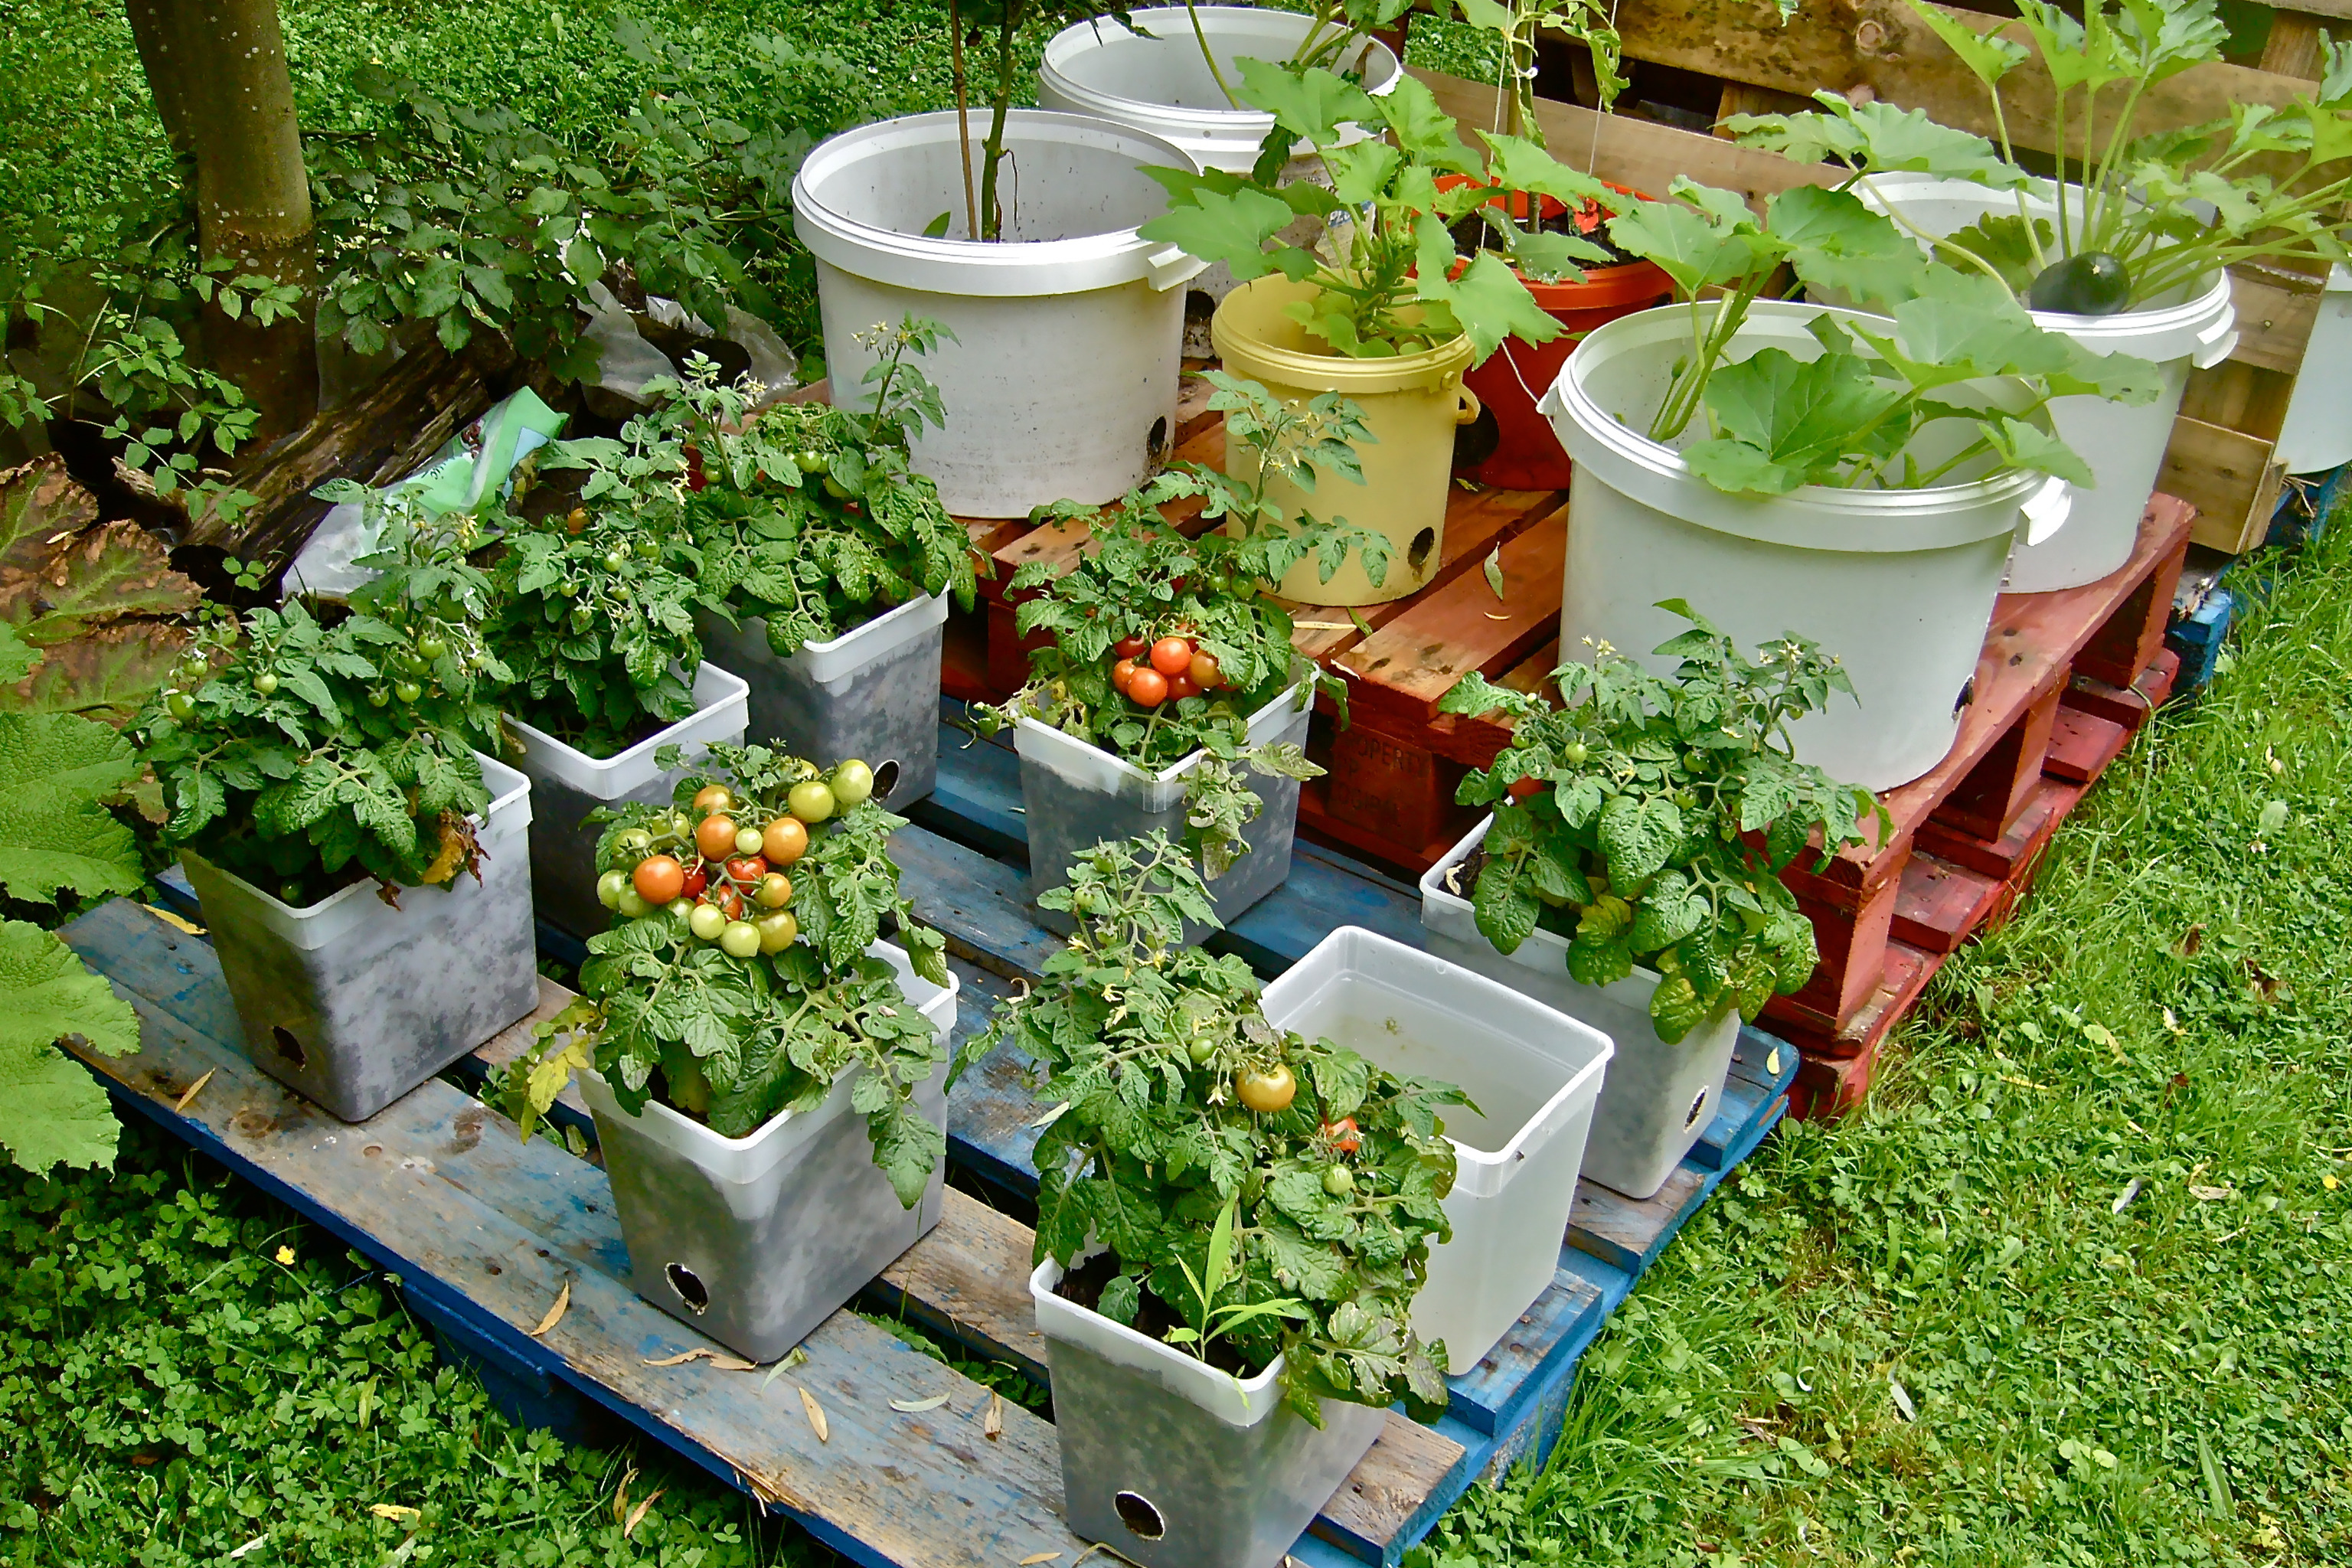

Step-by-step guide to grow edible herbs and flowers in a small container
CONTAINER GARDENING for BEGINNERS: 10 Simple Steps
Step 1
Pick a small container that already has drainage holes.
Step 2
Put a tray or saucer under the container to catch extra water.
Step 3
Fill the container with potting soil leaving about 1 inch of space at the top.
Step 4
Check the seed packet for the correct planting depth and spacing.
Step 5
Make small holes in the soil at the depth the packet says using your finger or a spoon.
Step 6
Place seeds into the holes one at a time or sprinkle them as the packet tells you.
Step 7
Cover the seeds with a thin layer of soil and press gently to remove large air pockets.
Step 8
Water the soil lightly until it feels evenly moist but not soggy.
Step 9
Write the seed name and today’s date on a label and stick it into the pot.
Step 10
Put the pot in a sunny spot that gets several hours of light each day.
Step 11
Check the soil daily and water whenever the top inch feels dry.
Step 12
When seedlings appear measure the tallest seedling with the ruler and write the date and height in your notebook once a week.
Step 13
When the plants are big enough carefully pinch or snip a few leaves to taste and continue regular care.
Step 14
Share your finished creation on DIY.org.
Help!?
What can we use if we don't have a container with drainage holes or store-bought potting soil?
If you don't have a container with drainage holes or potting soil, punch holes in a clean yogurt cup or tin and fill it with a mix of garden soil, compost, and a little sand to complete the 'Fill the container with potting soil' step.
My seeds aren't sprouting or the soil is staying soggy—what should I check?
If seeds don't sprout or the soil stays soggy after 'Water the soil lightly', make sure the container actually has open drainage holes, reduce how much you water, and confirm you planted at the depth on the 'Check the seed packet for the correct planting depth' step.
How can we change this activity for a 4-year-old versus a 10-year-old?
For a 4-year-old, have an adult pre-fill the pot and guide them to 'Make small holes' and 'Place seeds' while they stick the label and water, and for a 10-year-old, turn the 'measure the tallest seedling with the ruler and write the date and height in your notebook once a week' instruction into a comparative experiment on light, spacing, or soil types.
How can we make the project more fun or scientific after the plants start growing?
Enhance the activity by decorating the pot before you 'Put the pot in a sunny spot', keeping a colorful weekly growth chart tied to the 'measure the tallest seedling' step, trying different seed varieties to compare growth, and finally sharing photos and results on DIY.org.
Watch videos on how to grow edible herbs and flowers in a small container
The Lazy Gardener's Guide to Starting a Container Garden
4 Videos
The Lazy Gardener's Guide to Starting a Container Garden
How to Grow 3 Corn Plants in a Container: Complete Guide from Seed to Harvest
How to Grow Vegetables in Containers // Container Gardening // Self Sufficient Sunday!

Life Cycle of a Plant for Kids! | Learn Parts of a Plant 🌱 | Twinkl USA
Facts about container gardening for kids
🌿 Many common herbs (like basil and mint) can regrow from cuttings, so one plant can keep giving fresh leaves!
🌞 Most edible herbs need about 6 hours of sunlight a day to stay fragrant and strong.
🌱 Some seeds can stay dormant for years and still sprout—seed longevity varies a lot by species.
💧 Small containers dry out faster than garden beds, so checking moisture daily helps prevent wilting or root rot.
📏 Measuring plant height weekly with a simple ruler turns growing into a fun science experiment kids can track.
How do I grow edible herbs or flowers in a small container with my child?
What materials do I need to grow herbs or edible flowers in a container?
What ages is container herb and edible flower growing suitable for?
What are the benefits and safety tips for kids growing edible herbs and flowers?
