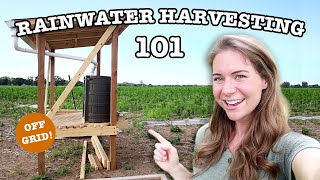
Collect rainwater
Set up a simple rainwater collector using a clean container, funnel, and screen to measure and observe rainfall and learn about water conservation.


Step-by-step guide to collect rainwater
Rainwater Harvesting for Kids | Learn to Save Water! #rainwaterharvesting #savewater
Step 1
Gather all the materials from the list and bring them to a table or workspace.
Step 2
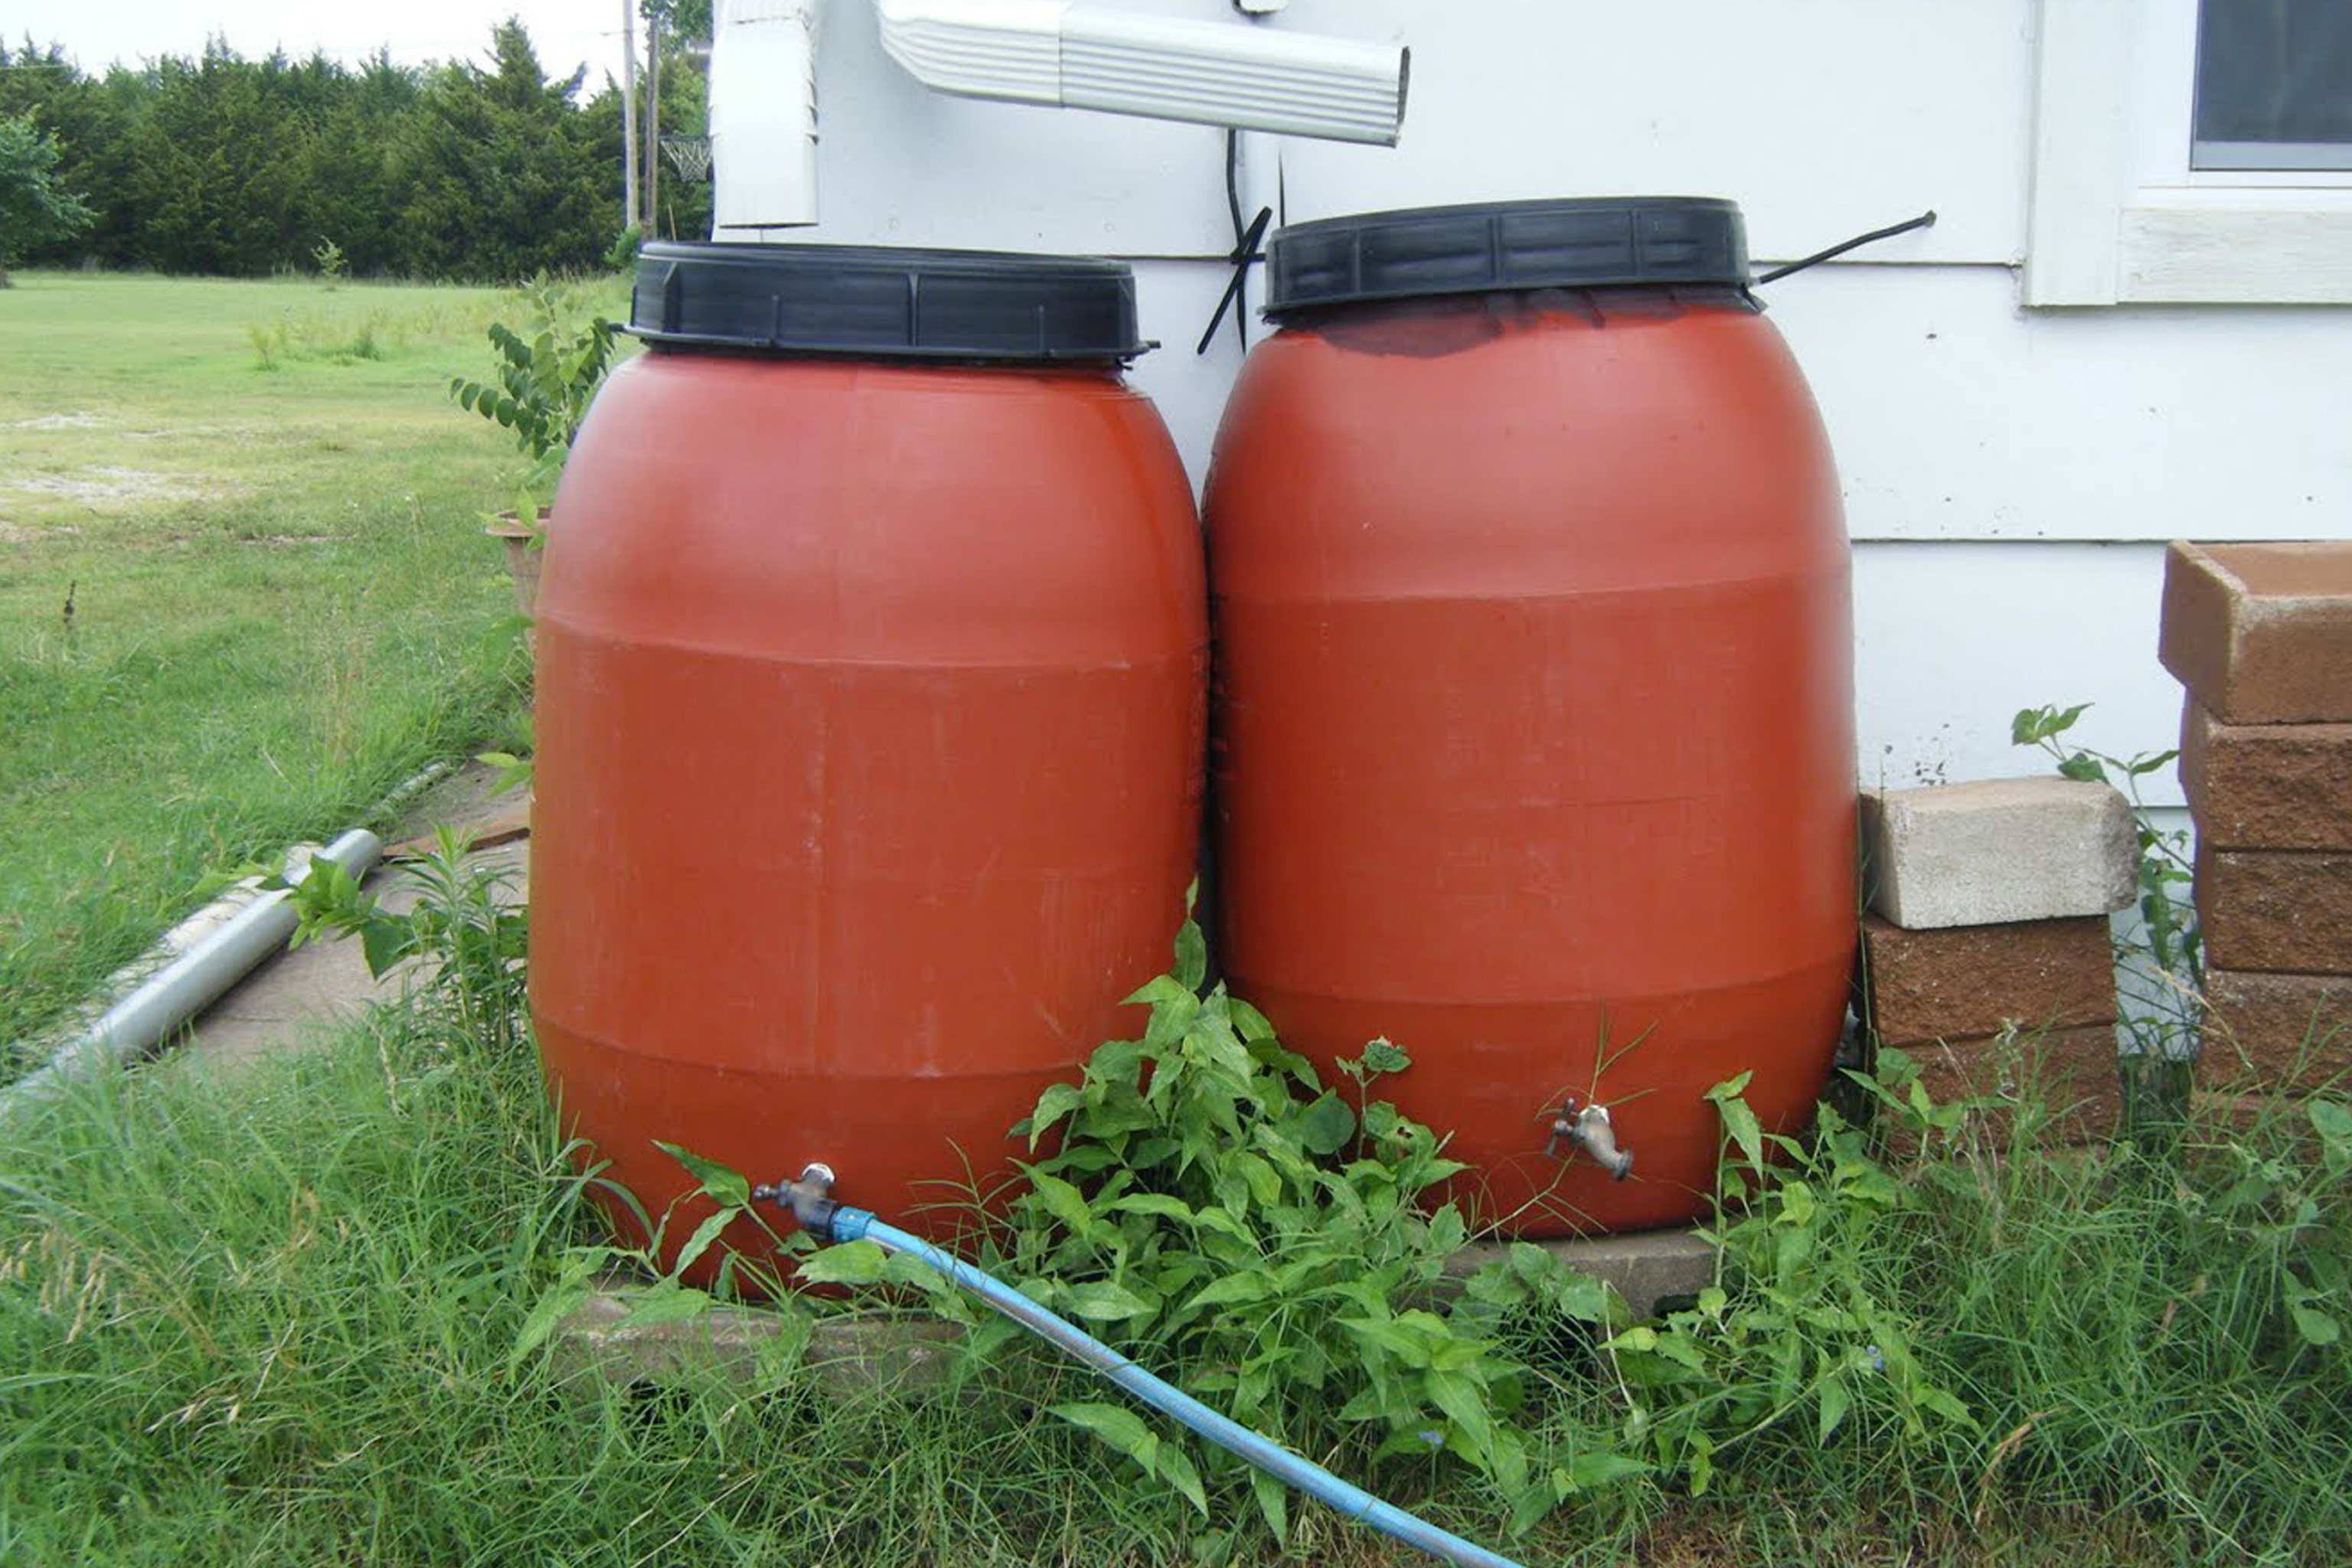
Wash the container inside and out with soap and water and rinse it well.
Step 3
Use the ruler and waterproof marker to mark measurement lines every 1 centimeter up the outside of the container.
Step 4
Insert the funnel or bottle top securely into the mouth of the container.
Step 5
Place the fine mesh screen or nylon stocking over the funnel opening and tape it in place to keep leaves out.
Step 6
Choose an open outdoor spot away from roofs trees and gutters so the collector measures true rainfall.
Step 7
Put the collector on a flat level surface and place small rocks or bricks around the base so it won’t tip over.
Step 8
Write the date time and initial reading (0 cm) in your notebook before the rain begins.
Step 9
Leave the collector outside during the rain and do not move it until the rain stops.
Step 10
After the rain stops read the water height at the marked lines and record the measurement in your notebook.
Step 11
Gently pour the collected rainwater into a watering can and use it to water outdoor or potted plants.
Step 12
Clean any leaves or dirt off the screen and funnel and put them aside to dry.
Step 13
Share a photo and a description of your rainwater collector and your measurements on DIY.org
Help!?
What can we use instead of a funnel or fine mesh screen if those aren't available?
Cut the top off a clear 2‑liter plastic bottle to make a funnel (step 4) and secure a clean nylon stocking or a folded coffee filter over the opening with tape (step 5) to keep leaves out.
Why did my collector tip over or collect leaves, and how do I fix it?
If the collector tips or gathers leaves, move it to an open spot away from roofs and trees (step 6), put it on a flat surface and weight the base with small rocks or bricks (step 7), and tape the mesh/nylon stocking tightly over the funnel (step 5) so debris can't enter.
How can I change this activity for younger or older kids?
For preschoolers have an adult wash and pre‑mark the container and add sticker marks for easy reading (steps 2–3), while older kids can measure every 1 cm themselves (step 3), record multiple rain events (step 9), and analyze trends in their notebook (step 9).
How can we extend or personalize the rain collection activity?
After cleaning the container (step 2) decorate it with waterproof paint without covering your 1 cm measurement lines (step 3), set up multiple collectors in different open locations to compare readings, and create a rainfall chart to share with a photo on DIY.org (steps 9–12).
Watch videos on how to collect rainwater
RAINWATER COLLECTION FOR BEGINNERS | 16 Things To Know About Harvesting Rain Water BEFORE You Start
4 Videos
RAINWATER COLLECTION FOR BEGINNERS | 16 Things To Know About Harvesting Rain Water BEFORE You Start

Water Safety for Kids! | Water Safety Rules | Water Safety Tips
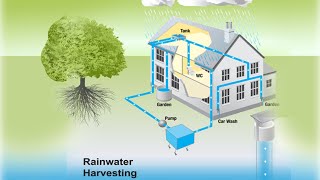
Rainwater Harvesting : A Green Revolution | Rainwater Harvesting System
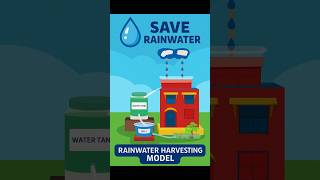
🌱 Easy Rainwater Harvesting Model | Eco-Friendly Science Project
Facts about rainwater harvesting
💧 Rainwater is naturally soft and usually free of added chemicals like chlorine—plants often love it!
🌧️ A rain gauge is a simple tool—your funnel + container setup works like one and measures rainfall in millimeters or inches.
📏 About 1 inch of rain on 1,000 square feet can collect roughly 623 gallons of water — that’s a lot for gardens!
🧰 A screen and a simple 'first-flush' idea help keep leaves, dirt, and bugs out so your collected water stays cleaner.
♻️ Collecting rainwater reduces stormwater runoff and saves treated tap water for other uses like watering plants.
How do I set up a simple rainwater collector to measure and observe rainfall with my child?
What materials do I need to make a child-friendly rainwater collector?
What ages is the rainwater collection activity suitable for?
What are the benefits and safety tips for collecting rainwater with kids?
