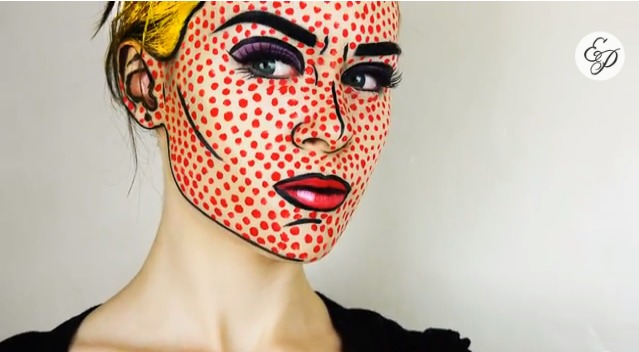
Transform a face
Make a paper mask with movable parts to transform a face, experimenting with expressions, colors, and simple mechanisms for different emotions.


Step-by-step guide to make a movable paper mask to transform a face
A Guide To Children's Face Painting Activity
Step 1
Draw a large face outline on the paper plate or thick paper and mark where the eyes and mouth will go.
Step 2
Cut out the face shape carefully with scissors.
Step 3
On scrap paper draw three different mouth shapes and two sets of eyebrows and two eye shapes for different expressions.
Step 4
Colour the face and all the extra facial parts using your colouring materials.
Step 5
Cut out each eye eyebrow and mouth shape from the scrap paper.
Step 6
Make small holes where the eyes and eyebrows will attach on the face and in the matching spots on each part using a hole punch or sharp pencil.
Step 7
Fasten each eye and eyebrow to the face with a paper fastener so they can rotate.
Step 8
Cut a short horizontal slot where the mouth mark is on the face for the slider to move through.
Step 9
Cut a paper strip slightly longer than the slot and glue one of the mouth shapes to the front end of the strip.
Step 10
Slide the strip through the mouth slot and tape or glue a craft stick or straw to the back end of the strip as a handle for moving the mouth.
Step 11
Move the rotating parts and slide the mouth to test different expressions and tighten or trim any parts that need adjusting.
Step 12
Add extra decorations like hair freckles or glasses to make your character unique.
Step 13
Share a photo or video of your finished movable face mask on DIY.org
Help!?
What can I use if I don't have paper plates, a hole punch, or paper fasteners?
If you don't have a paper plate use sturdy cardboard from a cereal box for step 1, poke holes with a sharp pencil as suggested in step 6 instead of a hole punch, and replace paper fasteners with small brads/split pins or a taped toothpick pivot when attaching the eyes and eyebrows in step 6.
Why won't the mouth slider move smoothly or the eyes rotate properly, and how can I fix it?
If the mouth slider sticks or the eyes won't rotate, widen and smooth the horizontal slot from step 11 and trim the paper strip from step 12, and loosen or add tiny paper washers under the fasteners used in step 6 so the rotating parts can turn freely.
How can I adapt this activity for different age groups?
For younger children, pre-cut the face and facial parts and use stickers plus a wide straw or craft stick as the handle (steps 2 and 12–13), while older kids can add extra mouth shapes, multiple rotating features with brads, and detailed mixed-media decorations in step 14 for more challenge.
How can we extend or personalize the movable face once the basic version is done?
To extend the project, add hair, freckles, or glasses from step 14, glue on googly eyes or sequins, attach small magnets to the extra parts so they can be swapped, or mount the finished face on a craft stick or dowel to create a puppet and film different expressions for DIY.org.
Watch videos on how to make a movable paper mask to transform a face
How To Sketch A Young Face
4 Videos
How To Sketch A Young Face
Drawing A Person With My 2-Year-Old (Preschool Lesson)
How To Draw Faces | DIY Course
Learn how to draw portraits - How to draw a face step-by-step - Easy tutorial for kids
Facts about paper crafts and simple mechanisms for kids
🎭 Masks have been used in ceremonies and theater for over 5,000 years, from ancient Egypt to modern festivals.
🙂 Babies start smiling and mimicking simple facial expressions within the first few months of life.
🎨 Colors affect how we feel—warm colors (reds, oranges) often feel energetic while cool colors (blues, greens) feel calming.
✂️ Simple paper mechanics like tabs, levers, and folded hinges can make eyes blink or mouths move without glue or glue guns.
🤖 18th-century automata used gears and cams to create lifelike motion—those same ideas inspire tiny movable parts in masks.
How do you make a paper mask with movable parts to transform a face?
What materials do I need to make a transforming paper mask?
What ages is this paper mask activity suitable for?
What are the benefits and safety tips for making emotion-transforming masks?
