Make spooky decorations
Create spooky Halloween decorations using paper, glue, paint, and recycled materials; design ghost, bat, and pumpkin crafts while learning shapes, cutting, and decorating skills.

Step-by-step guide to make spooky Halloween decorations
More than 20 FUN HALLOWEEN CRAFTS FOR KIDS | DIY HALLOWEEN DECORATION IDEAS AT HOME
Step 1
Gather all the materials from the list and put them on a clear workspace.
Step 2
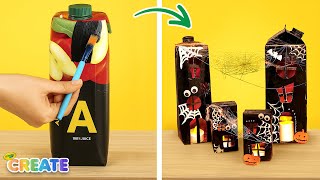
Decide which decorations you will make today: ghost bat or pumpkin or all three.
Step 3
Use a pencil to draw simple templates on scrap paper for each design: a rounded ghost with a wavy bottom a bat with a round body and wing shapes and a circle for a pumpkin with vertical lines.
Step 4
Trace each paper template onto recycled cardboard or the paper you will decorate.
Step 5
Cut out the traced shapes carefully with scissors.
Step 6
Glue each cut shape onto a sturdier piece of cardboard if you want them firmer.
Step 7
Paint each shape its base color: white for ghosts black or dark for bats and orange for pumpkins.
Step 8
Wait until the paint is dry before you touch the decorations.
Step 9
Use colouring materials or a small brush to draw faces and details like eyes mouths wing veins and pumpkin ridges.
Step 10
Glue on recycled bits like yarn for stems or small cardboard pieces for ears to add texture.
Step 11
Make a small hole at the top of each decoration and thread string through to make a hanging loop then secure the knot.
Step 12
Share a photo or description of your finished spooky decorations on DIY.org
Help!?
What can I use if I don't have recycled cardboard or a sturdier backing?
If you don't have recycled cardboard or a sturdier piece of cardboard (step: trace each paper template onto recycled cardboard / glue each cut shape onto a sturdier piece), substitute cereal boxes, empty file folders, old greeting cards, or thick cardstock to trace and glue your shapes.
My hole ripped when I tried to thread the string—how can I stop that?
If the hole rips when you thread the string (step: make a small hole at the top and thread string through), reinforce the spot first with a small glued scrap of cardboard or a strip of tape over the area before making the hole and knotting the string.
How can I adapt this activity for different ages?
For younger children (ages 3–5), have an adult do the tracing and cutting and let them paint and draw faces with washable paints and crayons (steps: cut out, paint base color, draw faces), while older kids can cut their own cardboard, paint detailed features, and glue on recycled bits like yarn for stems (steps: glue on recycled bits).
What are some ways to extend or personalize the spooky decorations?
To extend or personalize the decorations, layer glued cardboard shapes for a 3D effect, add battery tea lights behind pumpkin cutouts, or decorate with glitter, buttons, and yarn stems before making the hanging hole and threading string (steps: glue each cut shape onto sturdier cardboard, paint, glue on recycled bits, make a small hole).
Watch videos on how to make spooky Halloween decorations
5 BEST & Spooky Halloween DIYs for Kids - Easy Halloween Crafts
4 Videos
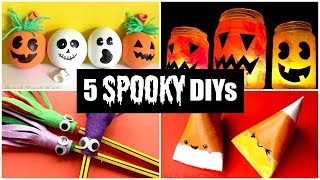
5 BEST & Spooky Halloween DIYs for Kids - Easy Halloween Crafts
🎃 Easy Halloween Crafts for Kids | Fun DIY Ideas for Spooky Season 👻
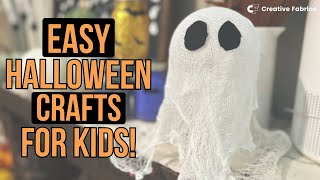
Fun Halloween Crafts for Kids | Make Spooky Decorations & More!
👻 DIY HALLOWEEN CRAFTS 🎃✨ Spooky & Fun Ideas for Your Party 🕷️
Facts about Halloween crafts for kids
🎃 The jack-o'-lantern tradition came from Irish and Scottish turnip-carving customs before pumpkins were used in America.
👻 Ghost stories appear in nearly every culture and the English word 'ghost' comes from Old English 'gāst'.
🦇 Bats are the only mammals that can truly fly and some insect-eating bats can eat thousands of bugs in one night.
✂️ Papercraft and folding traditions like origami developed into complex art forms in Japan using just paper and simple tools.
♻️ Recycling paper helps save trees and energy — recycling one ton of paper can save about 17 trees and lots of landfill space.
How do I make spooky Halloween decorations with my child?
What materials do I need for paper ghost, bat, and pumpkin crafts?
What ages is this spooky decoration activity suitable for?
What are some safety tips and fun variations for Halloween decorations?
