Stitch a stuffed animal or pillow
Sew a simple stuffed animal or pillow using fabric, stuffing, and basic stitches. Learn measuring, cutting, sewing, and finishing skills.


Step-by-step guide to stitch a stuffed animal or pillow
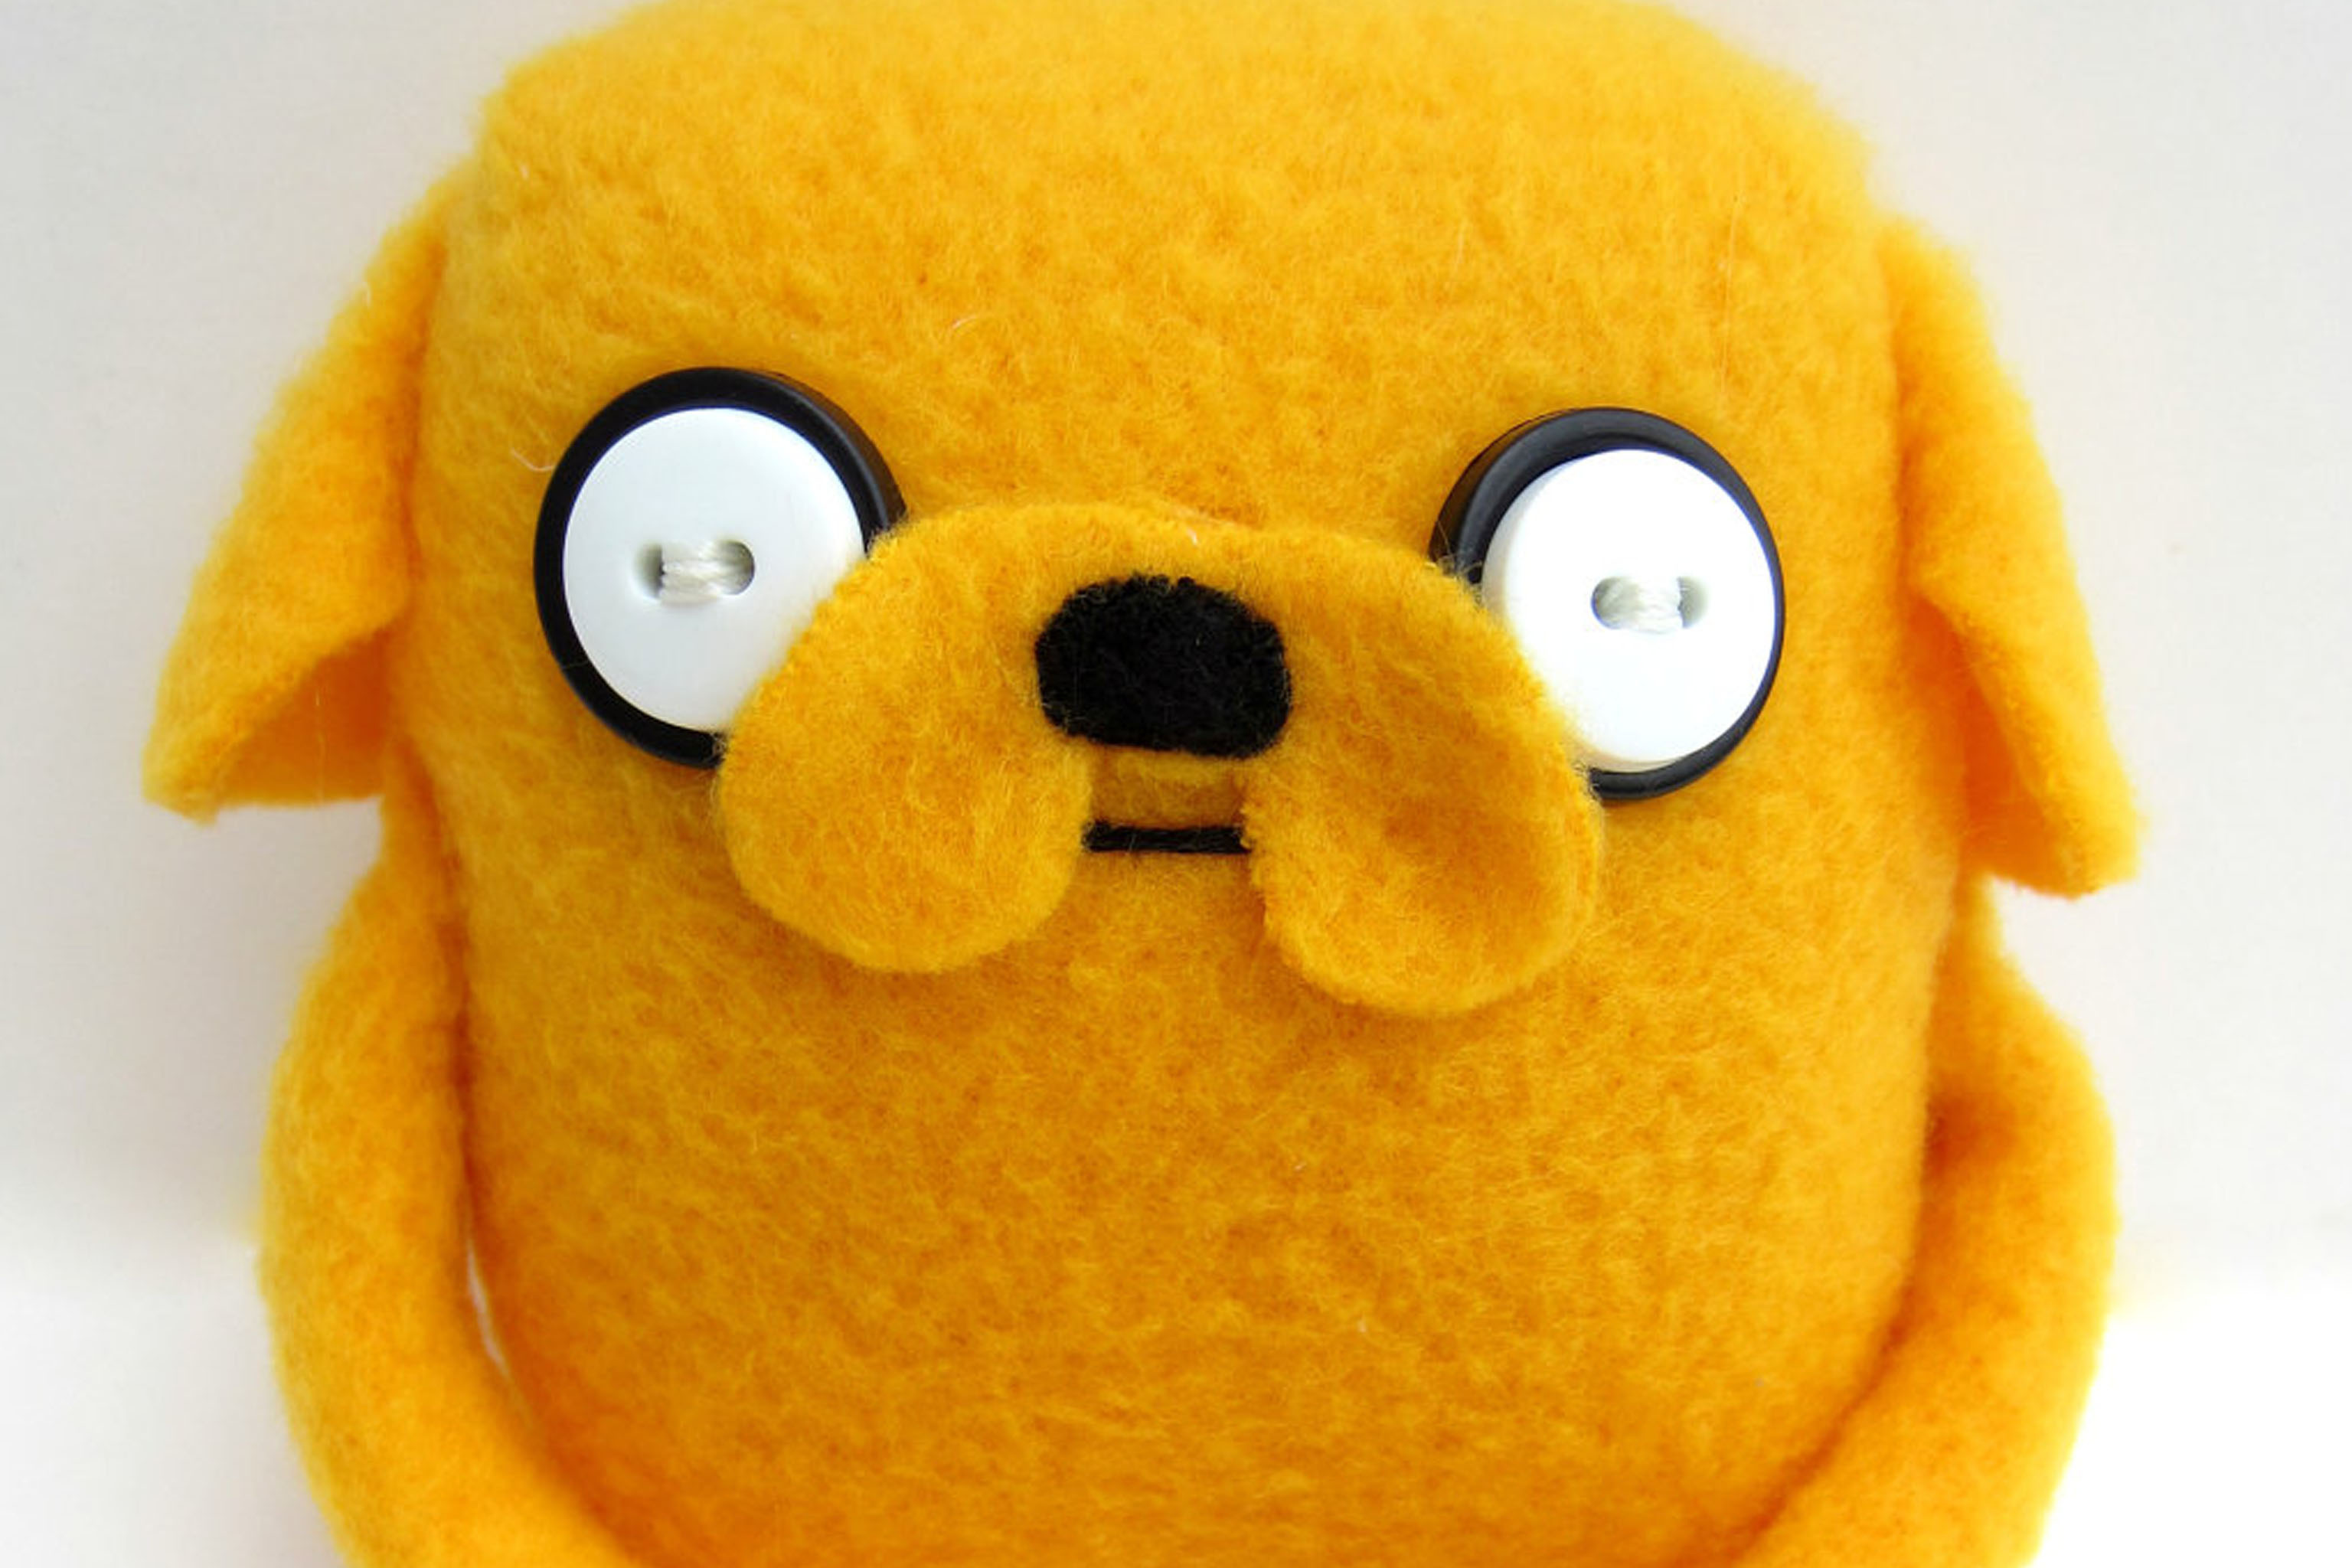
Sew a Stuffed Animal Pillow
Step 1
Pick the animal or pillow shape you want and decide how big it will be.
Step 2
Fold your fabric if needed and use the fabric marker to trace the same shape twice so you have a front and back piece.
Step 3
Cut out the two traced fabric pieces carefully with scissors.
Step 4
Place the two fabric pieces with the right sides facing each other so the outside will be hidden.
Step 5
Pin or clip the fabric pieces together around the edges leaving a 3 cm gap unpinned for turning and stuffing.
Step 6
Thread your needle with a length of thread about as long as your arm.
Step 7
Tie a knot at the end of the thread so the stitches will stay secure.
Step 8
Sew around the pinned edge using a running stitch or backstitch about 1 cm from the edge and stop at the open gap.
Step 9
Trim corners and clip small curves carefully to reduce bulk but do not cut your stitches.
Step 10
Turn the sewn piece right side out through the open gap so the outside shows.
Step 11
Stuff the toy or pillow evenly with stuffing and push filling into corners so it holds its shape.
Step 12
Close the open gap by sewing it shut with small hidden stitches and knot the thread securely.
Step 13
Sew on felt shapes or buttons for eyes and a nose to give your animal a face.
Step 14
Take a photo and share your finished stuffed animal or pillow on DIY.org
Help!?
If I can't find a fabric marker, felt, or stuffing, what can I use instead?
Use tailor's chalk or a soft pencil to trace the shape on the folded fabric, replace felt face pieces with scrap cotton or fleece cut to shape, and use clean scrap fabric, old pillow filling, or polyester fiberfill as stuffing.
My stitches are coming loose or stuffing is escaping — what step did I miss and how do I fix it?
Ensure you knot the thread at the start, sew about 1 cm from the edge with small tight running or backstitches around the pinned edge, leave a 3 cm gap for turning and stuffing, then close the gap with small hidden stitches so the seams stay secure.
How can I adapt this sewing project for different ages?
For preschoolers have an adult pre-cut the two fabric shapes and let them decorate the outside with markers or glue-on felt before an adult sews and stuffs it, while older kids can freehand more complex shapes, use backstitch for neater seams, and add embroidered details following the full sewing, turning, stuffing, and finishing steps.
What are simple ways to personalize or enhance the finished stuffed animal or pillow?
Sew on felt shapes or buttons for eyes and a nose, add embroidered details or a fabric tag, tuck scented lavender into the stuffing for a scented toy, attach a hanging loop, and then take a photo to share your finished stuffed animal or pillow on DIY.org.
Watch videos on how to stitch a stuffed animal or pillow
Three Tips to Sew the Perfect Stuffed Animal Pillow
4 Videos
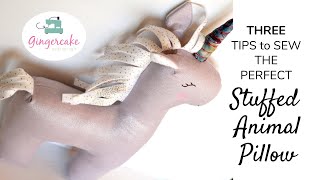
Three Tips to Sew the Perfect Stuffed Animal Pillow
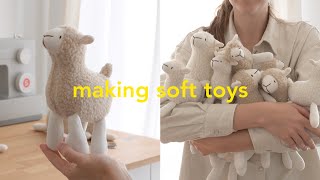
Sew a Sheep Toy: A Sewing Guide to Making Stuffed Toys

Sew Together Tuesday: How to Make a Teddy Bear Stuffed Animal with Cuddle®
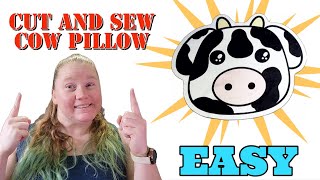
Easy DIY Cut and Sew Cow Plush Pillow Tutorial
Facts about sewing and textile crafts for kids
🧵 Archaeologists have found sewing needles and tools that show people were stitching clothes and hides over 40,000 years ago.
🐻 The modern 'teddy bear' craze began in 1902 after a cartoon of U.S. President Theodore Roosevelt refusing to shoot a bear.
✂️ Two simple hand stitches — the running stitch and the whipstitch — are enough to build a sturdy stuffed animal or pillow.
📏 Sewing is full of practical math: measuring fabric, adding seam allowances, and cutting shapes all use fractions and spatial thinking.
♻️ Old shirts, pillow stuffing, or fabric scraps make great stuffing and mean your new toy can be an upcycled treasure.
How do I sew a simple stuffed animal or pillow with my child?
What materials and tools do I need to stitch a stuffed animal or pillow?
What ages is sewing a stuffed animal or pillow suitable for?
What are the benefits and safety tips for sewing stuffed toys with kids?
