Build an animal enclosure
Build a small model animal enclosure using cardboard, mesh, tape, and natural materials to learn about habitats, safety, and animal needs through hands on construction.


Step-by-step guide to build a small model animal enclosure
Building My NEW EXOTIC ANIMAL Enclosure!! (Start to Finish)
Step 1
Choose an animal to design an enclosure for.
Step 2
Write down three basic needs of that animal on a piece of paper such as food water and shelter.
Step 3
Plan the size of your enclosure and mark the base outline on the cardboard.
Step 4
With adult help cut out the cardboard base along your marks.
Step 5
With adult help cut four cardboard pieces for the walls sized to fit your base.
Step 6
Attach the walls to the base using tape or glue to form a box shape.
Step 7
With adult help cut a piece of mesh to the size you want for a vent or viewing window.
Step 8
Attach the mesh to the chosen side or top of the box with tape to make ventilation or a viewing panel.
Step 9
Place natural materials inside the enclosure to create shelter and ground cover.
Step 10
Put a small bowl inside to act as a water source.
Step 11
Arrange sticks stones and moss to make perches hiding spots and natural flooring.
Step 12
Look carefully around the enclosure to find any sharp edges loose tape or gaps.
Step 13
With adult help fix any safety problems by smoothing edges or adding more tape.
Step 14
Decorate and label parts of the enclosure with markers so others can see how it meets the animal needs.
Step 15
Share your finished animal enclosure project on DIY.org.
Help!?
If I can't find corrugated cardboard or mesh, what can I use instead for the base, walls, and vent/viewing window?
If you can't find corrugated cardboard, use foam board, a shallow shoebox, or cereal boxes for the base and walls, and replace mesh with window screen, cut nylon stocking, or a piece of plastic mesh from a produce bag taped over the viewing window while using a yogurt cup as the water dish.
What should I do if the walls won't stay attached or I spot sharp edges after assembling the box?
If walls won't stay attached or you find gaps and sharp edges after taping or gluing the four wall pieces to the base, add folded tape or glued cardboard tabs along seams, use hot glue or stronger packing tape with adult help, and smooth sharp edges with sandpaper or cover them with folded masking tape.
How can I adapt the steps for different ages, like preschoolers, elementary kids, and teens?
For preschoolers, have an adult pre-cut the base and walls and let them arrange natural materials and decorate, elementary kids can mark, measure, and tape walls together with supervision, and teens can use a utility knife with adult help to cut precise pieces, add a hinged mesh viewing panel, and document measurements.
What are some ways to extend or personalize the enclosure after the basic build and decorating?
Enhance the project by making a removable or hinged roof, installing a taped-in mesh viewing panel, adding a battery LED to simulate day/night, securing small potted plants or glued-in perches, and creating a labeled poster that links each feature to the animal's three listed needs before sharing on DIY.org.
Watch videos on how to build a small model animal enclosure
HOW TO BUILD The Best TURTLE/TORTOISE ENCLOSURE!!! (DIY)
4 Videos
HOW TO BUILD The Best TURTLE/TORTOISE ENCLOSURE!!! (DIY)
Building My DREAM ANIMAL Enclosure!! (OTTER)

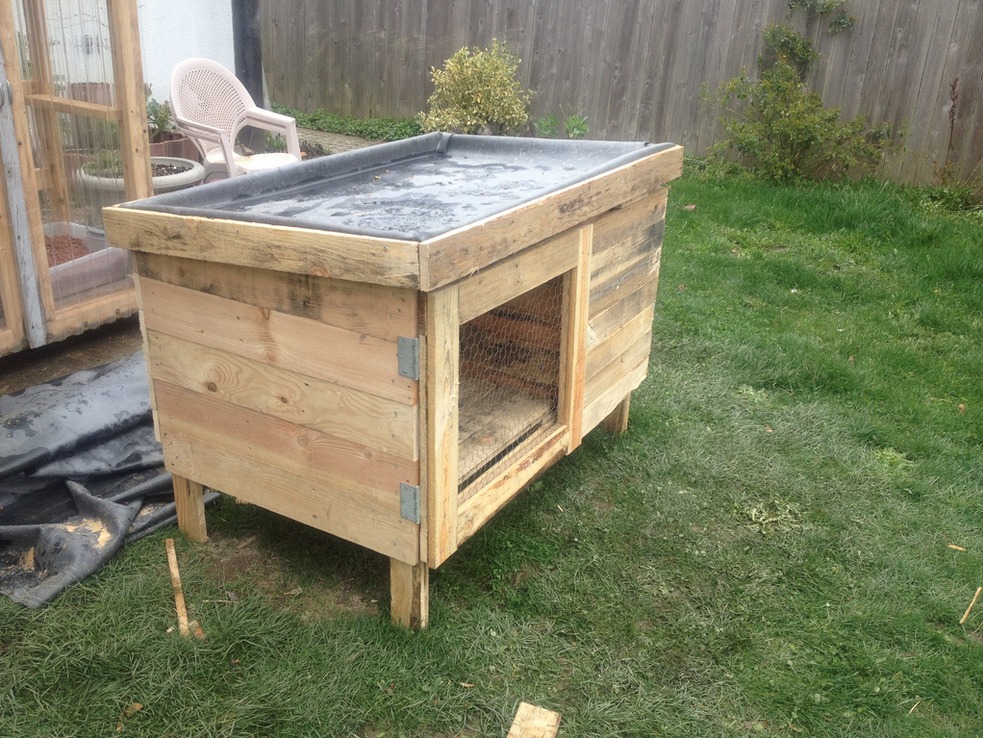
How to Build a Rabbit Hutch: Step-by-Step Guide
JUMPING SPIDER DREAM HOUSE! JuJu Builds a spider Enclosure + Pet Store Adventure for KIDS! 🕷️
Facts about animal habitats and enclosure safety
🐾 Animals need three basics in an enclosure: shelter, food, and space to move — get those right and they thrive!
🏡 Zoos often design enclosures to mimic rivers, cliffs, or forests so animals can behave like they would in the wild!
🌿 Natural materials like sticks, leaves, and soil give animals places to hide, nest, and explore — great enrichment!
🛡️ Tiny gaps in fencing or mesh can let small animals escape, so careful measurement and secure seams matter!
♻️ Using cardboard and reused mesh is a smart upcycling project — you can build a durable model and keep materials out of the trash!
How do you build a small model animal enclosure?
What materials are needed for the animal enclosure activity?
What ages is this activity suitable for?
What safety tips and learning benefits should parents know?
