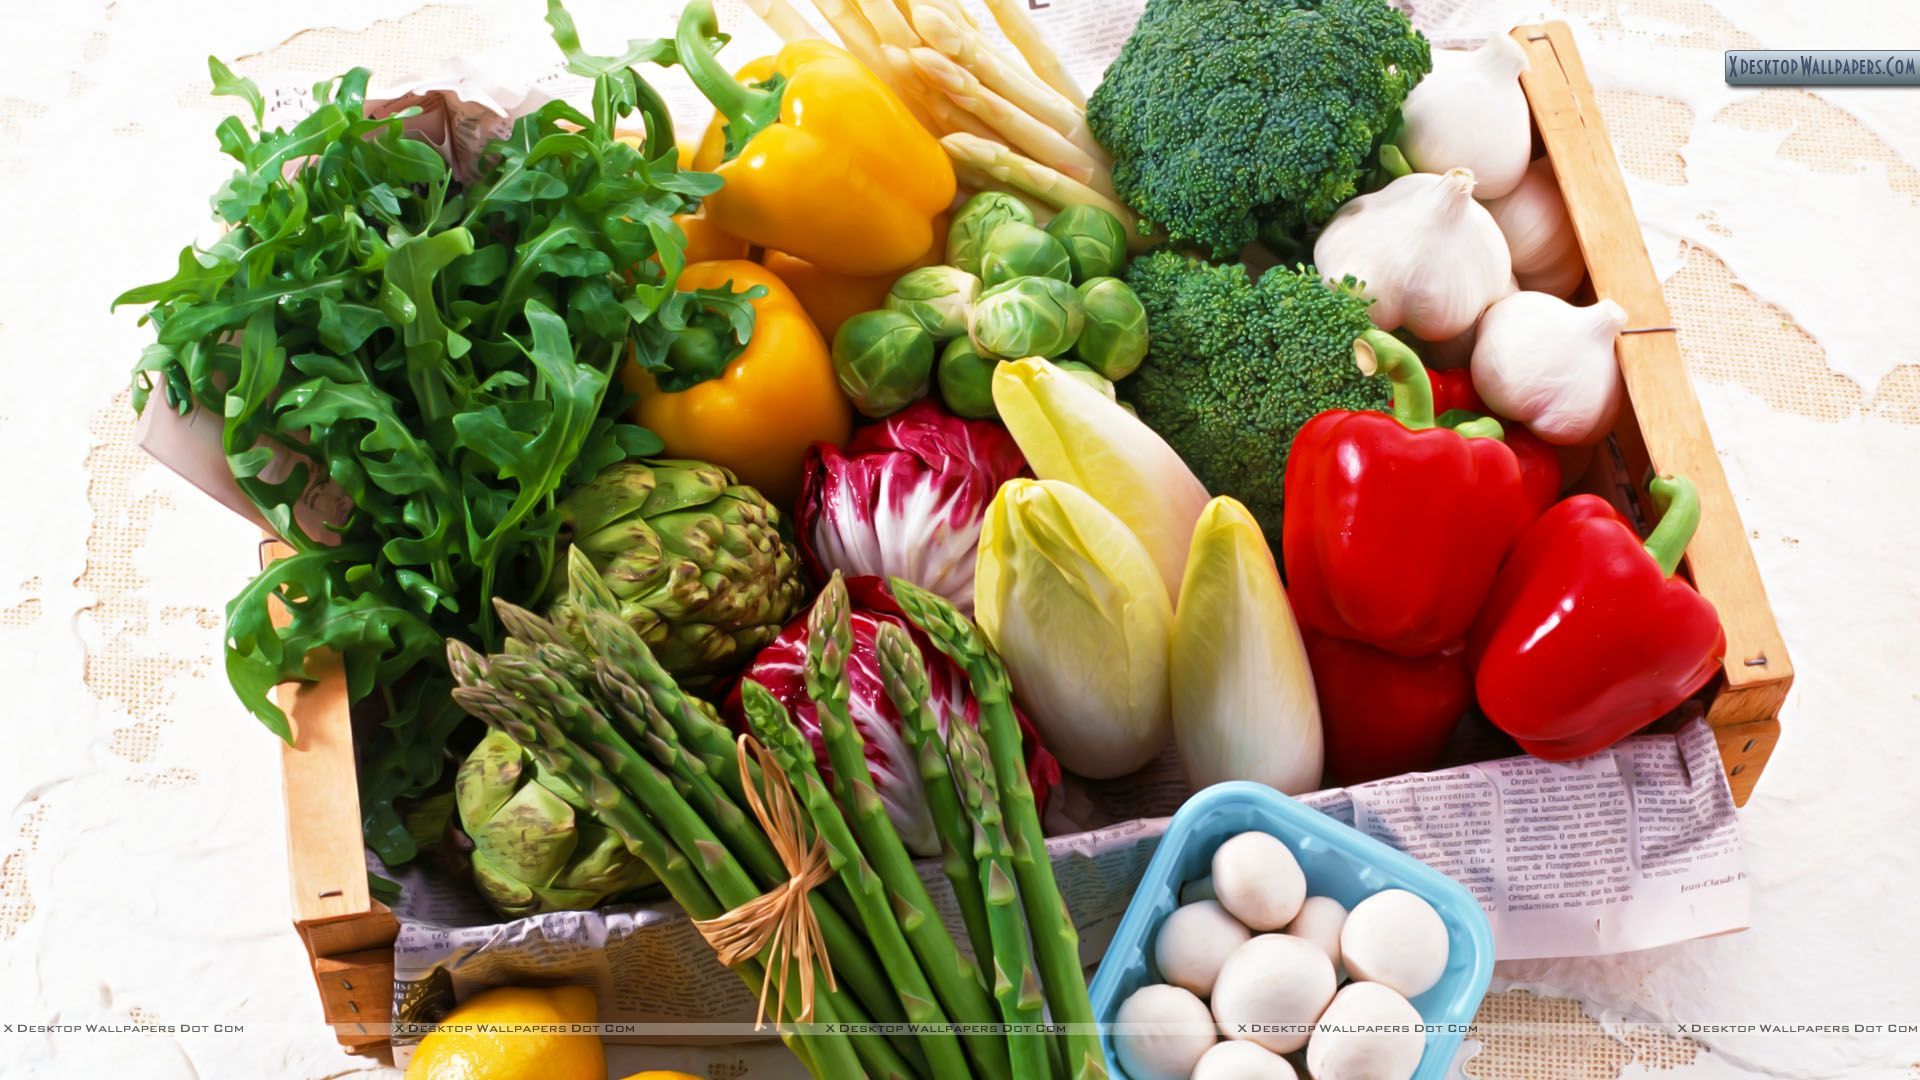
Share your harvest
Gather fruits or vegetables from your garden, make small labeled baskets or jars, decorate them, and safely share your harvest with neighbors.


Step-by-step guide to share your harvest
Winter crop harvest - keep kids in safe hands
Step 1
Put on your garden gloves.
Step 2
Take a clean bowl or plate to your garden.
Step 3
Look for ripe fruits or vegetables that are ready to pick.
Step 4
Gently pick each ripe item and place it in your bowl.
Step 5
Carry your bowl back to a clean table.
Step 6
Rinse the fruits or vegetables under cool running water.
Step 7
Dry each item with a clean towel and set them on the table.
Step 8
Sort the produce into small baskets or jars by type or size.
Step 9
Cut paper labels for each basket or jar.
Step 10
Write the name of the produce and a short friendly note on each label.
Step 11
Tie each label to a basket or jar using string or ribbon.
Step 12
Decorate each basket or jar with colouring materials or stickers.
Step 13
With an adult, carry your finished baskets or jars to your neighbor’s house.
Step 14
With your adult, leave the baskets on the porch or hand them to your neighbor while staying safe.
Step 15
Share a photo and a short story about your harvest and how you shared it on DIY.org.
Help!?
What can we use instead of garden gloves, baskets or string if those are hard to find?
If garden gloves, small baskets or jars, or string aren't available, use clean rubber or kitchen gloves or double-up plastic bags for the 'Put on your garden gloves' step, carry produce in a clean bowl, colander, or Tupperware instead of baskets, and secure paper labels with yarn, twist ties, or tape in place of string or ribbon.
What should we do if produce gets bruised or the labels fall off while following the steps?
If fruits or vegetables bruise when you 'Gently pick each ripe item' or labels fall off after you 'Tie each label', pick only firm ripe items by checking color and feel, line the bowl with a clean towel to cushion produce, and fasten labels with a knot plus a dab of tape or a clothespin to keep them attached.
How can we adapt the activity for younger children or older kids?
For younger children, simplify to wearing gloves, finding and placing ripe items in a bowl and adding stickers during the 'Decorate each basket' step, while older kids can rinse, dry, sort by size, write detailed friendly notes on paper labels, and photograph the process for DIY.org themselves.
How can we make the baskets or jars more special or extend the sharing activity?
To enhance the activity, have the child create recipe cards or seed-saving notes to tuck into each basket, paint or add personalized stickers during the 'Decorate each basket or jar' step, and include step-by-step photos from rinsing and drying to share as a story on DIY.org.
Watch videos on how to share your harvest
What farmers do for kids | Educational video for kids | farming | KIDS LEAP ISLAND
4 Videos
What farmers do for kids | Educational video for kids | farming | KIDS LEAP ISLAND
Harvesting vegetables from the garden with kids tractor. Educational how greenhouses work | Kid Crew
What is Harvesting? - Types and Methods of Harvesting - Learning Junction
Harvesting crops with kids power wheel tractor & real combine harvester, farm Educational | Kid Crew
Facts about gardening for kids
🍅 A single tomato plant can produce 10–30 pounds of tomatoes in a season — enough for many jars of sauce!
🥕 Early cultivated carrots were often purple or white; the orange carrot we know was bred in the 17th century.
🏡 During World War II, millions of people grew “Victory gardens” to help feed families and ease food shortages.
🧺 Mason jars were patented in the 1850s and became a kitchen staple for safely preserving jams, pickles, and more.
🤝 Sharing homemade baskets of produce with neighbors helps reduce food waste and builds stronger community ties.
How do I do the 'Share Your Harvest' activity with my kids?
What materials do I need for a 'Share Your Harvest' kids activity?
What ages is the 'Share Your Harvest' activity suitable for?
What safety tips should I follow when sharing our harvest with neighbors?
