Draw a map of your farm
Draw a detailed map of your farm showing fields, buildings, animals, paths, and water. Include a scale, compass, and legend.

Step-by-step guide to draw a map of your farm
Design a Farm Map
Step 1
Gather all your materials and find a flat table or floor to work on.
Step 2
Choose whether your paper will be portrait or landscape and place it in front of you.
Step 3
Walk around your farm or look at a photo and make a simple list of the main things you see: fields buildings animals paths and water.
Step 4
Decide a map scale (for example 1 cm = 5 m) and write that scale clearly on your paper.
Step 5
Use your pencil and ruler to draw the outer boundary or edge of your farm on the paper.
Step 6
Lightly sketch the major features inside the boundary: draw shapes for fields buildings water areas paths and animal zones.
Step 7
Draw a scale bar with your ruler and label it to match the scale you chose.
Step 8
Draw a compass rose in a corner and mark which direction is north.
Step 9
Draw a small legend box and choose a simple symbol or color for each type of feature then place those symbols in the box.
Step 10
Carefully trace over your pencil lines with the black marker to make the map clear.
Step 11
Colour each area and symbol on the map using the colours from your legend.
Step 12
Write neat labels for each field building water area path and animal area and add a few distances using your scale.
Step 13
Add small fun details like little animals trees and fences to make your farm map look lively.
Step 14
Take a photo of your finished farm map and share your creation on DIY.org.
Help!?
What can we use if we don't have a ruler, black marker, or colored pencils?
Use a straight edge like a book or a piece of cardboard as a ruler, a dark pen or fine-tip Sharpie in place of the black marker, and crayons, washable markers, or paint instead of colored pencils while still drawing your scale bar and legend as instructed.
My distances look wrong after I add them using the scale—how do I fix that?
Re-measure the features on your paper with the ruler, re-check the conversion you wrote for your chosen scale (for example 1 cm = 5 m), correct the scale bar by marking exact centimetre lengths, and then update the labelled distances accordingly.
How can I change the activity for different ages?
For preschoolers give a pre-drawn boundary, chunky crayons, and stickers for the legend; for early elementary have them sketch main features and use a simple scale with an adult's help; and for older kids add precise ruler measurements, a detailed legend, compass rose, and require a photo upload to DIY.org.
What are some ways to extend or personalise our farm map when it's finished?
Turn the map into a 3D model by cutting cardboard for buildings and fields and colouring them to match your legend, add small animal figures and fences as extra details, label each piece, and photograph the finished creation to share on DIY.org or make seasonal versions to show changes.
Watch videos on how to draw a map of your farm
Creating a farm map in Google Earth
4 Videos
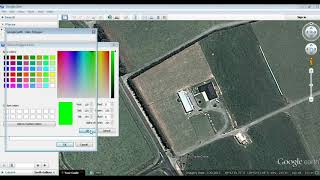
Creating a farm map in Google Earth
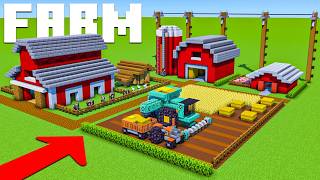
Minecraft Tutorial: How To Make A Farm | City Tutorial
Creating Farm Maps Using GIS Software
How to Make a Map | Geography for Kids | Made by Red Cat Reading
Facts about mapmaking and cartography
🧭 A compass rose can show up to 32 directions, but most farm maps only need the four main points: North, South, East and West.
🗺️ A map scale like 1:1,000 means 1 cm on the map equals 10 m in real life—perfect for measuring fields and paths on your farm drawing.
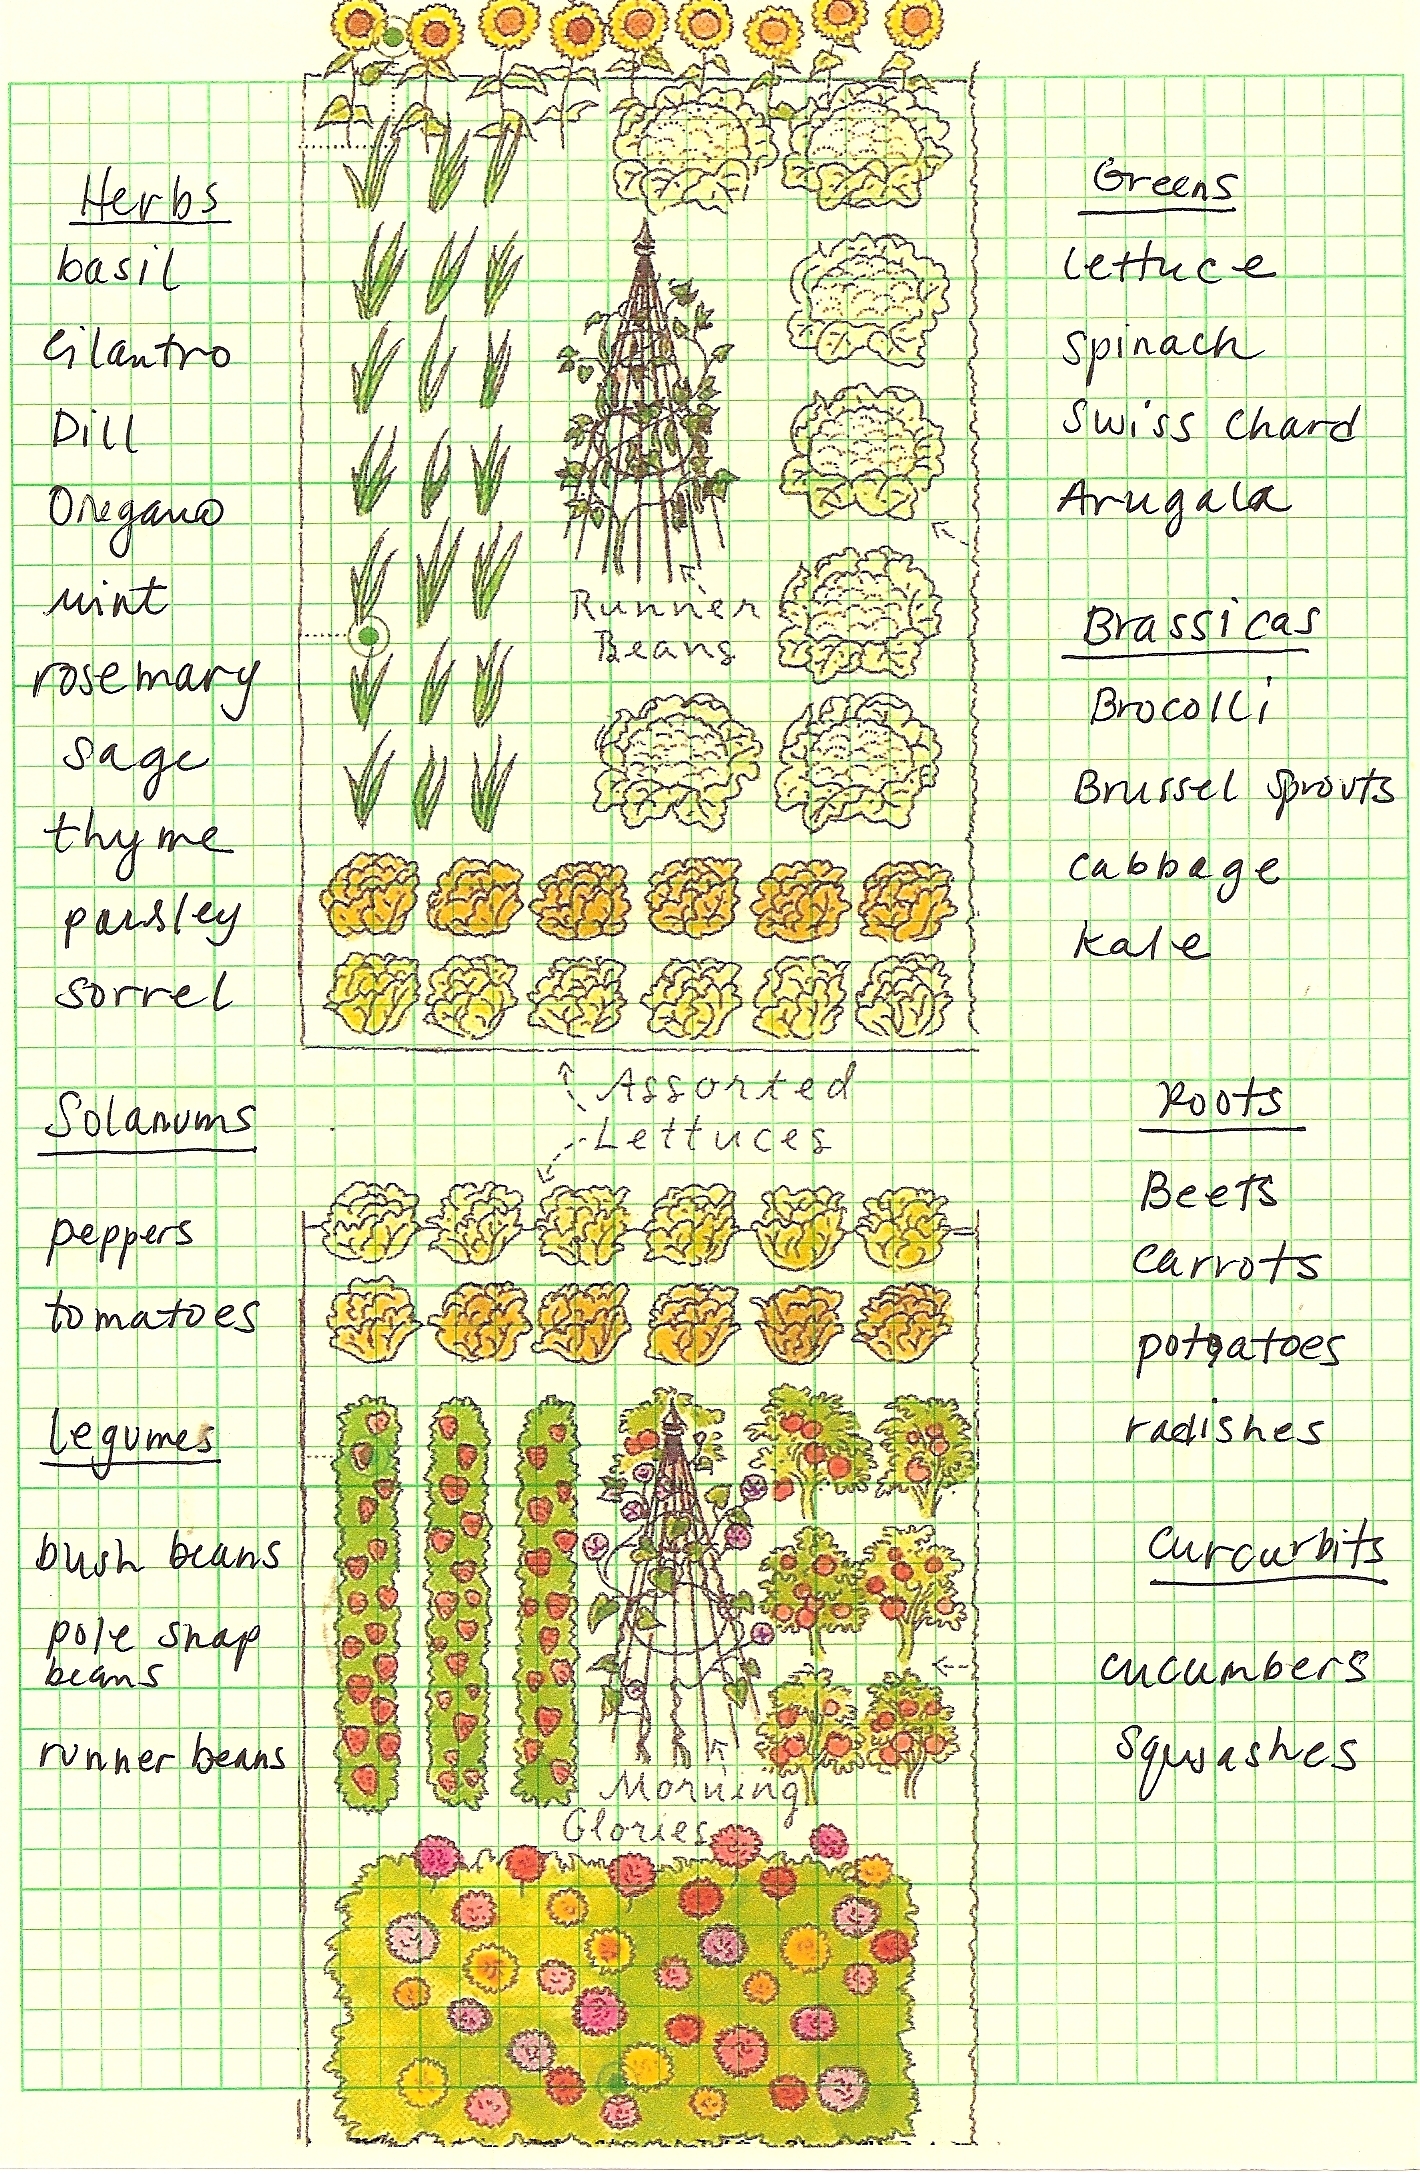
🌾 Farmers and mapmakers often use patterns or colors to show different crops so fields are easy to spot at a glance.
🐄 Little animal icons (cow, chicken, sheep) are a fun and clear way to mark where animals live on your farm map.
💧 Water features (ponds, streams) are always shown in blue and help plan watering spots, drainage, and safe crossing points.
How do I draw a detailed map of our farm step by step?
What materials do I need to draw a detailed farm map with a scale, compass, and legend?
What ages is this farm map activity suitable for?
What are the benefits of drawing a farm map for kids?
