Decorate the house
Make handmade decorations to brighten your house using paper, paint, recycled materials, scissors, and glue, learning measuring, color mixing, and arranging art.


Step-by-step guide to decorate the house
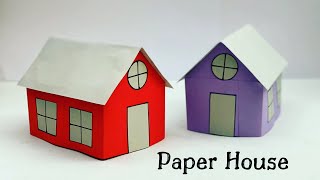
How To Make Easy Paper House For Kids / Nursery Craft Ideas / Paper Craft Easy / KIDS crafts
Step 1
Clear a workspace and lay down scrap paper to protect the table.
Step 2
Gather all the materials from the list and put them where you can reach them.
Step 3
Choose which decorations you want to make like a garland mobile or wall picture.
Step 4
Use the ruler and pencil to measure and mark the sizes of the paper shapes you need.
Step 5
Cut out the paper shapes carefully along your pencil marks using the scissors.
Step 6
Mix paints on a palette or paper plate to make new colors you like.
Step 7
Paint your paper shapes with the mixed colors and patterns you chose.
Step 8
Let the painted pieces dry completely before touching them.
Step 9
Glue recycled materials onto the dried paper shapes to add texture and sparkle.
Step 10
Arrange all your decorated pieces on the table until you like the layout.
Step 11
Attach the pieces together with glue string or tape to build your final decoration.
Step 12
Hang or place your finished decoration in a bright spot to brighten your house.
Step 13
Share your finished creation on DIY.org
Help!?
What can we use instead of a ruler, palette, or craft glue if we don't have them at home?
Use the straight edge of a book or a cereal box as a ruler, a paper plate as the palette when you 'mix paints on a palette or paper plate', and swap craft glue for a glue stick or double-sided tape when you 'attach the pieces together with glue, string, or tape'.
My painted shapes keep smudging or the recycled bits won't stick—what should we try to fix this?
Make sure you follow 'Let the painted pieces dry completely before touching them', speed-dry with a hair dryer on low, press glued recycled materials while the glue sets, and switch to stronger PVA or hot glue (with adult help) if items still won't adhere before you 'arrange all your decorated pieces on the table'.
How can we change the measuring, cutting, and painting steps for toddlers versus older kids?
For toddlers skip the ruler and pencil and use pre-cut shapes, blunt safety scissors, and washable paints for the 'cut out the paper shapes' and 'paint your paper shapes' steps, while older kids can use the ruler to measure, mix paints on a palette, and make more detailed garlands or mobiles with string as instructed.
How can we make the decoration last longer or look more special before hanging it?
Personalize and strengthen your decoration by varnishing or laminating the painted pieces, adding LED fairy lights or sequins when you 'glue recycled materials onto the dried paper shapes', and securely 'attach the pieces together with glue, string, or tape' before you 'hang or place your finished decoration in a bright spot'.
Watch videos on how to decorate the house
How To Make Easy Paper House For Kids / Nursery Craft Ideas / Paper Craft Easy / KIDS crafts
3 Videos
How To Make Easy Paper House For Kids / Nursery Craft Ideas / Paper Craft Easy / KIDS crafts
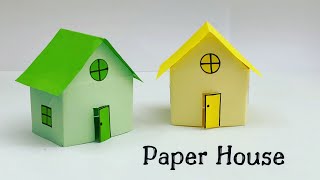
How To Make Easy Paper House For Kids / Nursery Craft Ideas / Paper Craft Easy / KIDS crafts
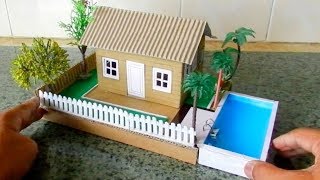
Mini Cardboard House For Kids #112 | Easy Crafts Project
Facts about home crafts for kids
📄 Papercraft can turn a single sheet into boxes, lanterns, or tiny decorations — kids can make whole room themes from paper!
🎨 Mixing the three primary paint colors (red, yellow, blue) in different amounts produces hundreds of shades — and sometimes a surprise brown!
♻️ Paper can usually be recycled 3–7 times before the fibers get too short, so upcycling crafts help save trees and landfill space.
📏 Measuring while crafting teaches real math — learning halves, quarters, and centimeters makes future projects (and homework) easier.
🏠 Small changes like new handmade wall art or a fresh color palette can make a room look brighter, bigger, or cozier instantly.
How do you make handmade decorations to brighten the house with kids?
What materials do I need to make homemade house decorations with children?
What ages is this house-decorating activity suitable for?
What are the benefits, safety tips, and fun variations for decorating the house with kids?
