Show off your backyard farm
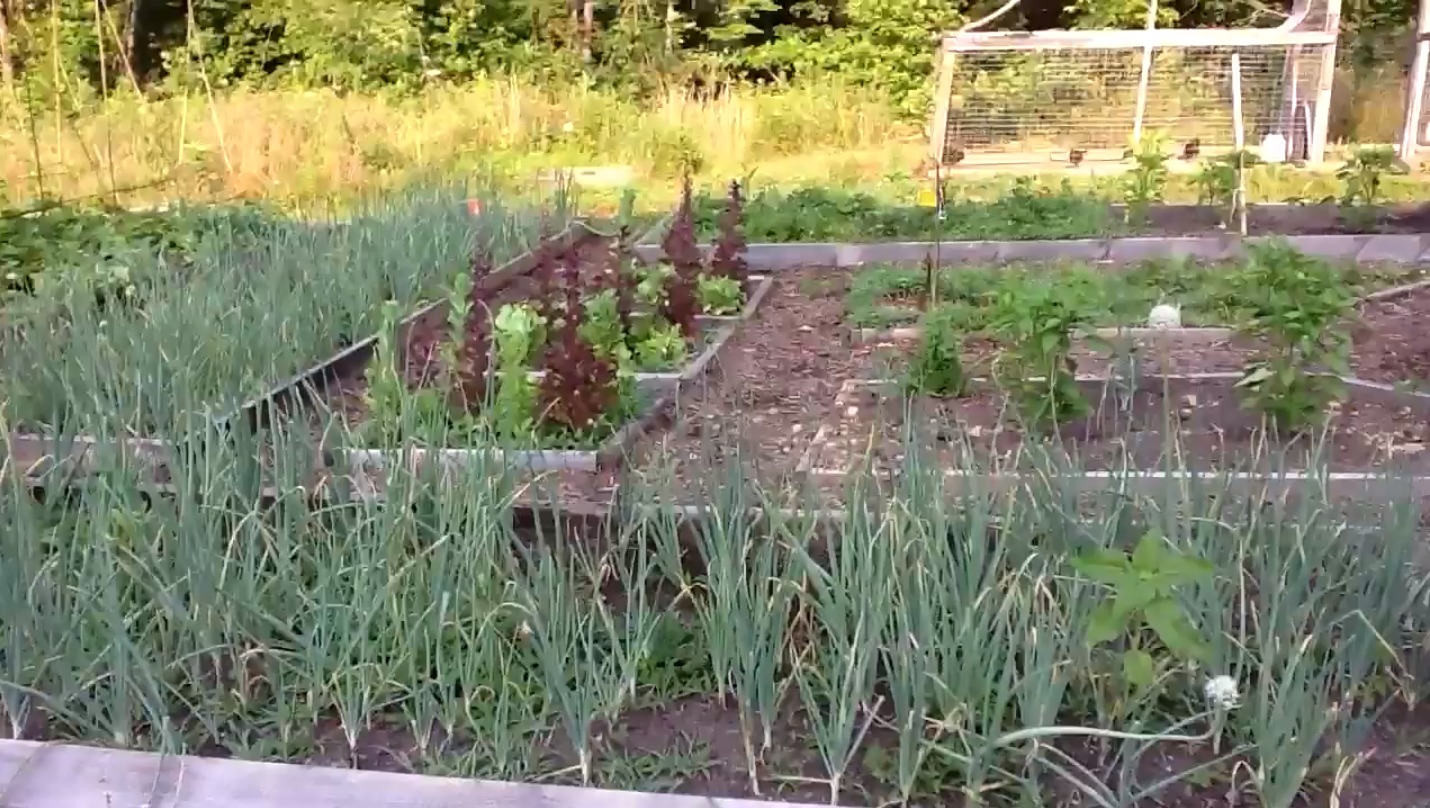
Create a mini backyard farm display using plants, toy animals, and labels. Photograph or give a short guided tour explaining care and produce.

Step-by-step guide to show off your backyard farm
Create Your Own Play Farm | Activities for Kids
Step 1
Collect the Materials Needed.
Step 2
Place the tray on a flat surface near a sunny window or outside.
Step 3
Put the small containers or egg carton into the tray.
Step 4
Use the small spoon or trowel to fill each container with potting soil.
Step 5
Plant one seed or small plant into each soil-filled container.
Step 6
Water each planted container lightly until the soil is just damp.
Step 7
Arrange the toy farm animals around the plants to create scenes.
Step 8
Write each plant name and one short care note on craft sticks or labels with the marker.
Step 9
Stick each label into the matching plant container.
Step 10
Ask an adult to help you photograph your mini backyard farm or record a short guided tour explaining each plant’s care and what it will produce.
Step 11
Share your finished creation on DIY.org.
Help!?
If I can't find potting soil, a tray, or small containers, what can I substitute?
Mix garden soil with compost and a little sand to substitute for potting soil, and use a shallow baking sheet as the tray with recycled yogurt cups or cleaned food containers (poke drainage holes) instead of small containers or an egg carton.
My seeds aren't sprouting or the soil stays soggy—what should I check or fix?
If seeds fail to sprout or soil is waterlogged after you 'fill each container' and 'water each planted container lightly', poke drainage holes in the containers, let the soil dry to damp (not wet), and move the tray closer to a sunny window per the placement step.
How can I change the activity for younger children or for older kids?
For toddlers, have an adult pre-fill each container with potting soil and let them plant one seed, arrange the toy farm animals, and stick down pre-written craft stick labels, while older kids can research and write detailed care notes on the craft sticks, plant small varieties, and record the guided tour to post on DIY.org.
What are some ways to extend or personalize our mini backyard farm after it's planted?
Personalize and extend the project by painting the tray and craft sticks, adding miniature fences or decorative stones around each planted container, attaching photos or care icons to labels, and creating a narrated photo or video tour to share on DIY.org.
Watch videos on how to show off your backyard farm
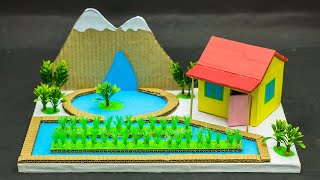
Terrace Farming Model | Science Projects
4 Videos

Terrace Farming Model | Science Projects
Agriculture Working Model for School Project
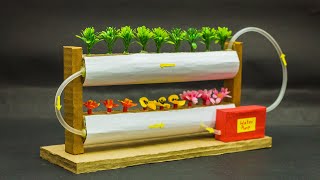
Agriculture Working Model | Hydroponic Farming Model
Kylee Makes a Worm Farm | Outdoor Play and Learning in Nature for Kids! Create DIY Worm Jar
Facts about backyard farming for kids
🌱 Companion planting (like basil near tomatoes) can help deter pests and even boost flavor — a handy trick for tiny farms!
🐔 A healthy backyard hen can lay around 200–300 eggs a year, making real mini-farms very productive!
🐝 Planting a few flowers turns your mini farm into a pollinator hotspot that helps veggies and fruits grow better.
🏷️ Labels make your display a mini-museum: kids learn plant names, planting dates, and care tips while giving tours.
📸 A quick photo tour or time-lapse shows small growth changes that you might miss day-to-day and is great for sharing.
How do I help my child create and present a mini backyard farm display?
What materials do I need to make a mini backyard farm display?
What ages is this mini backyard farm activity suitable for?
What are the benefits and safety tips for doing a backyard farm display with children?
