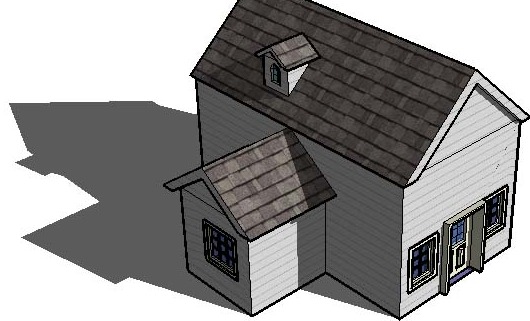
Build a digital 3d model
Use simple free software to design and build a digital 3D model of a toy, learning basic shapes, measurements, and simple modeling tools safely.


Step-by-step guide to build a digital 3D model of a toy
How I Made My First Art Toy: Blender, 3D Printing, and Painting Process
Step 1
Draw a simple sketch of the toy you want to make showing its main parts and the size.
Step 2
Open your chosen 3D modeling software in a web browser and sign in to your account.
Step 3
Create a new design or project to start with a fresh workspace.
Step 4
Set the modeling units to millimeters or centimeters in the software settings.
Step 5
Drag basic shapes from the shape library into the workspace to represent each main part of your toy.
Step 6
Use the scale or resize tool to change each shape to match the sizes in your sketch.
Step 7
Use the move and rotate tools to position the shapes so they line up like your sketch.
Step 8
Select shapes that should be one piece and use the group or combine tool to join them.
Step 9
Add details by placing small shapes or using hole/subtract tools to cut out parts.
Step 10
Export your model as an STL file or take clear screenshots to show your toy.
Step 11
Share your finished creation on DIY.org
Help!?
What can we use if we can't sign into the web-based 3D modeling software mentioned in step 2?
If you can't sign into the browser-based software in step 2, use another free web app or an offline CAD program that includes a shape library and lets you export an STL or take screenshots as in step 10.
My shapes won't line up when I use the move and rotate tools in step 7; how can I fix that?
If shapes won't line up after using move and rotate in step 7, switch units to millimeters/centimeters from step 4, enable grid snapping or enter exact positions/angles, then group/combine in step 8.
How can I adapt this activity for younger or older kids?
For younger kids focus on steps 1, 5, 6 and 7 (sketching, dragging basic shapes, rough scaling, and moving), while older kids should set precise units in step 4, add details with step 9's hole/subtract tools, export an STL in step 10, and share on DIY.org.
What are simple ways to personalize or extend our toy design after we finish the model?
To personalize and extend the toy, add small decorative shapes in step 9, design snap-fit joints with hole/subtract tools for physical assembly, export the STL in step 10 for 3D printing, and post photos and notes on DIY.org.
Watch videos on how to build a digital 3D model of a toy
Learn How to 3D Model Anything in 11 Minutes
4 Videos
Learn How to 3D Model Anything in 11 Minutes
Blender 3D for Beginners: The Ultimate Modeling Guide
Blender Basics: Create Your First 3D Model Step by Step

How to Turn an Image into a 3d Print Model - Super EASY!
Facts about 3D modeling for kids
🧩 Most 3D models are built from simple shapes — cubes, spheres, and cylinders — stacked and combined like building blocks.
🖥️ Tinkercad is a free, browser-based 3D design tool widely used in classrooms to introduce kids to CAD.
🎨 Blender is a powerful, free 3D program used by beginners and professionals for modeling, animation, and rendering.
🖨️ Digital toy designs can become real toys: many kid-made models are turned into 3D-printed figures and parts.
⏱️ With guided tutorials, beginners can design a simple 3D toy in about 30–60 minutes and learn key measurement skills.
How do I guide my child to design a digital 3D toy using free software?
What materials and software do we need to build a simple 3D model of a toy?
What ages is digital 3D toy modeling suitable for?
What are the benefits, safety tips, and fun variations for kids designing 3D toys?
