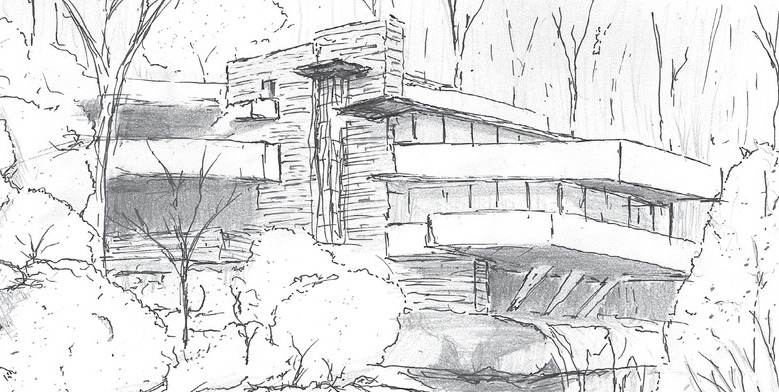
Sketch like an architect
Draw simple building sketches and a floor plan using pencil, ruler, and scale; practice perspective, labeling rooms, and refining designs step by step.


Step-by-step guide to Sketch like an architect
Sketchbook - Tutorial for Beginners in 13 MINUTES! [ UPDATED ]
Step 1
Gather your materials and set them on a clean flat workspace.
Step 2
Pick a simple building to sketch like a house shop or treehouse.
Step 3
Lightly draw the front elevation outline as a rectangle with a roof using your pencil and ruler.
Step 4
Draw a horizontal horizon line across your paper.
Step 5
Mark one vanishing point on the horizon line.
Step 6
Use your ruler to draw light perspective lines from the vanishing point to the corners of the front outline.
Step 7
Sketch the side depth of the building by following the perspective lines to show how it recedes.
Step 8
Add windows doors and roof details on the front elevation using the ruler for straight lines.
Step 9
On a new area of paper draw a top-down rectangle for the floor plan using your scale ruler.
Step 10
Divide the rectangle into rooms by drawing interior walls.
Step 11
Draw doors and windows on the floor plan using simple symbols.
Step 12
Label each room clearly with its name using neat handwriting.
Step 13
Measure each room and write the room dimensions using your scale ruler.
Step 14
Colour-code each room with coloured pencils so different spaces are easy to see.
Step 15
Share your finished sketches and floor plan on DIY.org and tell others what you designed.
Help!?
What can I use if I don't have a scale ruler or coloured pencils?
If you don't have a scale ruler or coloured pencils, use graph paper and a regular ruler to draw the floor plan and count squares for room dimensions, and substitute crayons or markers to colour-code each room.
My building looks skewed and the perspective seems off — how can I fix it?
If the perspective lines don't converge or the side depth looks wrong, lightly erase the front elevation, redraw the horizon line and one vanishing point, then use your ruler to draw light perspective lines from that vanishing point to each corner before sketching the side depth again.
How can I change this activity for different ages?
For younger children (4–6) simplify by drawing only the front elevation rectangle and roof and using stickers or large crayons to add windows and colour-code spaces, for 7–10 keep one-point perspective and a basic floor plan with a regular ruler, and for 11+ add precise room measurements with a scale ruler and more detailed roof and interior details.
How can we make the sketches more detailed or personal?
To extend the project, add furniture and removable paper cutouts to the floor plan, draw roof and material textures on the elevation, create a simple cardboard model to test your perspective, and include a colour-key and room dimensions before sharing the finished sketches on DIY.org.
Watch videos on how to Sketch like an architect
Easy Drawing And Painting Tutorials For Beginners
4 Videos
Easy Drawing And Painting Tutorials For Beginners
![SketchUp - Tutorial for Beginners in 10 MINUTES! [ COMPLETE ]](https://img.youtube.com/vi/qgt2s9RzvKM/mqdefault.jpg)
SketchUp - Tutorial for Beginners in 10 MINUTES! [ COMPLETE ]
![SketchUp - Tutorial for Beginners in 13 MINUTES! [ UPDATED FULL GUIDE ]](https://img.youtube.com/vi/z3CZjAf0RQ8/mqdefault.jpg)
SketchUp - Tutorial for Beginners in 13 MINUTES! [ UPDATED FULL GUIDE ]

Skills to learn before architecture school
Facts about architectural drawing for kids
🏛️ Architectural drawings have been used for thousands of years — ancient builders sketched plans for temples, pyramids, and aqueducts.
📐 Architects use special scales (like 1:50 or 1:100) so huge buildings can be drawn on small paper and still measure correctly.
✏️ One-point perspective uses a single vanishing point and is great for drawing hallways, streets, or rooms that stretch away from you.
🏠 A floor plan is a bird's-eye view of a building that shows room sizes, door swings, and how people will move through spaces.
🎨 Many famous architects, including Frank Lloyd Wright, started ideas with quick hand sketches before making precise technical drawings.
How do I guide my child to sketch like an architect?
What materials do I need to sketch like an architect with my child?
What ages is the "sketch like an architect" activity suitable for?
What are the benefits of doing the 'sketch like an architect' activity with kids?
