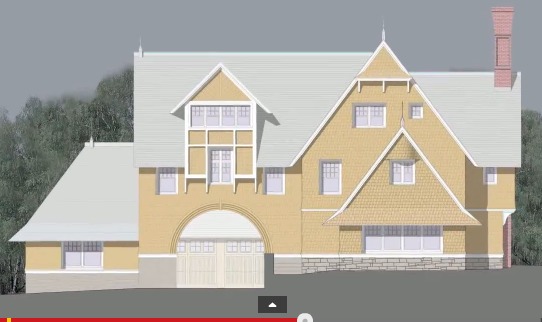
Draw an elevation
Draw an elevation of a simple building using measurements, a ruler, and pencils to learn how front views show height, windows, and doors.

Drawing Apps
Step-by-step guide to draw an elevation of a simple building
How to Draw a Front Elevation Roof | Architectural Drawing Tutorial for Beginners
Step 1
Gather all Materials Needed.
Step 2
Write a scale at the top of your paper (for example 1 cm = 1 m).
Step 3
Write the building's real width and height in meters on the paper.
Step 4
Draw a straight horizontal ground line across the lower third of the paper using the ruler.
Step 5
Measure and mark the left and right edges of the building on the ground line using your scale.
Step 6
Draw vertical lines up from each edge to the building height using the ruler and your scale marks.
Step 7
Connect the top points with a horizontal line to finish the front outline of the building.
Step 8
Mark the door location and its scaled width and height on the front face.
Step 9
Draw the door rectangle neatly with the ruler.
Step 10
Mark the positions and sizes of the windows on the front using the scale and ruler.
Step 11
Draw each window frame with the ruler.
Step 12
Add simple pane lines and a sill inside each window with light pencil strokes.
Step 13
Erase extra construction marks lightly with the eraser.
Step 14
Trace over the final outline and details with firmer pencil lines to finish your elevation.
Step 15
Share your finished building elevation on DIY.org.
Help!?
What can we use if we don't have a ruler or measuring tape to draw the ground line and measure the building's width and height?
Use a straight edge like the long edge of a hardcover book or a piece of cardboard to draw the ground line and mark equal units with a coin or folded paper to apply your chosen scale when measuring the building's real width and height.
My vertical lines aren't straight or the top points don't line up when I connect them—what should I do?
Double-check your scale marks, redraw the verticals lightly using a straight edge aligned with each ground-line edge, and then place the ruler between the top points to draw a level horizontal line for the building's top outline.
How can I adapt this elevation drawing for younger or older kids?
For younger kids, pre-draw the ground line and scale and have them place and trace simple door and window rectangles with a thick pencil, while older kids can use a finer scale (for example 1 cm = 0.5 m), add precise measurements and roof details, and trace the final outline more firmly as the instructions say.
How can we extend or personalize the activity after finishing the front elevation?
After erasing construction marks and tracing the final lines, personalize the drawing by adding textures or material notes to walls and window sills, color the elevation, draw additional side elevations or a simple floor plan at the same scale, and then share the finished project on DIY.org.
Watch videos on how to draw an elevation of a simple building
How to Make Elevation in AutoCAD | Step-by-Step Tutorial for Beginners
4 Videos
How to Make Elevation in AutoCAD | Step-by-Step Tutorial for Beginners

AutoCAD Plan & Elevation Drawing Tutorial for Beginners | Step-by-Step Guide
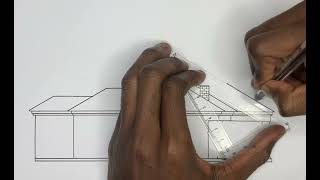
How to Draw a Left Elevation Roof & also Pillars | Architectural Drawing Tutorial for Beginners
How to Draw an Elevation Floor Plan
Facts about architectural drawing for kids
🏛️ Elevation drawings show a building's face without perspective so heights and features stay true — architects have used them for centuries.
📏 An architect's scale ruler has multiple scales (like 1:50 or 1:100) so 1 cm on paper can equal 1 m in real life.
✏️ Drafters choose pencil grades—hard H for fine, light lines and soft B for darker shading—to keep drawings clear and neat.
📐 Orthographic projection is the trick behind elevations: front, side, and top views line up perfectly for accurate measurement.
🧱 A precise elevation helps builders place doors and windows correctly—professional plans can be accurate down to millimeters.
How do I teach my child to draw an elevation (front view) of a simple building using measurements?
What materials do I need to draw a building elevation with my child?
What ages are suitable for drawing building elevations with kids?
What are the benefits of drawing building elevations for children?
