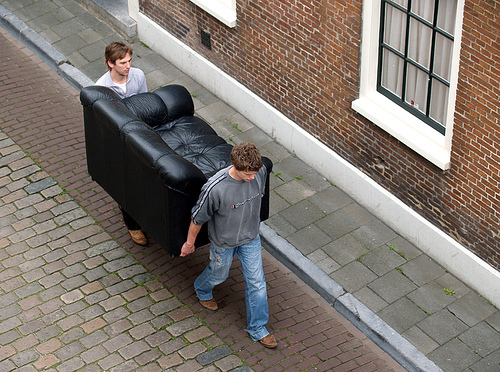
Arrange furniture
Plan and rearrange a small room's furniture with adult help, using measuring tape and floor tape, sketching layouts, and testing placements for comfort and safety.

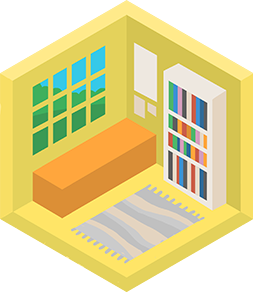
Step-by-step guide to arrange furniture in a small room
Setting Up Learning Centers in the Toddler and Preschool Classroom
Step 1
Choose the small room you want to rearrange.
Step 2
Tell an adult you will work together on this room and ask for their help.
Step 3
Use the measuring tape to measure the room's length and width and write the numbers on your paper.
Step 4
Measure each large furniture piece and write each size on your paper.
Step 5
Pick a simple scale for your drawing like 1 cm on paper = 10 cm in the room.
Step 6
Draw the room outline to scale on the paper using your ruler and pencil.
Step 7
Draw each furniture piece to scale on separate paper or sticky notes.
Step 8
Cut out the furniture drawings into moveable pieces with scissors.
Step 9
Place the cutout pieces on your room drawing and try at least three different layouts.
Step 10
Choose your favorite layout and mark each furniture corner on the real floor with painter's tape.
Step 11
With adult help, move the largest furniture piece to its taped spot in the room.
Step 12
With adult help, move the remaining furniture pieces one at a time to their taped spots.
Step 13
Walk around and sit where needed to check that doors open and walkways are clear.
Step 14
Remove any extra tape from the floor with adult help.
Step 15
Share your finished room layout on DIY.org.
Final steps
You're almost there! Complete all the steps, bring your creation to life, post it, and conquer the challenge!

Help!?
What can I use instead of a measuring tape, painter's tape, or sticky notes if I can't find them?
Use a ruler or a piece of string measured against a ruler instead of a measuring tape, masking tape or removable paper labels instead of painter's tape, and cut regular paper or index cards into furniture shapes in place of sticky notes.
My furniture cutouts don't match the real room and layouts fail—what should I check or redo?
Re-measure the room (step 3) and each furniture piece (step 4), confirm your chosen scale in step 5, and remake the scaled cutouts (step 6) before trying the layouts again.
How can I change the activity for younger kids or make it harder for older kids?
For younger children, have an adult pre-measure and pre-cut big furniture shapes and focus on arranging a few pieces with supervision in steps 2 and 9, while older kids can use more precise scales, measure smaller items, and test at least three layouts independently in steps 5–12.
What are simple ways to extend or personalize the room-rearranging project after finishing the layout?
Add color-coded zones on your room drawing, attach fabric swatches or photos to furniture cutouts, check light and outlet locations when you walk around in step 13, and then share photos of the final layout on DIY.org as the last step.
Watch videos on how to arrange furniture in a small room
Flexible Classrooms: Making Space for Personalized Learning
4 Videos
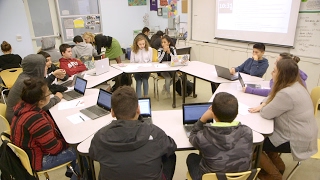
Flexible Classrooms: Making Space for Personalized Learning

How To Design A Kids Small Bedroom

Creative Ways to Arrange Classroom Furniture
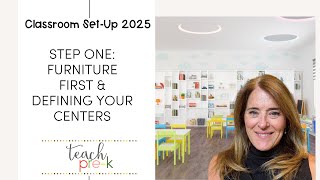
2025 Preschool Classroom Setup: Step One...Furniture First + a BIG Organization Project!
Facts about room planning and child-safe furniture layout
🛋️ Designers usually leave 2 to 3 feet (60–90 cm) of walking space between furniture so people can move comfortably.
👪 Kids who help plan and measure rooms learn real skills — measuring, drawing to scale, and thinking about safety and comfort.
🗺️ Making a simple floor plan sketch first helps you spot safety or space problems before you start moving anything.
📏 Most household tape measures are about 25 feet (7.5 m) long — long enough to measure most rooms in a single pull.
💡 Rearranging furniture can make a room feel brand new — many people say a fresh layout boosts creativity and mood.
How do I plan and rearrange a small room's furniture with my child?
What materials do we need to rearrange a small room's furniture safely?
What ages is this room‑rearranging activity suitable for?
What safety tips should parents follow when rearranging furniture with their child?


One subscription, many ways to play and learn.
Only $6.99 after trial. No credit card required